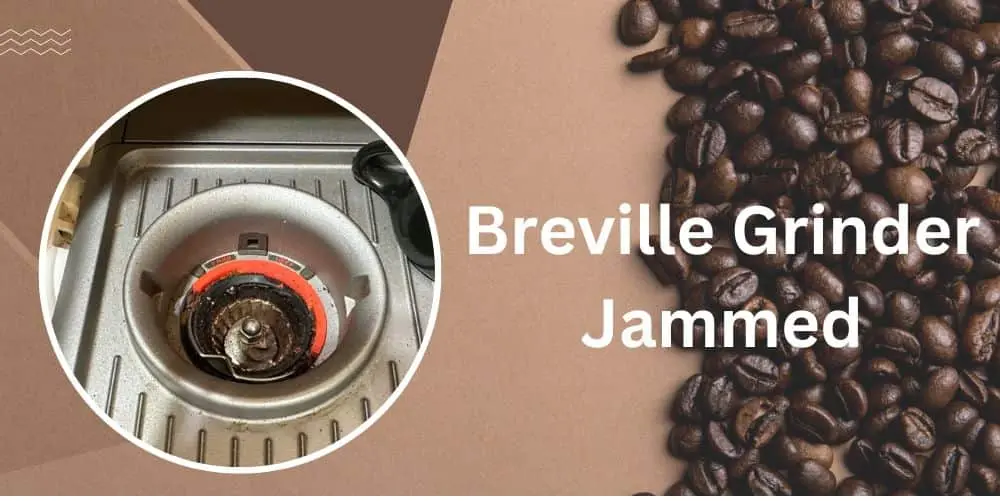
Breville Grinder Jammed? Get it Running Smoothly Again
Are you a coffee enthusiast who relies on your trusty Breville coffee grinder to kickstart your day with that perfect cup of joe?
There’s no denying that Breville grinders have earned their place in the hearts of coffee lovers for their efficiency and reliability. However, even the most reliable machines can face a hiccup now and then, and one of the most common challenges is when your Breville grinder decides to go on strike and gets jammed.
But fret not! we’ve got you covered with everything you need to know about unjamming your beloved Breville grinder and getting it back to running smoothly like a well-oiled coffee-making machine. We’ll walk you through each step carefully, ensuring you feel confident in troubleshooting the issue on your own.
Common Reasons for Breville Grinder Jams
Now that we’ve explored the components and types of Breville grinders, let’s take a look at some common reasons that can lead to grinder jams:
- Bean Size and Moisture: Inconsistent bean size or excessively oily and moist beans can clog the burrs, causing jamming during the grinding process.
- Foreign Objects: Occasionally, foreign objects like small stones or hard debris might find their way into the grinder, leading to blockages.
- Improper Assembly: If the grinder components are not correctly assembled, it can disrupt the grinding process and result in jamming.
- Worn or Misaligned Burrs: Over time, the burrs might wear out or become misaligned, affecting the grinding efficiency and causing jams.
Safety First: Precautions Before Unjamming
Before embarking on the journey to unjam your Breville grinder, it’s crucial to prioritize safety. By following these precautions, you’ll ensure a smooth and risk-free unjamming process:
Power off and Unplug the Grinder
The very first step is to turn off your Breville grinder and unplug it from the power source. This precautionary measure will prevent any accidental activation of the grinder while you work on unjamming it, keeping you safe from potential injuries.
Empty the Hopper and Remove Remaining Coffee Beans
Check the bean hopper to ensure it’s empty. If there are any coffee beans left inside, remove them carefully. This will prevent any further jamming and provide you with a clear view of the grinder’s internals during the unjamming process.
Allow the Grinder to Cool Down
If your grinder was recently in use, it might be hot due to the friction caused during grinding. Allow it to cool down before attempting to handle any parts. Working with a hot grinder can be hazardous and may also affect your ability to effectively troubleshoot the issue.
Gather the Necessary Tools
To unjam your Breville grinder successfully, you’ll need some basic tools on hand. Here’s what you’ll need:
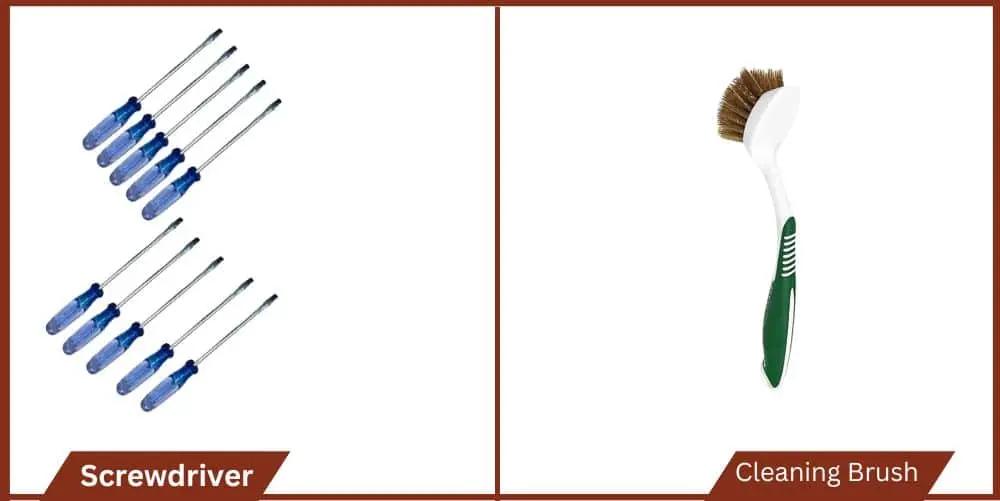
Cleaning Brush: A soft-bristled brush will help you remove any loose coffee grounds or debris without damaging the grinder’s components.
Vacuum Cleaner (Optional): While not mandatory, a small handheld vacuum can be useful for thoroughly cleaning out any stubborn residue.
Small Flathead Screwdriver: This tool will come in handy for certain steps, such as realigning burrs if needed.
Protect Your Hands and Eyes
As you work with the grinder’s internal components, it’s wise to wear protective gloves to shield your hands from sharp edges or hot surfaces. Additionally, consider wearing safety glasses or goggles to protect your eyes from any loose particles that may dislodge during the unjamming process.
Step-by-Step Unjamming Guide
Now that we’ve covered the safety precautions, it’s time to roll up our sleeves and dive into the step-by-step process of unjamming your Breville grinder. Remember, patience and a gentle touch are key as you work through each stage:
Clearing the Grinder Pathway
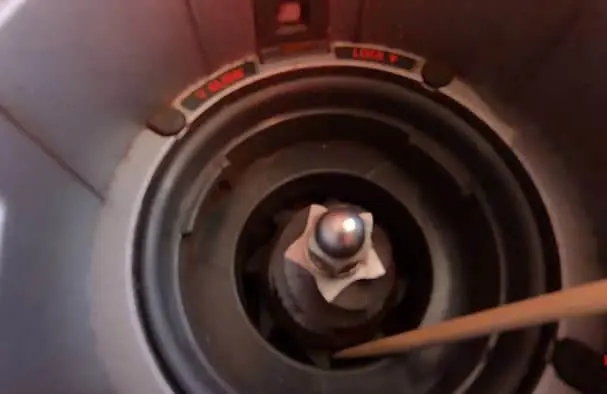
- Start by inspecting the grinder’s chute and grinding chamber. Look for any loose or stuck coffee grounds that might be causing the jam.
- Using a cleaning brush or the small nozzle of a handheld vacuum cleaner, carefully remove any debris or residual coffee grounds from the grinder’s pathway.
- Take extra care not to damage the burrs or other internal components during this process.
Addressing Stuck Beans
- If the jam is caused by beans getting stuck, identify the area where they are trapped.
- Gently remove the beans by hand, being cautious not to use excessive force or apply pressure that could damage the grinder.
- Check the bean hopper to ensure it is properly aligned and free from any obstructions.
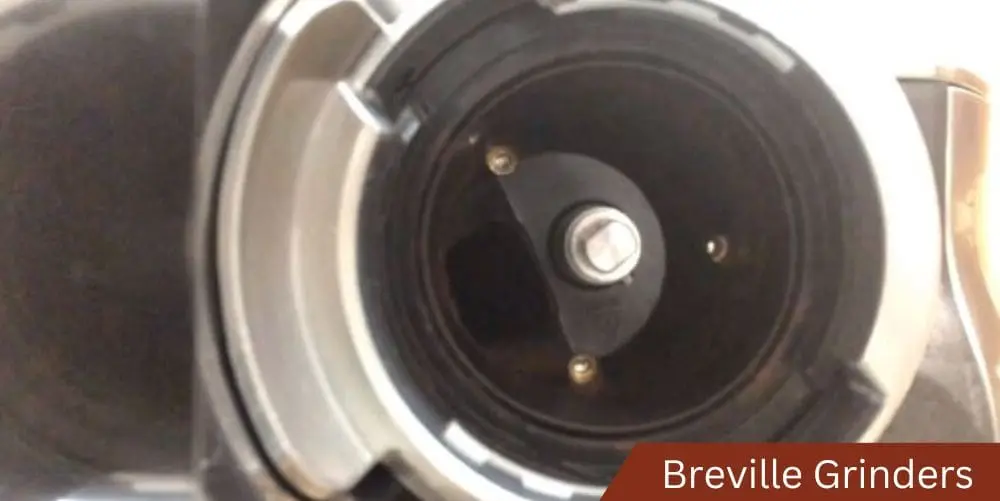
Dealing with Grinder Burrs
- The burrs are crucial for grinding coffee effectively. If they are clogged or misaligned, it can lead to jams.
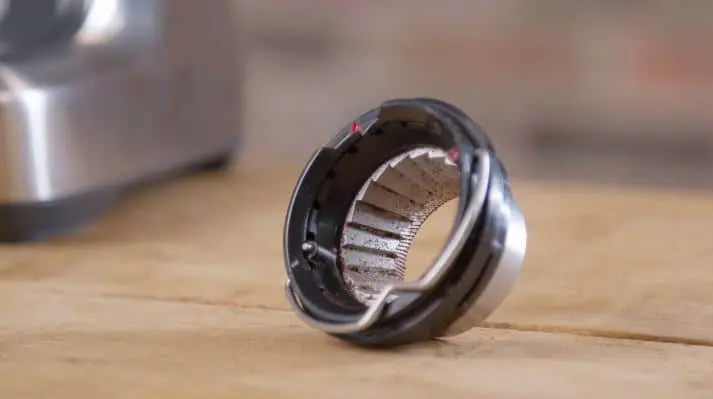
- Carefully remove the burrs according to the instructions in the user manual.
- Inspect the burrs for any signs of damage, wear, or excessive buildup. Clean them thoroughly with a brush or a soft cloth.
- If the burrs are misaligned, use a small flathead screwdriver to realign them gently, following the manufacturer’s guidelines.
Checking and Resetting the Grinder Mechanism
- Double-check that all grinder components are reassembled correctly after cleaning or realigning the burrs.
- If your Breville grinder has grind size and grind amount selectors, ensure they are set to the appropriate settings for your desired coffee consistency and quantity.
- Some Breville grinders have a reset function that returns the machine to its factory settings. Use this feature if applicable to ensure all settings are calibrated correctly.
Lubrication and Maintenance
- Proper lubrication is essential to keep your Breville grinder running smoothly. Check the user manual for guidance on the recommended lubricants and maintenance schedule.
- Regularly clean and inspect the grinder’s internal components to prevent future jams and maintain optimal performance.
Recommended Post: Breville Oracle Touch Grinder Problems
When to Seek Professional Help
While many grinder jams can be resolved with DIY troubleshooting, there are situations where seeking professional help is the wisest course of action. Here are some indicators that it’s time to enlist the expertise of Breville support or an authorized service center:
Persistent Jamming Issues
If you’ve diligently followed the unjamming steps and implemented troubleshooting tips, but your Breville grinder continues to experience frequent jams, it may signal an underlying mechanical or technical problem. Professional technicians have the knowledge and experience to diagnose complex issues and provide appropriate solutions.
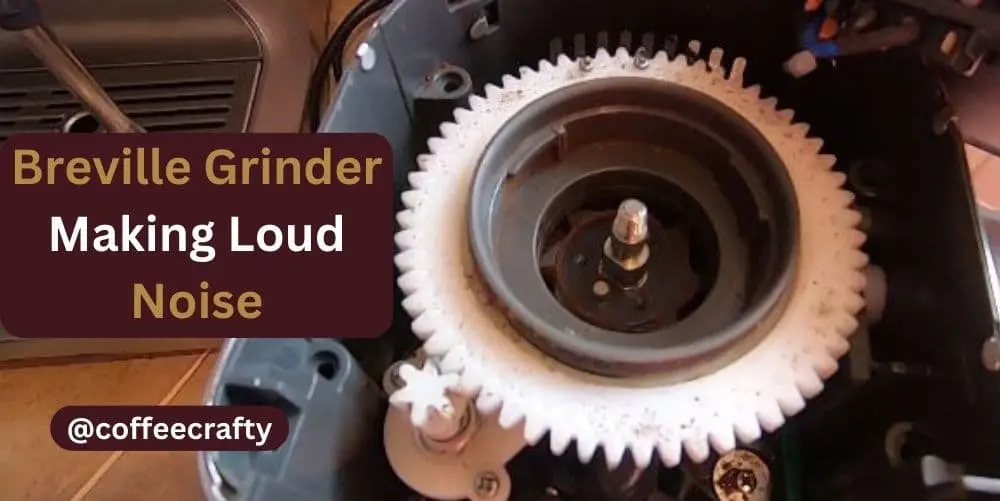
Unusual Noises or Vibrations
Unusual grinding noises or excessive vibrations during operation can indicate potential internal problems. These issues might be beyond the scope of basic troubleshooting, and attempting to fix them without proper knowledge could lead to further damage.
Grinder Not Grinding at All
If your Breville grinder refuses to grind at all, it could be due to a motor-related problem or other mechanical failures. In such cases, it’s best to leave the repairs to professionals who have the necessary tools and expertise to handle such issues safely.
Warranty Coverage
If your Breville grinder is still under warranty, attempting any complex repairs yourself could void the warranty. Before taking any action, check the warranty terms and conditions and consider utilizing the manufacturer’s warranty coverage for repairs.
Lack of Technical Knowledge
Not everyone is well-versed in the intricacies of coffee grinders and their internal mechanisms. If you’re unsure about handling electrical components or performing technical adjustments, seeking professional help is a safer and more sensible choice.
Older or Vintage Grinders
For older or vintage Breville grinders, finding replacement parts or attempting repairs without proper guidance can be challenging. Professional technicians often have access to the necessary resources and expertise to restore such machines effectively.
Peace of Mind
Enlisting the help of professionals ensures peace of mind. They have the knowledge and training to address issues without causing further damage, allowing you to enjoy your coffee with confidence.
Preventive Measures for Long-Term Performance
Maintaining the long-term performance of your Breville grinder is essential to ensure it continues to deliver exceptional coffee experiences. By implementing these preventive measures, you can keep your grinder in top-notch condition for years to come:
Regular Cleaning Routine
Establish a regular cleaning routine for your Breville grinder. After each use, wipe down the exterior with a damp cloth to remove any coffee residue or oils. Clean the bean hopper and grinding chamber regularly to prevent buildup that can lead to jamming.
Proper Bean Storage
Store your coffee beans in a cool, dry, and airtight container to preserve their freshness and prevent excess moisture or oils from affecting the grinding process. Avoid storing beans in the grinder’s hopper for extended periods, as this can cause premature deterioration of the beans and the grinder’s components.
Mindful Bean Selection
Be mindful of the coffee beans you use in your Breville grinder. Opt for high-quality, freshly roasted beans, and avoid those with excessive oils or moisture. Low-quality beans can lead to inconsistent grinds and may increase the risk of jams.
Regular Maintenance and Lubrication
Follow the manufacturer’s recommended maintenance schedule for your Breville grinder. Regularly lubricate the burrs and other moving parts to reduce friction and wear, ensuring optimal performance and extending the grinder’s lifespan.
Adjust Grind Settings Thoughtfully
When adjusting grind settings, do so thoughtfully and avoid drastic changes. Gradually fine-tune the settings to achieve the desired coffee consistency without overloading the grinder.
Avoid Overheating
Give your Breville grinder short breaks between grinding batches to prevent excessive heat buildup. Overheating can affect the quality of the grounds and may lead to jams. Allow the grinder to cool down before grinding large quantities.
Monitor Burr Condition
Periodically inspect the condition of the burrs and other grinder components. Look for signs of wear or damage, and address any issues promptly. Regularly cleaning the burrs will help maintain their sharpness and grinding efficiency.
Adhere to User Manual Guidelines
Always refer to the user manual for specific care instructions and recommendations provided by Breville. Following these guidelines will ensure that you are using the grinder correctly and that you are aware of any model-specific maintenance requirements.
Conclusion
Congratulations on completing this comprehensive guide on unjamming, troubleshooting, and caring for your Breville grinder! Armed with valuable insights and step-by-step instructions, you’re now well-equipped to handle any jamming issues and ensure your coffee grinder runs smoothly for years to come.