How to Clean a Nespresso Milk Frother

Coffee lovers know that a good cup of coffee is only as good as the froth on top. Whether you prefer a latte, cappuccino, or any other coffee-based drink, the froth is what makes it special. And when it comes to frothing milk, keeping your Nespresso Milk Frother squeaky clean is essential. Why, you ask?
Well, with regular use, Nespresso milk frothers can get clogged with milk residue and other buildup. This can lead to malfunctioning and ultimately affect the quality of your frothed milk.
Cleaning your Nespresso milk frother regularly is not only essential for maintaining its lifespan but also for ensuring that you get a perfect froth every time.
Why Cleaning A Nespresso Milk Frother Is Essential
Now, you might be wondering, “Why is cleaning my Nespresso Milk Frother so crucial?” It’s a fair question, and I’m here to spill the (clean) beans. First and foremost, a clean milk frother is the secret to producing the perfect microfoam, that luscious, velvety milk froth that tops off your cappuccinos and lattes. When you have a clean frother, you can be sure that your milk froth will be consistently smooth, with no unwanted flavors or odd textures.
Beyond the taste, there’s a hygiene aspect to consider. Milk is an ideal breeding ground for bacteria, and if you neglect cleaning your milk frother, you’re essentially inviting these unwelcome guests to your coffee party. A dirty frother can become a hotbed of germs, which is not what you want anywhere near your morning brew.
So, maintaining a clean Nespresso Milk Frother is vital for both taste and hygiene. Neglecting it might lead to subpar coffee and potentially even health concerns.
What You’ll Need for Cleaning Nespresso Milk Frother

Cleaning your Nespresso milk frother is easy, and you don’t need any fancy tools or equipment to get the job done. Here’s what you’ll need:
Warm Water: Warm water is the best solvent for removing milk residues from the frother. You can use tap water, but distilled water is preferable to avoid mineral buildup.
Dish Soap: A mild dish soap is perfect for removing any milk residues that have accumulated inside the frother. Avoid using abrasive cleaners, bleach, or vinegar as they can damage the frother’s internal components.
Soft Cloth or Sponge: A soft cloth or sponge is ideal for cleaning the frother’s exterior without scratching the surface.
Toothbrush: A toothbrush with soft bristles is excellent for cleaning hard-to-reach areas of the frother, such as the whisk and the lid.
Descaling Solution: If you live in an area with hard water, you may need to descale your Nespresso milk frother occasionally. A descaling solution helps to remove mineral buildup from the frother’s internal components.
Latex Gloves (Optional): If you have sensitive skin or want to avoid getting your hands wet, you can use latex gloves while cleaning your Nespresso milk frother.
How to Clean a Nespresso Milk Frother: Step-by-Step Guide
Alright, let’s clean your Nespresso Milk Frother. It’s a straightforward process, and I’m here to guide you through it, step by step.

Preparing the Milk Frother for Cleaning
Turn off and unplug: Safety first! Make sure your Nespresso Milk Frother is turned off and unplugged before you begin. We don’t want any unexpected whirlwinds of froth while we’re cleaning.
Empty any remaining milk: If there’s any milk left in the frother, pour it out. This will make the cleaning process easier and more effective.
Disassembling the Milk Frother
Identify the parts: Before you start taking things apart, familiarize yourself with the different components of your milk frother. These typically include the frothing whisk, the lid, and the container itself.
Handle with care: Some parts, like the frothing whisk, can be delicate. Gently remove these components to avoid any damage.
Hand Washing the Removable Parts
Use warm, soapy water: Fill your sink or a basin with warm water and add a few drops of mild dish soap. This will be your cleaning solution.
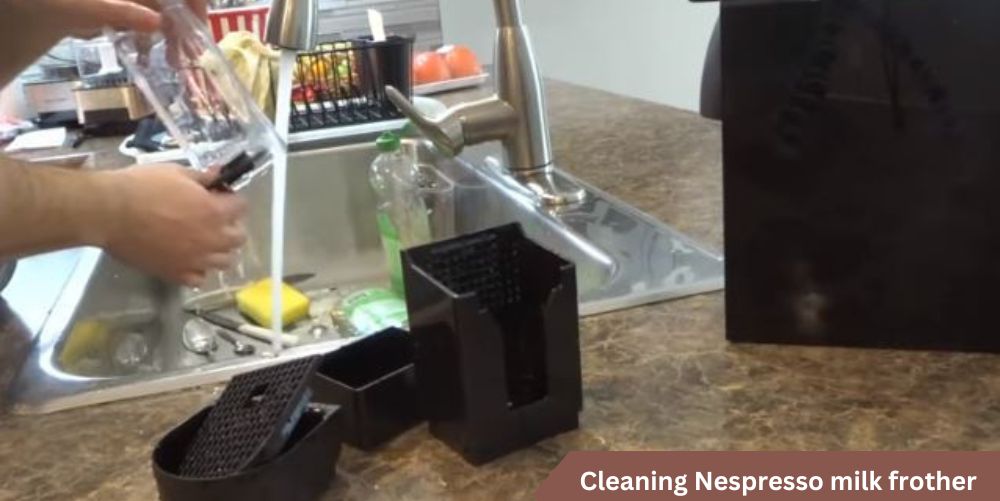
Scrubbing techniques: Dip each removable part into the soapy water and use a soft sponge or cloth to clean them. Pay special attention to any milk residues. Rinse each part thoroughly under running water.
Cleaning the Milk Frothing Whisk
Give it extra love: The frothing whisk deserves a bit of extra attention. Gently clean it with your soapy sponge or cloth to ensure there’s no milk residue left.
Don’t force it: Be delicate with the whisk. Avoid bending or damaging its delicate wires.
Cleaning the Exterior of the Milk Frother
Choosing the right cleaning agents: Depending on the material of your milk frother, you can use a gentle cleaning agent suitable for the job. Always refer to your machine’s user manual for guidance.
Polishing the exterior: Use a soft, damp cloth to wipe down the exterior, and if necessary, polish it to a shine. Make sure no cleaning agents remain on the surface.
Reassembling the Milk Frother
Put the parts back together: Once all the components are clean and dry, it’s time to reassemble your Nespresso Milk Frother. Make sure everything is properly aligned and secure.
Final Sanitization Steps
Additional sanitization techniques: For an extra layer of cleanliness, you can use a solution of water and a small amount of vinegar to sanitize the components. Rinse thoroughly afterward.
Ensure all parts are thoroughly clean: Before your next coffee adventure, double-check that every part is spotless and free from any soap residue.
With these steps, your Nespresso Milk Frother will be in tip-top shape, ready to whip up delightful froth for your favorite coffee creations. Enjoy your freshly cleaned and sanitized coffee companion!
Here is the official video that helps you understand better:
How Often Should You Clean Your Nespresso Milk Frother
Cleaning your Nespresso milk frother regularly is essential to ensure that it functions properly and produces high-quality froth. But how often should you clean your frother? The answer depends on how frequently you use it.

If you use your Nespresso milk frother every day, it’s recommended to clean it after every use. This will prevent milk residues from building up inside the frother and ensure that it produces consistent froth.
If you use your frother less frequently, you can clean it every few days or once a week. However, it’s important to note that leaving milk residues in the frother for an extended period can make them more difficult to remove.
In addition to regular cleaning, you may also need to descale your Nespresso milk frother periodically if you live in an area with hard water. Hard water contains high levels of minerals that can accumulate inside the frother and affect its performance.
Some Tips and Tricks to Clean Nespresso Milk Frother
Cleaning your Nespresso milk frother is a simple process, but there are a few additional tips and tricks that can help you get the most out of your frother and ensure that it stays in top condition:
Use fresh, cold milk: Fresh, cold milk produces the best froth. Make sure to use cold milk straight from the refrigerator and avoid using milk that has been left out at room temperature for an extended period.

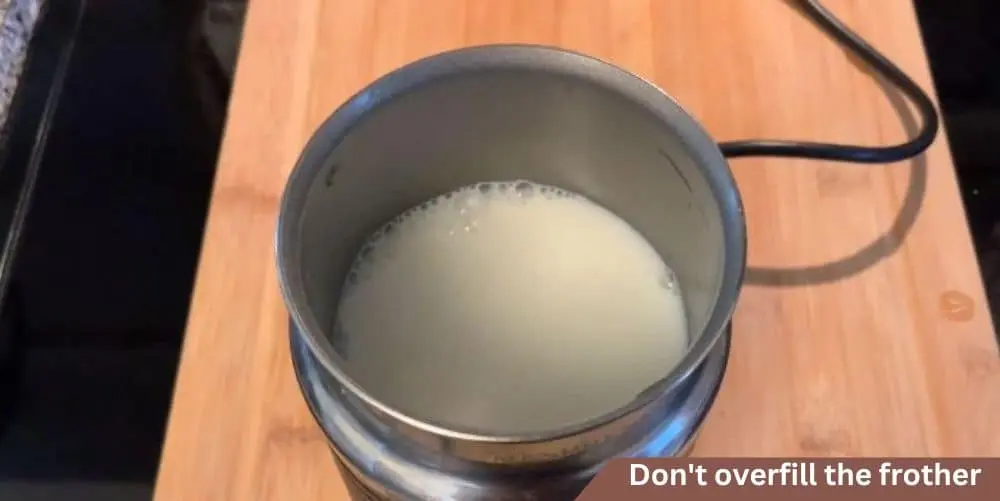
Don’t overfill the frother: Overfilling the frother can cause milk to overflow and damage the frother’s heating element. Make sure to fill the frother no higher than the “max” line indicated in the frother’s manual.
Avoid using soapy water: Soap residue can affect the taste of your milk froth. Instead of using soapy water, rinse the frother with warm water and wipe it clean with a soft cloth.
Store the frother properly: After cleaning, make sure to store the frother in a dry, cool place. Avoid storing it near a heat source or in direct sunlight, as this can damage the frother’s internal components.
Use a descaling solution: If you live in an area with hard water, using a descaling solution can help prevent mineral buildup inside the frother.
Troubleshooting Common Issues
You’ve diligently followed our cleaning guide, but occasionally, hiccups can still happen. Don’t worry; even the most meticulous coffee aficionados run into a few bumps on their java journey. Let’s discuss some common issues you might encounter and how to tackle them.
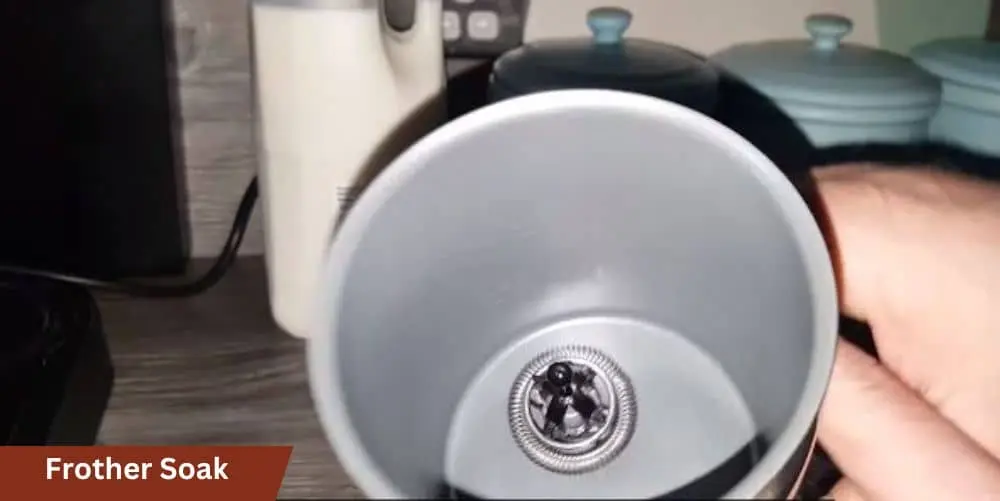
One typical problem is milk residue buildup. Over time, even with regular cleaning, some milk residue can stubbornly cling to your frother’s components. This can affect the texture of your milk froth and create off-putting flavors. But fear not! A simple solution is to soak the affected parts in warm, soapy water. This gentle bath should loosen up that persistent residue and make it easier to clean away.
If you ever notice stubborn stains or lingering odors, don’t despair. You can try using a mixture of baking soda and water to scrub away those stains. It’s a natural and effective way to tackle these issues without resorting to harsh chemicals.
But what if your frother appears to be acting up beyond just a little residue or staining? If it’s not frothing as it should, the issue might be with the frothing whisk. Ensure it’s clean and unobstructed, and if problems persist, consider replacing it with a new one. This small investment can make a world of difference in your frothing experience.
In rare cases, you might encounter issues that you can’t resolve on your own. If you suspect there’s a problem with the internal components of your Nespresso Milk Frother, it’s a good idea to seek professional assistance. Your trusted local appliance repair shop or Nespresso customer service can help diagnose and fix any complex issues.
Conclusion
Cleaning your Nespresso milk frother is a simple and essential process that can help you enjoy delicious, frothy milk drinks at home anytime. you can ensure that your frother stays in top condition and produces high-quality froth every time.
Remember to use fresh, cold milk, avoid overfilling the frother, and store it properly after cleaning. Additionally, consider using a descaling solution if you live in an area with hard water.


