How to Clean Keurig K-Compact with Vinegar

If you own a Keurig K-Compact, then you know how important it is to keep it clean. Over time, mineral deposits, bacteria, and other contaminants can build up inside your coffee maker, affecting the taste and quality of your coffee. That’s why it’s essential to clean your Keurig K-Compact regularly.
One effective way to clean your Keurig K-Compact is by using vinegar. Vinegar is a natural and inexpensive cleaning agent that can help remove mineral buildup and kill bacteria. Plus, it’s safe to use with your Keurig K-Compact and won’t leave any harmful chemicals behind.
Gather Your Supplies
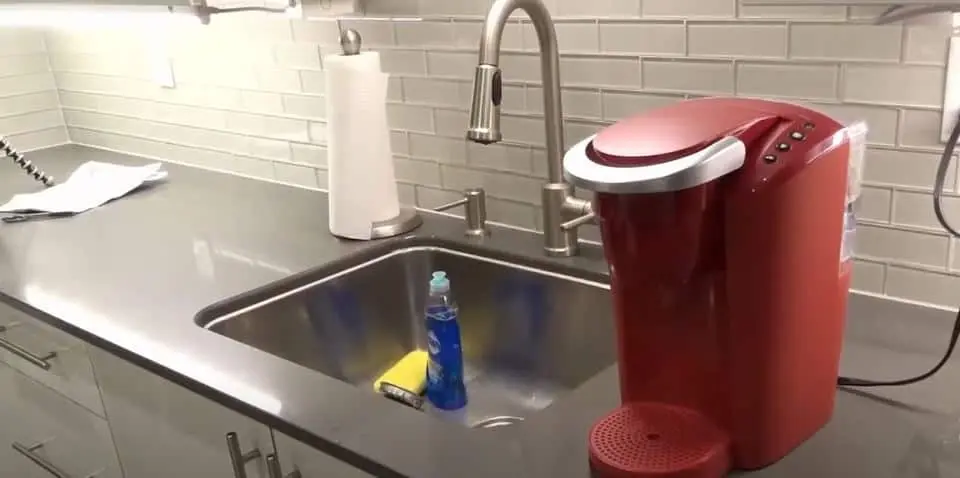
Before you start cleaning your Keurig K-Compact with vinegar, you’ll need to gather a few supplies. Here’s what you’ll need:
- White vinegar
- Water
- A clean, dry cloth or paper towel
- A bowl or container
- A toothbrush or other small brush
It’s important to use white vinegar for cleaning your Keurig K-Compact, as other types of vinegar may leave behind unwanted flavors or colors. You’ll also need water to dilute the vinegar and a container to catch the vinegar solution as it flows through the machine.
A clean, dry cloth or paper towel is essential for wiping down the exterior of your Keurig K-Compact, while a toothbrush or other small brush can be helpful for scrubbing hard-to-reach areas like the needle that punctures the K-Cup.
Make sure that all of your supplies are clean and in good condition before you begin cleaning your Keurig K-Compact. Using dirty or damaged supplies can lead to less effective cleaning and even damage to your coffee maker.
Disassemble the Keurig K-Compact
To clean your Keurig K-Compact with vinegar, you’ll need to disassemble the machine. Here’s how to do it:
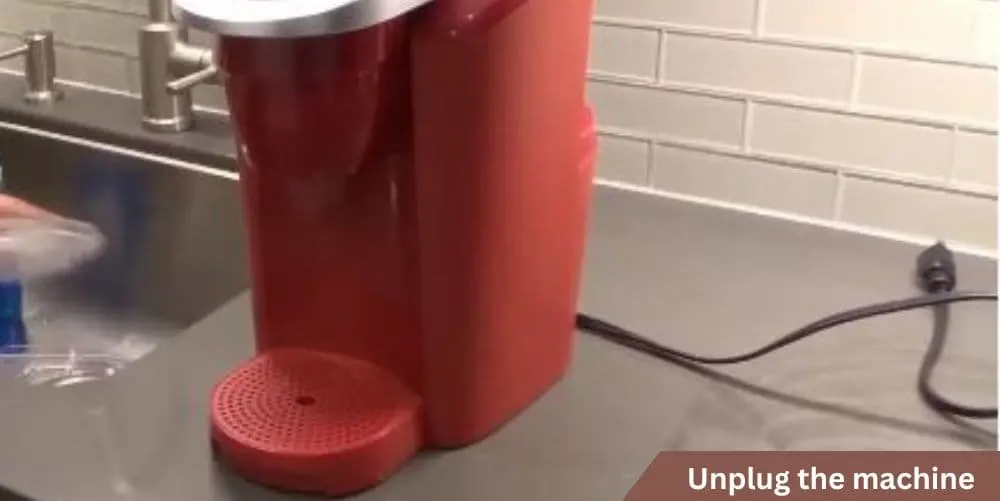
Unplug the machine: Before you begin disassembling your Keurig K-Compact, make sure it’s unplugged from the electrical outlet. This will prevent any accidents or electrical shocks while you’re cleaning.
Remove the water reservoir: Lift the water reservoir straight up and away from the machine. Set it aside for now.
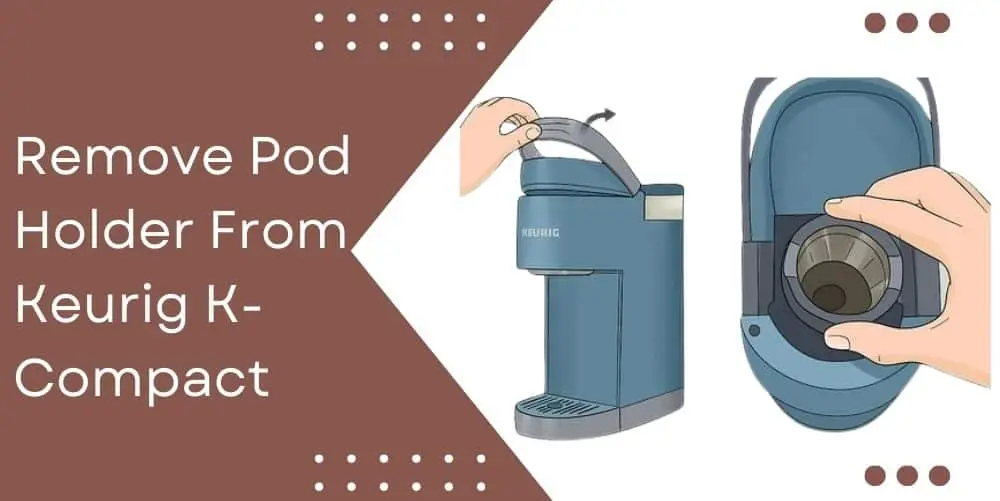
Remove the drip tray and K-Cup holder: The drip tray is the piece at the bottom of the machine that catches any drips or spills. Remove it by pulling it forward and away from the machine. Then, remove the K-Cup holder by lifting it straight up and out of the machine.
Remove the needle: The needle is the small, sharp object that punctures the K-Cup. To remove it, use a toothbrush or other small brush to gently scrub the area around the needle. Then, carefully lift the needle up and out of the machine.
Clean the parts: Once you’ve disassembled all of the parts, use a damp cloth or paper towel to wipe down each piece. Be sure to remove any debris or buildup that you see.
Soak the parts: In a bowl or container, mix together equal parts white vinegar and water. Place the disassembled parts of your Keurig K-Compact into the vinegar solution, making sure they’re fully submerged. Let them soak for 30 minutes to an hour.
Rinse and dry the parts: After soaking, remove the parts from the vinegar solution and rinse them thoroughly with clean water. Then, use a clean, dry cloth or paper towel to pat them dry.
Clean the Keurig K-Compact
Now that you’ve disassembled your Keurig K-Compact, it’s time to clean it with vinegar. Follow these steps to ensure a thorough cleaning:
Fill the water reservoir with vinegar: Pour white vinegar into the water reservoir until it’s about halfway full. Then, fill the rest of the reservoir with water.
Run a cleansing brew cycle: Place the water reservoir back onto the machine and turn it on. Place a large mug on the drip tray to catch the vinegar solution. Run a brew cycle without a K-Cup, using the largest cup size available. Discard the vinegar solution after the brew cycle is complete.
Run a rinse cycle: Refill the water reservoir with clean water and run a brew cycle without a K-Cup, using the largest cup size available. This will rinse out any remaining vinegar and clean the inside of the machine.
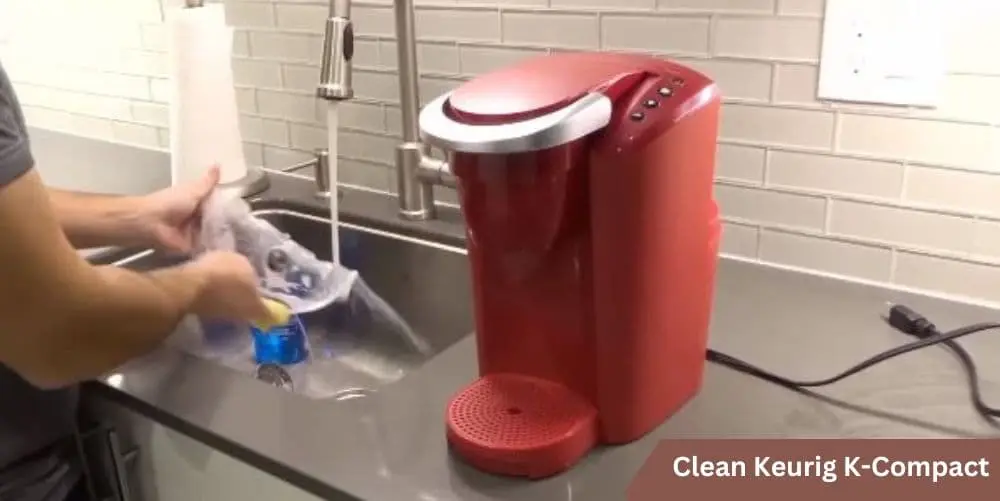
Wipe down the exterior: Use a clean, damp cloth or paper towel to wipe down the exterior of the machine. This will remove any buildup or residue that may have accumulated over time.
Reassemble the machine: Once all of the parts are dry, reassemble your Keurig K-Compact. Place the K-Cup holder back into the machine, followed by the drip tray and the water reservoir. Plug the machine back in and you’re ready to enjoy your freshly cleaned coffee maker!
Reassemble the Keurig K-Compact
Now that you’ve cleaned your Keurig K-Compact with vinegar, it’s time to put it back together. Follow these steps to reassemble your coffee maker:
Replace the K-Cup holder: Insert the K-Cup holder back into the machine, making sure it’s securely in place.
Replace the drip tray: Position the drip tray back onto the base of the machine, ensuring that it’s level and fully seated.
Replace the water reservoir: Carefully reattach the water reservoir, making sure that it clicks into place and sits firmly on top of the machine.
Plug the machine back in: Make sure the power cord is securely plugged into the wall outlet and the machine.
Run a test brew: Fill the water reservoir with fresh water and run a brew cycle without a K-Cup, using the largest cup size available. This will ensure that your machine is working properly and there are no leftover vinegar residues.
Run a Cleaning Brew Cycle
After you’ve reassembled your Keurig K-Compact, it’s important to run a cleaning brew cycle to ensure that your machine is free of any leftover vinegar or buildup. Follow these steps to run a cleaning brew cycle:
Fill the water reservoir: Fill the water reservoir with fresh water, making sure to not overfill it.
Run a brew cycle: Turn the machine on and place a large mug on the drip tray. Select the largest cup size available and run a brew cycle without a K-Cup. Discard the water from the mug once the brew cycle is complete.
Repeat the process: Repeat this process with fresh water at least one more time to ensure that your machine is fully rinsed and free of any leftover vinegar or buildup.
Also Read: Keurig K Compact Not Brewing? How To Fix
Maintenance Tips for Your Keurig K-Compact
Regular cleaning is important for the longevity and optimal performance of your Keurig K-Compact. Here are some additional maintenance tips to keep your machine running smoothly:
Descale your machine: Over time, mineral deposits can build up in your machine’s water lines and affect its performance. To prevent this, descale your machine every three to six months, or more frequently if you have hard water. Use a descaling solution or white vinegar to remove the buildup and follow the manufacturer’s instructions for your machine.
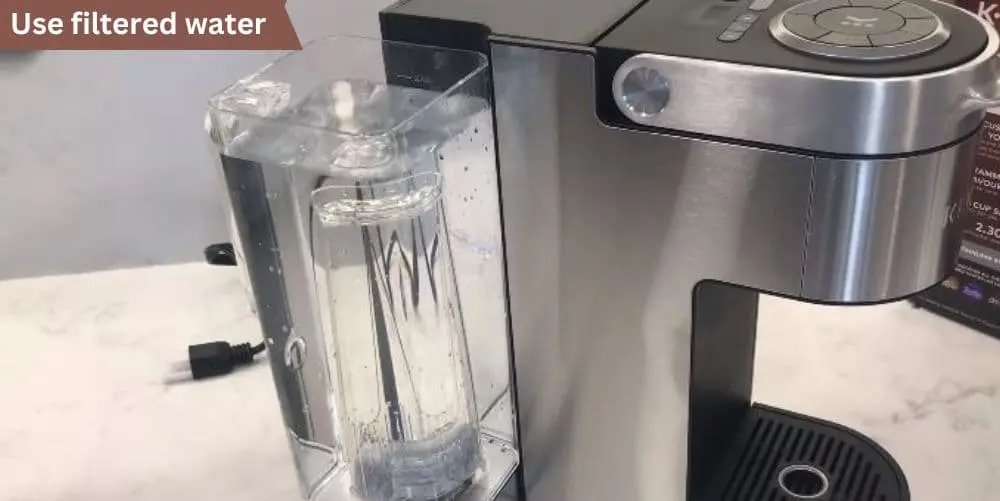
Use filtered water: Using filtered water can help prevent mineral buildup and improve the taste of your coffee.
Clean the external parts: Wipe the exterior of your machine regularly with a damp cloth to remove any spills or stains.
Replace the water filter: If your Keurig K-Compact has a water filter, replace it every two months or as directed by the manufacturer.
Store your machine properly: When not in use, store your machine in a dry place to prevent damage and ensure longevity.
Conclusion
Cleaning your Keurig K-Compact with vinegar is a simple and effective way to keep your machine working efficiently and ensure great-tasting coffee every time. you can easily disassemble, clean, and reassemble your machine to remove any buildup and ensure optimal performance.
Remember to run a cleaning brew cycle after cleaning your machine to ensure that it’s free of any leftover vinegar or buildup.
By taking the time to clean and maintain your Keurig K-Compact, you’ll not only enjoy great-tasting coffee but also extend the life of your machine. So, grab some vinegar and get cleaning!