How To Clean Oxo Coffee Maker

Brewing the perfect cup of coffee is an art, and your OXO coffee maker plays a crucial role in achieving that. Cleaning an Oxo coffee maker is essential to maintain the quality of your coffee and ensure the longevity of the machine. Regular cleaning helps to remove coffee residue, oils, and mineral buildup that can affect the taste of your coffee and the performance of the machine.
In this comprehensive guide, we’ll walk you through step-by-step instructions on how to clean your OXO coffee maker like a pro.
Why Cleaning Your OXO Coffee Maker Matters

Cleaning your OXO coffee maker is paramount for several reasons.
Firstly, regular cleaning ensures that your coffee always tastes fresh and flavorful. Residue from previous brews, oils, and mineral deposits can accumulate within the machine, affecting the taste of your coffee over time.
Additionally, a clean coffee maker helps prevent the growth of mold, bacteria, and other pathogens that thrive in damp environments, safeguarding your health. Proper maintenance also prolongs the lifespan of your OXO coffee maker, preventing clogs, malfunctions, or damage caused by neglect. A clean machine operates more efficiently, maintaining consistent brewing temperatures and optimal performance.
Thus, dedicating time to cleaning your OXO coffee maker—whether through descaling, regular rinsing, or using recommended cleaning solutions—is essential to ensure a great-tasting cup of coffee and the longevity of your machine.
Materials You’ll Need:
Before we get started, gather the following materials:
how to clean oxo coffee maker: Step-by-Step Cleaning Process
Read the Manual:
- Always refer to your OXO coffee maker’s manual for specific cleaning instructions. It may provide manufacturer-recommended methods and frequency.
Unplug the Coffee Maker:
- Safety first! Ensure your OXO coffee maker is unplugged before starting the cleaning process.
Remove and Clean Parts:
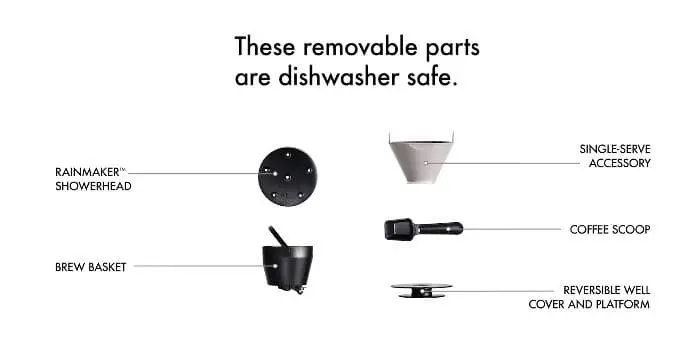
- Disassemble removable parts such as the carafe, filter basket, and any other detachable components. Wash them with mild dish soap and water. For stubborn stains, use a soft brush.
Clean the Exterior:
- Wipe down the exterior of your OXO coffee maker with a damp cloth. Be cautious around buttons and displays to avoid damage.
Descale with Vinegar:

- To remove mineral deposits and scale, create a solution of equal parts white vinegar and water. Run this solution through your coffee maker as if you were brewing a pot of coffee. Afterward, run a couple of cycles with clean water to remove any vinegar residue.
Clean the Coffee Maker’s Interior:
- Use a soft brush or toothbrush to gently scrub the interior components of your OXO coffee maker. Pay attention to areas that are hard to reach.
Wipe and Dry:
- Wipe down all cleaned parts and the exterior of the coffee maker with a clean, lint-free cloth. Ensure everything is thoroughly dry before reassembling.
How to clean oxo coffee maker with vinegar
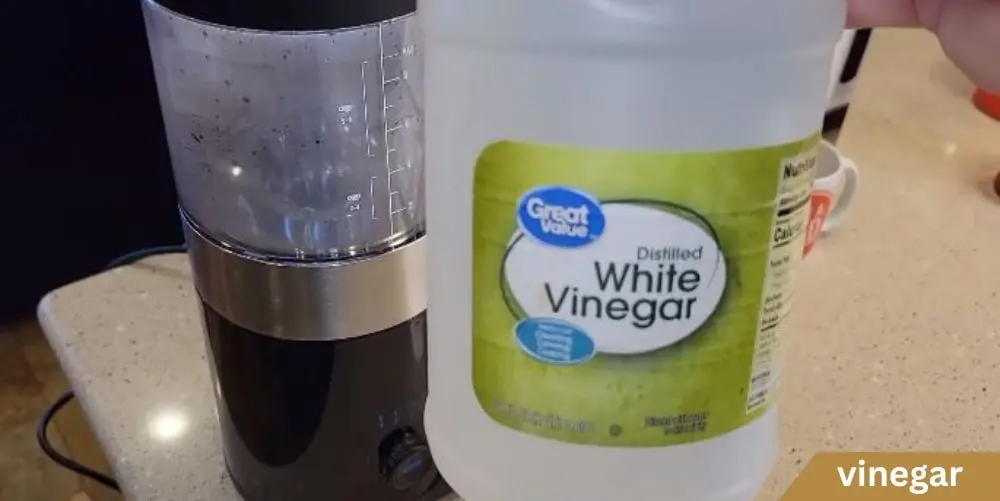
The vinegar method. This tried-and-true approach is like a spa day for your machine, rejuvenating it to ensure every cup of coffee is a delight. Begin by ensuring your coffee maker is turned off and unplugged, creating a safe workspace for our cleaning endeavor. Empty out any remaining coffee grounds to prepare for a deep cleanse.
For the external components like the carafe and drip tray, a simple mixture of mild soap and warm water works wonders. Give them a good scrub, and you’ll be amazed at how quickly they regain their shine. Now, for the internal components, especially the water reservoir and filter basket, it’s time to bring out the vinegar. Mix equal parts white vinegar and water, creating a potent solution that will break down mineral deposits and ensure a thorough clean.
Pour the vinegar solution into the water reservoir, just as you would with water for brewing. Run a brew cycle, letting the vinegar work its magic throughout the machine. Once complete, run another cycle with plain water to flush out any lingering vinegar taste. Don’t forget to clean the exterior of the coffee maker with a damp cloth to wipe away any traces of the cleaning solution.
Allow all the components to dry thoroughly before reassembling your OXO coffee maker. It’s a small investment of time that pays off with each subsequent brew – a testament to the care and attention you’ve bestowed upon your coffee-making companion. Stay tuned as we continue our journey through the art of maintaining your OXO coffee maker like a pro.
oxo coffee maker clean button
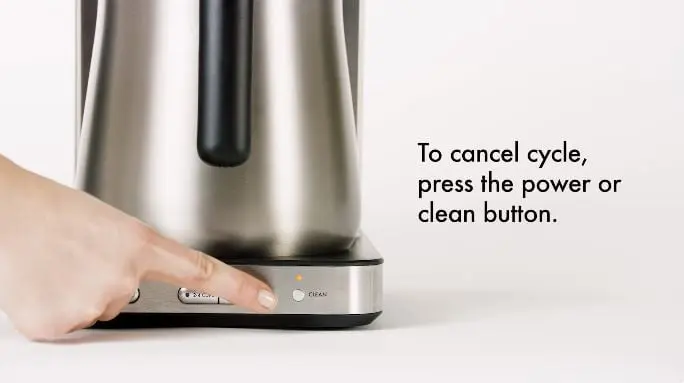
Let’s explore a handy feature that simplifies the cleaning process for your OXO coffee maker – the Clean Button. Consider it your coffee maker’s way of saying, “Hey, it’s time for a spa day!” This button is a game-changer, taking the guesswork out of when to clean and ensuring your machine maintains peak performance. Begin by ensuring your coffee maker is turned off and unplugged for safety.
To initiate the cleaning process using the Clean Button, start by emptying any remaining coffee grounds from the machine. Now, simply press the Clean Button, and your OXO coffee maker will guide you through the cleaning cycle. The machine will usually prompt you to add a vinegar solution, a powerful agent for breaking down mineral deposits and ensuring a thorough cleanse.
Follow the on-screen instructions, allowing the coffee maker to work its magic. Once the cleaning cycle is complete, run a cycle with plain water to flush out any lingering traces of vinegar. Wipe down the exterior of the machine with a damp cloth for a finishing touch.
The Clean Button is not just a convenience; it’s your ticket to a consistently great cup of coffee. Incorporate this feature into your routine, and your OXO coffee maker will repay you with a brew that’s not only delicious but also a testament to your commitment to its care. Stay tuned for more insights as we navigate the realm of OXO coffee maker maintenance.
oxo coffee maker clean light won’t turn off
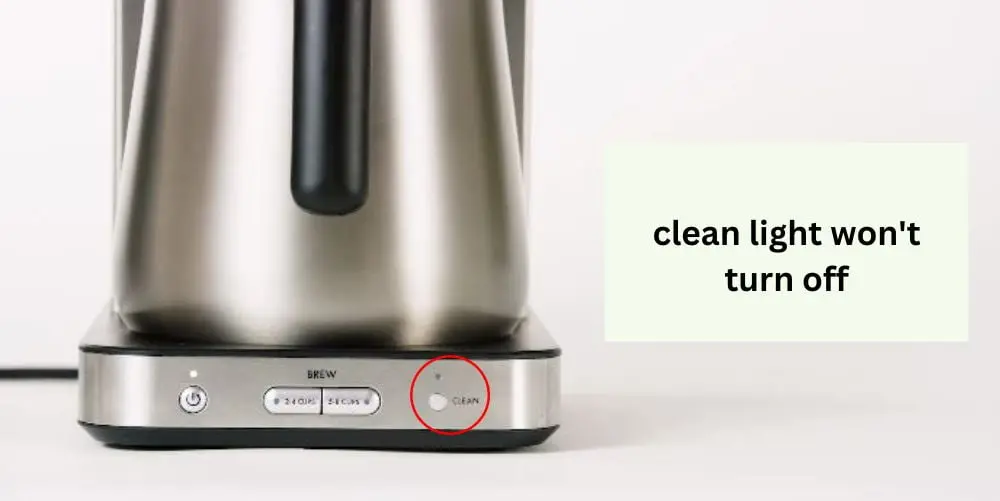
Encountering a situation where the Clean Light on your OXO coffee maker refuses to switch off? Don’t worry; we’ve got your troubleshooting covered. This issue can sometimes occur, but it’s nothing a bit of attention and care can’t resolve. First things first, ensure your coffee maker is turned off and unplugged for safety.
If the Clean Light persists, it might be signaling that the cleaning cycle isn’t fully complete. Double-check to make sure you followed all the steps of the cleaning process, including running a cycle with a vinegar solution and a subsequent rinse with plain water. Sometimes, the machine needs that extra TLC to ensure a thorough clean.
If the Clean Light stubbornly lingers, consider powering off the machine for a few minutes and then turning it back on. This brief hiatus can sometimes reset the internal sensors and resolve any electronic hiccups. If the issue persists, consult your OXO coffee maker’s user manual for specific instructions on troubleshooting and resetting the Clean Light feature.
Your coffee maker is a reliable companion, and a little troubleshooting can go a long way in maintaining its optimal performance. Stay tuned for more insights as we navigate the common challenges of OXO coffee maker maintenance, ensuring your machine is always ready to brew that perfect cup.
Why is the clean light blinking on my Oxo coffee maker?
If you find the Clean Light on your OXO coffee maker blinking, it’s like your machine is trying to communicate with you. Don’t worry; it’s not Morse code, but rather a signal that it’s time to pay attention to its cleaning needs. First off, make sure your coffee maker is turned off and unplugged for safety.
The blinking Clean Light often indicates that the machine is due for a cleaning cycle. It’s a built-in reminder, ensuring that your OXO coffee maker maintains its peak performance by preventing the buildup of mineral deposits and other residues. To address this, initiate the cleaning cycle as per the manufacturer’s guidelines. Typically, this involves adding a vinegar solution and running a cleaning cycle, followed by a rinse with plain water.
Here is the video that might help:
How to reset clean button on Oxo Coffee Maker
If the Clean Light continues to blink after completing the cleaning process, it might be indicating an incomplete cycle. Revisit the cleaning steps, ensuring you’ve followed each one diligently. Sometimes, the machine needs a little extra attention to ensure a thorough clean.
If you find yourself in a situation where you need to reset the Clean Button on your OXO coffee maker, fear not – it’s a straightforward process that ensures your machine stays in top-notch condition. Start by making sure your coffee maker is turned off and safely unplugged.
To reset the Clean Button, begin by pressing and holding the button for a few seconds. This action is akin to giving your coffee maker a digital reset, allowing it to recalibrate and recognize that the cleaning cycle has been completed. After holding the button, you may notice the Clean Light flashing or hear a beep, indicating that the reset is in progress.
Once the reset is complete, you should see the Clean Light turn off, signaling that your OXO coffee maker is ready for action. If the Clean Light persists or if you encounter any challenges during the reset process, refer to your OXO coffee maker’s user manual for specific instructions tailored to your machine model.
Resetting the Clean Button is like hitting the refresh button for your coffee maker, ensuring that it continues to operate at its best. Stay tuned for more tips and tricks as we navigate the world of OXO coffee maker maintenance.
Conclusion:
You’ve successfully cleaned your OXO coffee maker, and now you’re ready to enjoy a fresh and flavorful cup of coffee. Regular maintenance will keep your coffee maker in top condition, ensuring it continues to deliver the perfect brew every time.
Remember, a clean coffee maker is a happy coffee maker!


