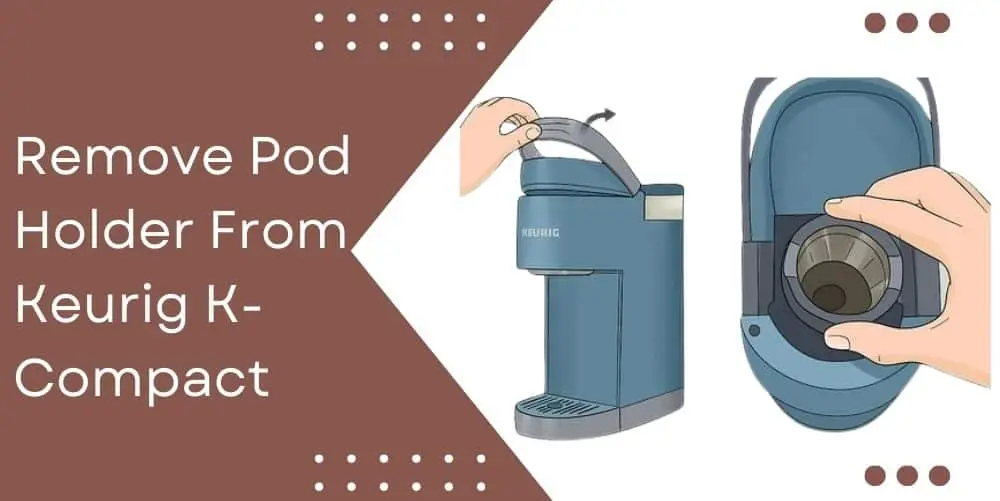
How to Remove Pod Holder from Keurig K-compact
Keurig coffee makers have become a staple in many households due to their convenience and ease of use. If you own a Keurig K-Compact model and need to clean or troubleshoot your machine, removing the pod holder is a necessary step.
While it might seem daunting at first, with the right guidance, you can safely remove the pod holder without any hassle.
How the Keurig K-Compact Pod Holder Works
Before we delve into the process of removing the pod holder from your Keurig K-Compact, let’s take a moment to understand the significance of this essential component in your coffee brewing experience.
The pod holder is a crucial part of the Keurig K-Compact machine. It is designed to securely hold the coffee pods and facilitate the puncturing process, allowing hot water to flow through and extract the flavors from the grounds. The pod holder consists of several components that work together to ensure a smooth and efficient brewing process.
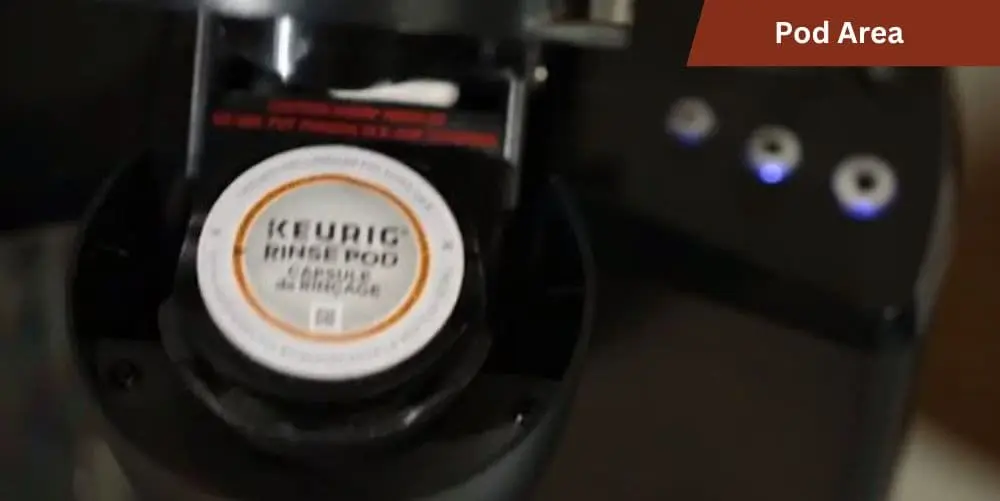
Pod Insertion Area: This is where you place the coffee pod before closing the lid. It ensures that the pod is properly positioned and aligned for optimal puncturing and brewing.
Puncture Needle: Located inside the pod holder, the puncture needle pierces the foil or plastic top of the coffee pod, allowing water to flow through and extract the flavors. It is important to keep the puncture needle clean to avoid any blockages or inconsistent brews.
Exit Needle: Once the brewing process is complete, the exit needle punctures the bottom of the pod, allowing the brewed coffee to flow into your mug or cup. It’s essential to ensure that the exit needle is clear and unobstructed for a smooth coffee flow.
Preparing for Pod Holder Removal
Before you embark on the process of removing the pod holder from your Keurig K-Compact, it’s important to take a few preparatory steps to ensure a smooth and hassle-free experience. By following these guidelines, you’ll be well-prepared and ready to safely handle your coffee maker.
Turn off and unplug your Keurig K-Compact: Before you begin any maintenance on your coffee maker, it’s crucial to ensure that it is turned off and unplugged from the power source. This step not only guarantees your safety but also prevents any accidental brewing or electrical mishaps during the process.
Gather the necessary tools: To remove the pod holder and clean it effectively, you’ll need a few basic tools and materials. Prepare a clean cloth, preferably lint-free, to wipe down the pod holder. You may also require water and mild soap or a non-abrasive cleaning solution to thoroughly clean the components. Having these items ready will streamline the process and allow you to maintain the cleanliness of your Keurig K-Compact.
Empty the water reservoir: To prevent any spills or leaks during the pod holder removal, it’s advisable to empty the water reservoir beforehand. This step will also ensure that you can access the pod holder more easily without any obstructions.
Remove the drip tray: The drip tray, located at the bottom of your Keurig K-Compact, should be removed to facilitate better access to the pod holder. Gently pull out the drip tray and set it aside for now. This will create more space and make it easier to maneuver during the pod holder removal process.
How to Remove Pod Holder from Keurig K-compact: Step-by-Step Guide
Now that you’re prepared and ready, it’s time to dive into the step-by-step process of safely removing the pod holder from your Keurig K-Compact. Follow these instructions carefully to ensure a smooth and successful removal:
Empty the Water Reservoir and Remove the Drip Tray
- Ensure that your Keurig K-Compact is turned off and unplugged.
- Gently lift the water reservoir lid and remove it from the machine.
- Pour out any remaining water from the reservoir and discard it.
- Set the empty water reservoir aside in a safe place.
- Locate the drip tray at the bottom of your Keurig K-Compact.
- Carefully pull out the drip tray, making sure not to spill any liquid.
- Set the drip tray aside for now. This will provide you with better access to the pod holder.
Detaching the Pod Holder Assembly
Now that you have removed the water reservoir and drip tray, it’s time to detach the pod holder assembly from your Keurig K-Compact. There are two common methods for doing this. You can choose the method that works best for your specific model:
Twist and Lift
- Place your fingers firmly on both sides of the pod holder assembly.
- Gently twist the pod holder counterclockwise while applying upward pressure.
- Continue twisting and lifting until the pod holder assembly detaches from the machine.
- Set the detached pod holder assembly aside.
Lever Release
- Look for a lever or latch near the pod holder assembly.
- Depending on your model, this lever may be located on the side or underneath the pod holder.
- If present, press or lift the lever to release the pod holder assembly.
- Once released, carefully lift the pod holder assembly out of the machine and set it aside.
Relevant article for you: Keurig K Compact Not Brewing
Reassembling the Pod Holder and Final Steps
Now that you have successfully removed and cleaned the pod holder, it’s time to reassemble it and complete the process. Follow these steps to ensure a proper reassembly of the pod holder assembly:
- Take the cleaned pod holder assembly and align it with the opening in your Keurig K-Compact.
- Carefully insert the pod holder assembly into the machine, ensuring that it is properly aligned and securely seated.
- If your model has a lever or latch, make sure it engages with the pod holder assembly to hold it in place.
- Gently push down on the pod holder assembly to ensure it is fully seated and locked into position.
With the pod holder assembly successfully reassembled, it’s time to complete the final steps before enjoying your next delicious cup of coffee:
- Retrieve the drip tray that you set aside earlier.
- Position the drip tray back into its designated slot at the bottom of the Keurig K-Compact.
- Ensure that the drip tray is correctly aligned and fully inserted.
- Now that you have reassembled the pod holder and replaced the drip tray, there are a few additional steps to complete the process:
- Refill the water reservoir with fresh water, ensuring that it is securely in place.
- Plug in your Keurig K-Compact and turn it on.
- Allow the machine to go through its startup process, indicating that it is ready for brewing.
Conclusion
Regularly removing and cleaning the pod holder is essential for preserving the quality of your coffee and the longevity of your Keurig K-Compact. By removing accumulated coffee grounds, residue, and debris, you ensure a fresh and flavorful brew every time.
Remember, before attempting any maintenance, turn off and unplug your Keurig K-Compact for safety purposes. Take the necessary preparatory steps, such as emptying the water reservoir and removing the drip tray, to make the process smoother.