Keurig 2.0 Not Filling Your Mug? Here’s How to Troubleshoot
Is your Keurig 2.0 failing to fill your mug to the brim? If you find yourself with a less-than-satisfying cup of coffee due to your Keurig not brewing a full cup, don’t worry. You’re not alone. This common issue can be frustrating, but with a little troubleshooting, you can get your Keurig 2.0 back to brewing perfection.
Understanding the Possible Causes
Insufficient water supply
One of the primary reasons why your Keurig 2.0 may not be filling your mug is an inadequate water supply. To brew a full cup, the machine requires an ample amount of water. Here are a couple of factors to consider:
Explaining the role of water reservoirs and its potential issues
The water reservoir is a crucial component of your Keurig 2.0 brewer. It holds the water that is used for brewing your coffee. If the water reservoir is not properly seated or if there are any leaks, it can result in insufficient water reaching the brewing system.
Checking the water level and ensuring proper positioning
First, check the water level in the reservoir. Ensure it’s filled to an appropriate level for the desired cup size. If it’s too low, the machine won’t be able to dispense enough water for a full cup. Additionally, ensure that the reservoir is correctly positioned and firmly in place. Any misalignment can cause disruptions in the brewing process.
Clogged needles or brew basket
Another common cause of the Keurig 2.0 not brewing a full cup is clogs in the needles or brew baskets. When these components are obstructed, it restricts the flow of water, resulting in incomplete cup fills. Let’s explore further:
Describing how clogs can affect the brewing process
The needles in your Keurig 2.0 play a vital role in puncturing the K-Cup and allowing water to flow through. Over time, coffee grounds and other debris can accumulate, causing clogs that hinder the water flow and impact the brew volume. Similarly, the brew basket can also become clogged, preventing proper water dispersion.
Steps to clean the needles and brew basket
To address these clogs, it’s important to clean the needles and brew baskets regularly. Start by powering off your Keurig 2.0 and removing the K-Cup holder. Use a paperclip or the Keurig-provided cleaning tool to carefully unclog the needles, gently removing any debris. For the brew basket, rinse it under warm water to dislodge any trapped residue.
Troubleshooting Steps
Now that we’ve explored the possible causes behind your Keurig 2.0 not filling your mug, let’s dive into the troubleshooting steps to get your brewer back on track. By following these steps, you’ll be one step closer to enjoying a perfectly filled cup of coffee:
Cleaning and Descaling
Regular cleaning and descaling are essential for the optimal performance of your Keurig 2.0. Over time, mineral deposits and residue can accumulate, affecting water flow and brew quality. Here’s what you need to do:
Importance of regular cleaning and descaling
Cleaning the brewer removes any coffee oils or residue that may be causing clogs. Descaling, on the other hand, eliminates mineral buildup, which can impede water flow and affect the machine’s performance.
Detailed instructions on cleaning the brewer and descaling process
To clean the brewer, start by removing the water reservoir and lid, as well as the K-Cup holder. Wash these components with warm, soapy water, ensuring all residue is thoroughly removed. For descaling, follow the instructions provided by Keurig and use a descaling solution or a mixture of water and vinegar. Run several brew cycles without a K-Cup to flush out any remaining descaling solution.
Checking Water Supply
A proper water supply is crucial for a full cup of coffee. Here’s what you should check:
Verifying water reservoir placement and alignment
Ensure that the water reservoir is properly placed and aligned with the brewer. Double-check that it sits securely without any gaps or misalignment that could impede the water flow.
Ensuring proper water fill level and addressing any blockages
Ensure the water reservoir is filled to the appropriate level for your desired cup size. If it’s too low, the Keurig 2.0 won’t be able to dispense enough water. Additionally, check for any blockages in the water line or inlet. If you notice any debris or clogs, carefully remove them to restore proper water flow.
Recommended Read: Keurig 2.0 Water Under Pressure? Easy Fix
Needle Maintenance
Clogged needles can significantly affect the brewing process. Let’s address this issue:
Examining the needles for clogs and residue buildup
Inspect the needles in the K-Cup holder for any clogs or residue buildup. If you notice any obstructions, it’s essential to clean them to ensure proper water flow.
Techniques for cleaning the needles effectively
To clean the needles, power off your Keurig 2.0 and remove the K-Cup holder. Use a paperclip or the Keurig-provided cleaning tool to gently unclog the needles. Be careful not to damage the needles while removing any debris or residue.
Brew Basket Inspection
The brew basket is another area prone to clogs. Let’s take a closer look:
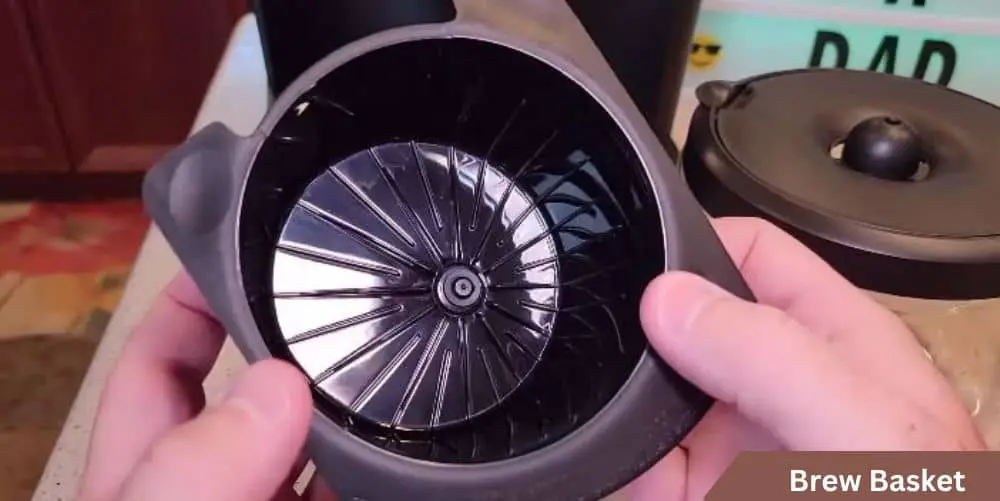
Identifying potential clogs or debris in the brew basket
Examine the brew basket for any clogs or trapped debris. If you notice any residue or grounds, it’s important to clean it thoroughly.
Methods to clean the brew basket thoroughly
Remove the brew basket and rinse it under warm water to dislodge any trapped residue. Use a soft brush or cloth to gently scrub away any stubborn residue, ensuring it’s completely clean before reinserting it into the brewer.
Additional Tips and Tricks
In addition to the troubleshooting steps outlined earlier, here are some additional tips and tricks to enhance your brewing experience and ensure your Keurig 2.0 consistently fills your mug to perfection:
Using filtered water for better performance
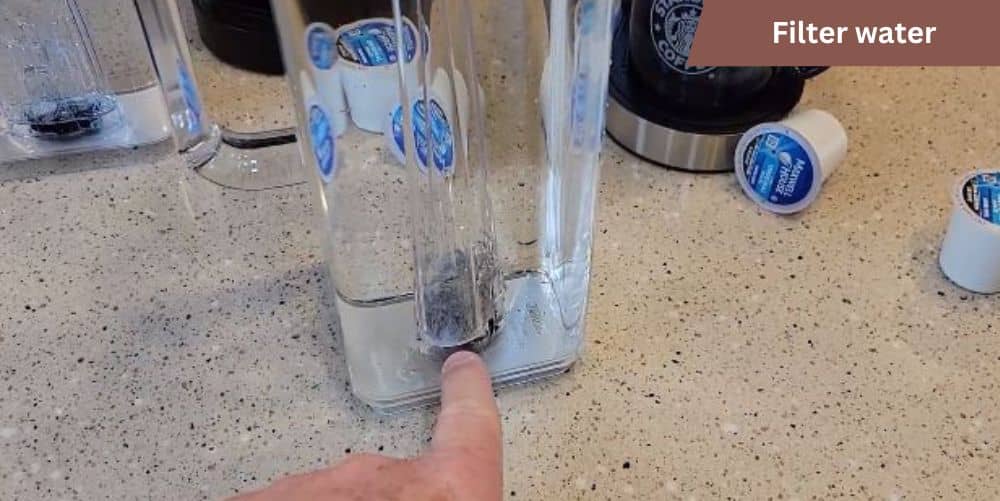
Consider using filtered water instead of tap water when filling your Keurig 2.0’s reservoir. This can help reduce mineral buildup and prolong the life of your brewer. Filtered water also enhances the flavor of your coffee, ensuring a clean and delicious cup with each brew.
Exploring compatible K-Cup sizes and settings
Different K-Cup sizes and brew settings can affect the amount of water dispensed by your Keurig 2.0. Experiment with different cup sizes and brew settings to find the one that delivers the desired volume for your mug. Refer to the user manual or Keurig’s website for information on compatible cup sizes and settings.
Checking for firmware updates and troubleshooting resources
Periodically check for firmware updates for your Keurig 2.0 brewer. These updates can address performance issues and improve functionality. Visit Keurig’s official website or contact their customer support for information on firmware updates and troubleshooting resources specific to your model.
Contacting Keurig customer support for further assistance
If you have tried the troubleshooting steps outlined in this guide and are still experiencing issues with your Keurig 2.0 not filling your mug properly, don’t hesitate to reach out to Keurig’s customer support. Their knowledgeable representatives can provide personalized assistance and guide you through additional troubleshooting steps if needed.
Conclusion
Congratulations! You’ve now learned how to troubleshoot and fix the issue of your Keurig 2.0 not filling your mug. By understanding the possible causes, implementing the troubleshooting steps, and applying the additional tips and tricks, you’re well on your way to enjoying a perfectly filled cup of coffee every time.
We explored the importance of a proper water supply, the significance of cleaning and descaling, the need for regular maintenance of needles and brew baskets, and additional tips such as using filtered water and exploring compatible K-Cup sizes. Remember, a well-maintained Keurig 2.0 brewer ensures a consistently delightful brewing experience.