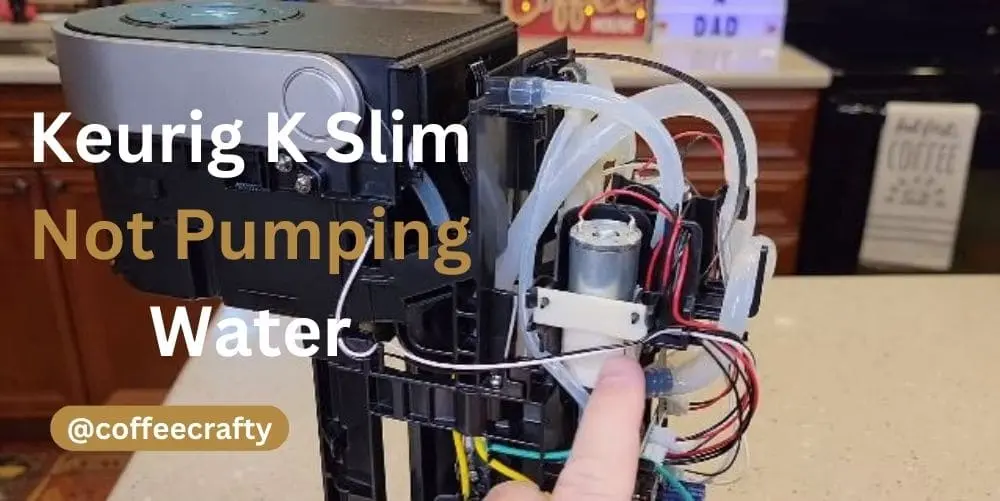
Keurig All Lights On and Not Working: step-by-step solutions

There’s nothing more frustrating for a coffee enthusiast than waking up to the promise of a fresh brew, only to find their Keurig machine flashing all its lights and refusing to cooperate. If you’ve encountered the awkward situation of your Keurig all lights on and not working, fear not!
In this troubleshooting guide, we’ll explore some common reasons behind this issue and provide step-by-step solutions to get your beloved coffee maker back on track.
Possible Causes for Keurig All Lights On Issue
When you encounter the frustrating situation of all lights on your Keurig machine being illuminated but no brewing action taking place, there are several potential causes to consider. Let’s explore the possible reasons behind this issue:
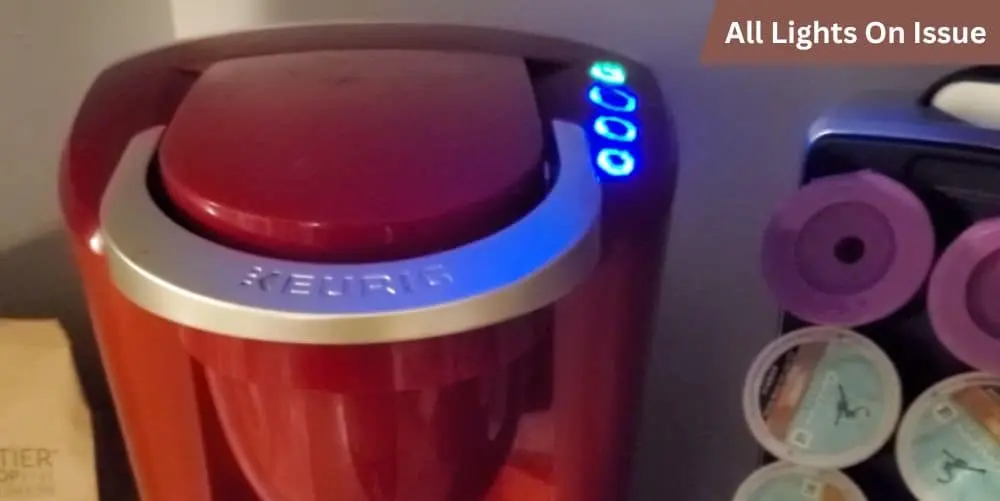
Power-related issues
Power supply problems: Check if the Keurig machine is properly plugged into a functioning power outlet. Ensure that the outlet itself is working by testing it with another device.
Outlet issues and electrical connections: Inspect the power cord and ensure it is securely connected to both the Keurig machine and the power outlet. If the cord appears damaged or frayed, it may require replacement.
Power button and circuitry malfunction: It’s possible that the power button on the Keurig machine or the internal circuitry responsible for powering the device is malfunctioning. This can prevent the machine from properly initiating the brewing process.
Water-related issues
Water reservoir problems: Ensure that the water reservoir is properly seated in its designated position. If it’s not aligned correctly or not inserted fully, it can prevent the machine from functioning properly.
Water level sensor malfunction: Keurig machines have sensors to detect the water level in the reservoir. If the sensor is faulty or obstructed, it may incorrectly indicate a low water level, causing the machine to refuse to brew.
Clogged water lines or needles: Over time, mineral deposits or coffee grounds can accumulate in the water lines or needles of the Keurig machine, leading to clogs. These clogs can disrupt the flow of water, preventing the machine from brewing.
Brew process-related issues
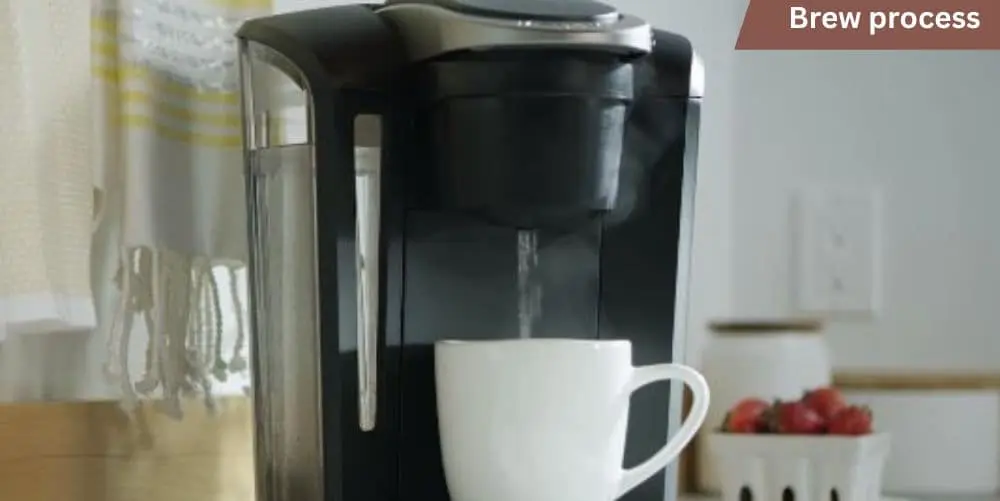
Brewing system blockage: The puncturing needle or brewing chamber may be blocked or obstructed, preventing the proper flow of water through the K-Cup. This can result in the machine not brewing despite all lights being on.
Coffee pod compatibility and positioning: Ensure that you are using compatible K-Cups and that they are properly positioned in the brewing chamber. If the K-Cup is not aligned correctly, the machine may not detect it and fail to initiate the brewing process.
Malfunctioning brewing buttons: If the buttons on the control panel responsible for selecting the cup size or initiating the brewing process are not functioning correctly, the machine may not respond despite all lights being on.
System malfunctions
Firmware or software glitches: Keurig machines may experience occasional firmware or software issues. These glitches can disrupt the normal functioning of the machine, leading to the “all lights on” problem.
Sensor or control board issues: The sensors or control board responsible for various functions of the Keurig machine may encounter malfunctions or failures, preventing the brewing process from being initiated.
General mechanical failures: Over time, components within the Keurig machine can wear out or fail. Mechanical failures can impede the brewing process and cause the machine to remain unresponsive despite all lights being illuminated.
Keurig All Lights On Issue: Step-by-Step Troubleshooting Guide
Let’s dive into a step-by-step troubleshooting guide to help you resolve the problem. By following these steps, you can identify and address the underlying issue preventing your Keurig from brewing.
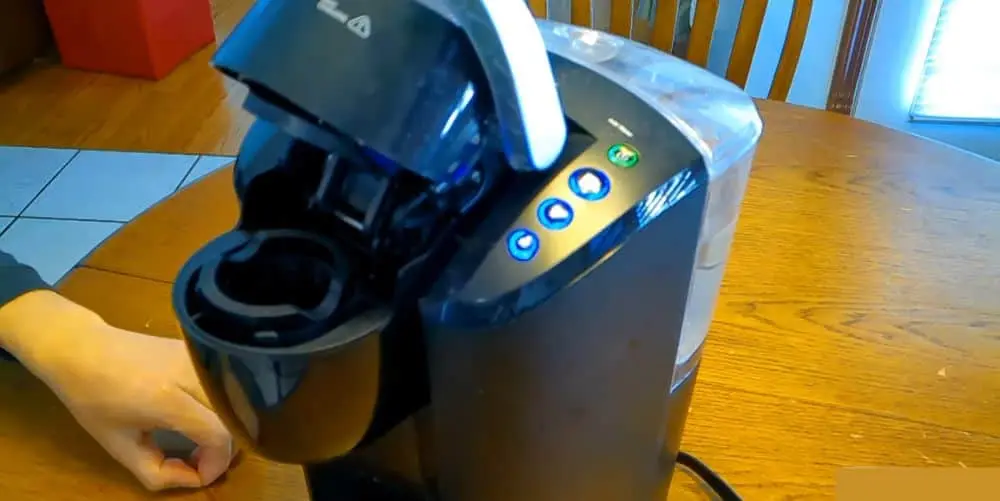
Preliminary checks and common solutions
Verify power supply and outlet functionality: Ensure that your Keurig machine is properly plugged into a functioning power outlet. Test the outlet with another device to confirm that it is working correctly.
Ensure proper water reservoir placement and water level: Check that the water reservoir is securely seated in its designated position. Ensure it is filled with an adequate amount of water, following the recommended water level guidelines for your specific Keurig model.
Check for any visible blockages or debris: Inspect the puncturing needle, brewing chamber, and other relevant areas for any clogs or obstructions. Use a clean, damp cloth to wipe away any residue or debris that may be affecting the brewing process.
Resetting and restarting the Keurig
Perform a power cycle reset: Disconnect the power cord from the electrical outlet and wait for approximately one minute. Reconnect the power cord and power on the Keurig machine to see if it resolves the issue.
Factory reset or system reboot options: Consult your Keurig machine’s user manual or online resources to determine the steps for performing a factory reset or system reboot. This can help clear any software or firmware glitches that may be causing the problem.
Cleaning and maintenance procedures
Descaling the Keurig machine: Over time, mineral deposits can accumulate within the internal components of the Keurig machine, affecting its performance. Follow the descaling instructions provided by Keurig, using Keurig-approved descaling solutions, to remove these deposits and improve the brewing process.
Cleaning water lines, needles, and brew-basket: Regular cleaning of the water lines, puncturing needle, and brew-basket is crucial to prevent clogs and ensure optimal performance. Use a Keurig-approved cleaning solution or a mixture of vinegar and water to clean these components following the instructions provided by Keurig.
Contacting Keurig customer support
When to seek professional assistance: If the troubleshooting steps mentioned above do not resolve the issue, or if you suspect a mechanical or internal failure, it may be necessary to seek professional assistance. Consider reaching out to Keurig’s customer support team for further guidance and potential repairs or replacements.
Contact information for Keurig customer support: Refer to your Keurig machine’s user manual or visit Keurig’s official website to find the contact information for their customer support team. They can provide specific troubleshooting steps or assist you with warranty-related concerns.
Preventive Measures and Maintenance Tips
To ensure the longevity and optimal performance of your Keurig coffee maker, it’s important to implement preventive measures and follow regular maintenance routines. By taking proactive steps, you can minimize the occurrence of the “all lights on and not working” issue and keep your machine running smoothly. Here are some preventive measures and maintenance tips to consider:
Regular cleaning routine

Clean the machine’s external surfaces: Wipe down the exterior of your Keurig machine regularly with a damp cloth to remove any dust, dirt, or spills. Avoid using abrasive cleaners that may damage the surface.
Clean the water reservoir: Empty and rinse the water reservoir at least once a week. This helps prevent the buildup of bacteria and other contaminants.
Clean the drip tray and drip tray cover: Remove the drip tray and drip tray cover, if applicable, and clean them thoroughly. These components can accumulate coffee residue and debris over time.
Descaling on a regular basis
Follow Keurig’s descaling guidelines: Keurig recommends descaling your machine every three to six months, or more frequently if you have hard water. Use Keurig-approved descaling solutions or a vinegar-water mixture, following the instructions provided by Keurig.
Run water-only brew cycles: After descaling, run a few water-only brew cycles to ensure any residual descaling solution or vinegar is thoroughly flushed out of the machine.
Proper storage and usage
Store the machine in a clean, dry area: When not in use, store your Keurig machine in a clean and dry location to prevent dust accumulation and potential damage.
Avoid using distilled or softened water: Keurig recommends using filtered or bottled water for optimal brewing. Distilled or softened water may affect the taste of your coffee and can contribute to mineral buildup.
Use compatible K-Cups: Ensure that you use only Keurig-approved K-Cups that are compatible with your specific Keurig model. Using unlicensed or incompatible pods can lead to brewing issues.
Regular inspection and maintenance
Check for wear and tear: Periodically inspect your Keurig machine for any signs of wear and tear. Look for cracks, leaks, or damaged components. If you notice any issues, contact Keurig’s customer support for assistance.
Stay updated with firmware upgrades: Check Keurig’s official website for any available firmware upgrades for your machine. These upgrades can enhance performance and address potential software-related issues.
Conclusion
Encountering the issue of all lights on and your Keurig not working can be frustrating, but with a systematic approach to troubleshooting, you can often identify and resolve the problem. Regular maintenance, proper usage, and prompt attention to issues will help ensure that your Keurig continues to deliver that perfect cup of coffee every morning. Cheers to troubleshooting success and many more delightful coffee moments!


