Keurig K Compact Descaling: Keep Your Brewer Clean

A Keurig K Compact coffee maker is an excellent addition to any kitchen, offering the convenience of a quick and delicious cup of coffee. However, to ensure it continues to function optimally and produce great-tasting coffee, regular maintenance is essential. One crucial aspect of this maintenance is descaling.
This comprehensive guide will walk you through the process of descaling your Keurig K Compact to keep it in top condition.
What is descaling and why is it necessary?
Descaling is the process of removing mineral deposits, such as calcium and limescale, that accumulate inside your Keurig K Compact over time. These deposits are a result of minerals naturally present in water, and when water is heated and passed through the coffee maker, these minerals can adhere to internal components. If left untreated, they can clog the system, affect water flow, and even alter the taste of your coffee.
Regular descaling is necessary to ensure the optimal performance of your Keurig K Compact and maintain the integrity of your brew. By removing these mineral deposits, you can restore your coffee maker’s functionality, improve the taste of your coffee, and prevent potential issues down the line.
Effects of mineral buildup and scaling on coffee taste and brew quality
Mineral buildup and scaling can have a noticeable impact on the taste and quality of your coffee. When these deposits accumulate inside your coffee maker, they can interfere with the brewing process and affect the extraction of flavors from the coffee grounds. As a result, you may experience a dull or off-flavor in your coffee, with a noticeable decline in the aroma and richness you once enjoyed.
Moreover, scaling can also impact the overall performance of your Keurig K Compact. It can lead to slower brewing times, inconsistent water flow, and even cause your coffee maker to malfunction.
Benefits of regular descaling for the longevity of your Keurig K Compact
Just like any other appliance, proper maintenance is crucial to prolong the lifespan of your Keurig K Compact. Regular descaling is a vital aspect of this maintenance routine. By incorporating descaling into your coffee maker’s care regimen, you can enjoy several benefits, including:
Improved coffee flavor: Descaling helps remove the mineral buildup that can alter the taste of your coffee. By maintaining a clean system, you’ll experience the full flavor profile of your favorite brews, with all the delightful nuances and richness.
Enhanced brewing performance: Scaling can restrict water flow and impact the efficiency of your coffee maker. Descaling clears out these deposits, ensuring smooth water circulation and consistent brewing, resulting in a better overall performance.
Extended lifespan: By regularly descaling your Keurig K Compact, you’re taking proactive steps to prevent serious issues that can arise from mineral buildup. Keeping your coffee maker clean and free of scaling can help extend its lifespan and provide you with years of brewing enjoyment.
Recommended: Keurig K Compact Not Brewing? Here’s How To Fix
Materials and Preparations
Before you embark on the descaling process for your Keurig K Compact, it’s essential to gather the necessary materials and make a few preparations. Here’s what you’ll need:
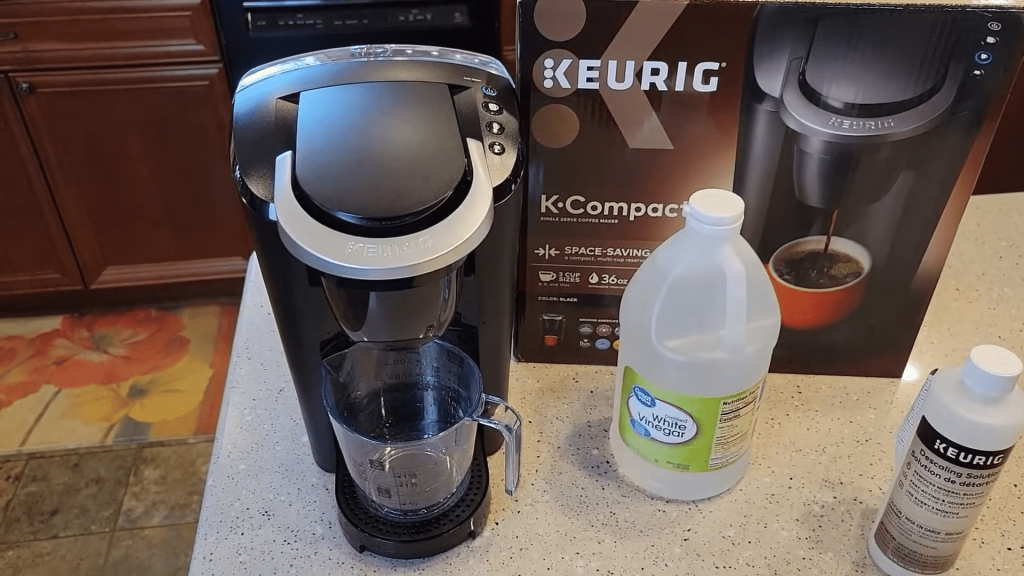
Descaling Solution: Choose a descaling solution specifically formulated for coffee makers. These solutions are designed to effectively dissolve mineral deposits without causing any damage to the internal components of your Keurig K Compact. You can find descaling solutions at most kitchen appliance stores or online.
Pro Tip: If a descaling solution is not readily available, you can make your own descaling solution using equal parts of water and white vinegar. While vinegar is a common household alternative, it may leave behind a slight odor, so using a descaling solution is generally preferred.
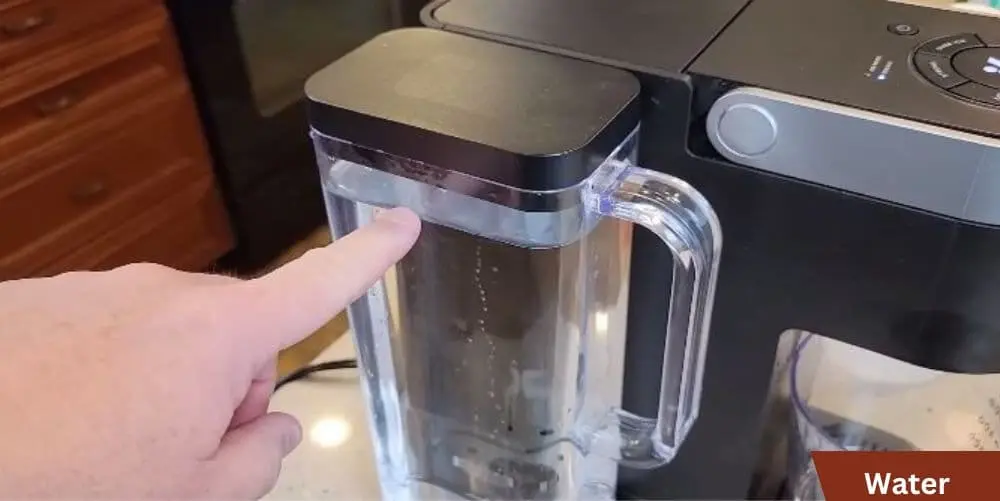
Water: You’ll need an adequate amount of clean, fresh water for the descaling process. Ensure that you have enough water to fill and rinse the water reservoir of your Keurig K Compact.
Empty Cup: Prepare an empty cup or mug that is large enough to collect the descaling solution during the descaling cycle. The cup should have a capacity of at least 10 ounces or more to accommodate the volume of liquid expelled during the process.
Now that you have gathered the necessary materials, it’s time to make a few preparations:
Unplug and Turn Off: Ensure that your Keurig K Compact is unplugged from the power source and turned off. Safety is crucial during the descaling process, so make sure the coffee maker is not connected to any electrical outlet.
Empty the Water Reservoir: Remove the water reservoir from your Keurig K Compact and empty any remaining water. Discard any coffee pods or filters that may be inside the coffee maker. It’s important to start the descaling process with an empty reservoir.
Step-by-Step Guide to Descaling
Now that you have gathered the necessary materials and made the required preparations, let’s dive into the step-by-step process of descaling your Keurig K Compact. Follow these instructions to ensure a thorough and effective descaling:
Preparing the Keurig K Compact for descaling
Start by removing the water reservoir from your Keurig K Compact. Ensure that it is empty and free from any remaining water.
Take a moment to inspect the coffee maker for any coffee pods or filters that may be present. Remove and discard them.
Mixing the descaling solution
If you have a descaling solution, carefully follow the instructions on the packaging to mix the solution with water. The required dilution ratio may vary depending on the specific descaling solution you are using.
If you’re using a homemade solution, mix equal parts of water and white vinegar to create the descaling solution. Remember that vinegar may leave a slight odor, but it will effectively dissolve the mineral deposits.
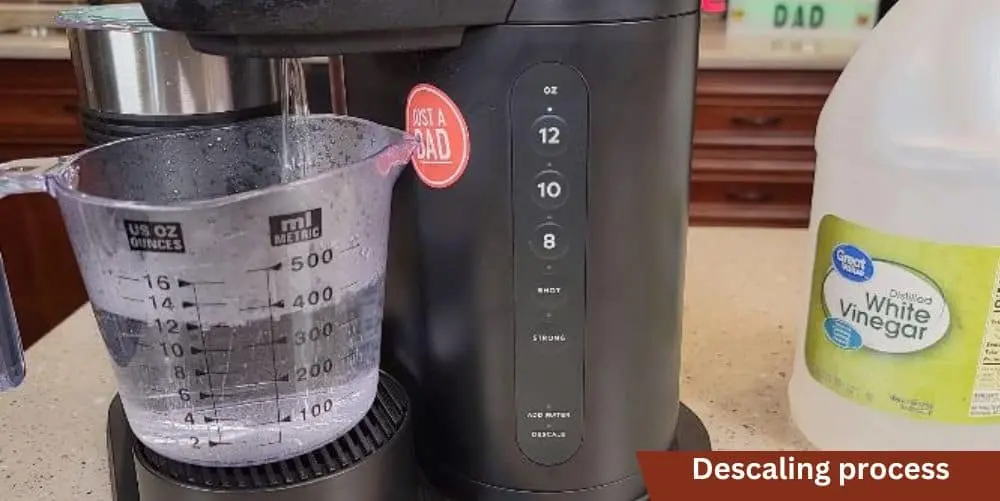
Descaling the Keurig K Compact
Pour the prepared descaling solution into the water reservoir of your Keurig K Compact. Be sure to fill it up to the maximum fill line.
Place an empty cup or mug on the drip tray to collect the descaling solution.
Running the descaling cycle
With the water reservoir in place and the cup positioned, start the descaling cycle on your Keurig K Compact. Refer to the user manual for instructions specific to your model.
The descaling cycle will initiate the flow of the descaling solution through the coffee maker’s internal system. It will remove the mineral deposits and scale buildup as it passes through.
Repeating the process if necessary
Depending on the severity of the scaling, you may need to repeat the descaling process for a more thorough cleaning. If the cup fills up quickly with the descaling solution, it’s an indication that there is significant scaling present.
Follow the same steps, including refilling the water reservoir with fresh descaling solution, and run the descaling cycle again until the cup collects the solution without any scaling debris.
Flushing and rinsing the Keurig K Compact
Once the descaling cycle is complete, empty the cup containing the used descaling solution. Discard the solution responsibly.
Rinse the water reservoir thoroughly with clean water to remove any residual descaling solution.
Refill the water reservoir with fresh, clean water.
Cleaning and reassembling the Keurig K Compact
Take a moment to wipe down the external parts of your Keurig K Compact with a damp cloth to remove any spills or residue.
Reassemble the water reservoir and other removable components back onto the coffee maker.
Also Read: How To Remove Pod Holder From Keurig K-Compact
Additional Tips and Maintenance Practices
Congratulations on successfully descaling your Keurig K Compact! To ensure the longevity and optimal performance of your coffee maker, it’s essential to incorporate additional tips and maintenance practices into your routine. Consider the following suggestions:
Regular cleaning:
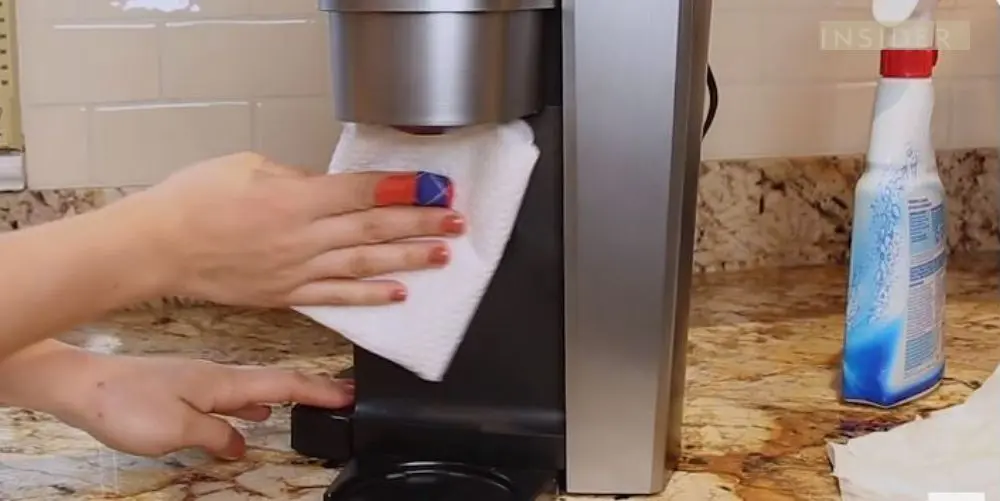
While descaling is crucial for removing mineral deposits, it’s also important to clean other parts of your Keurig K Compact regularly. Wipe the exterior of the coffee maker with a damp cloth, and clean the removable parts, such as the water reservoir and drip tray, with mild soap and water. Ensure that all components are thoroughly dry before reassembling.
Use filtered or bottled water:
To minimize mineral buildup in your coffee maker, consider using filtered or bottled water instead of tap water. Filtered water reduces the impurities that can contribute to scaling, resulting in cleaner brewing and potentially extending the time between descaling cycles.
Replace water filters:
If your Keurig K Compact is equipped with a water filter, follow the manufacturer’s recommendations for replacing it. Water filters help reduce impurities in the water, which can have a positive impact on the taste and quality of your coffee.
Clean the needle and K-Cup holder:
Over time, coffee residue can accumulate on the needle and inside the K-Cup holder. Regularly inspect and clean these areas using a damp cloth or a soft brush to ensure proper function and prevent any clogs.
Avoid leaving water in the reservoir:
After brewing a cup of coffee, avoid leaving water in the reservoir for extended periods. Stagnant water can lead to the growth of bacteria and affect the taste of your coffee. Always empty the water reservoir when not in use.
Follow maintenance recommendations:
Refer to the user manual or the manufacturer’s instructions for specific maintenance recommendations and guidelines for your Keurig K Compact model. Following these instructions will help you make the most out of your coffee maker.
Troubleshooting Common Issues
While Keurig K Compact coffee makers are known for their reliability and performance, you may encounter occasional issues that can affect the brewing process or functionality. Here are some common issues you may experience and troubleshooting tips to help you resolve them:
Problem: Slow or incomplete brewing
Solution: If your Keurig K Compact is brewing slowly or not brewing at all, check the water reservoir to ensure it’s properly filled. If the reservoir is low, refill it with fresh water. Additionally, check for any clogs or obstructions in the needle or K-Cup holder. Clean them gently using a soft brush or a paper clip to remove any debris that may be hindering water flow.
Problem: Coffee tastes off or weak
Solution: If you notice a change in the taste or strength of your coffee, consider descaling your Keurig K Compact. Mineral buildup can affect the flavor and quality of your brew. Follow the descaling process outlined in this guide to remove any deposits that may be affecting the taste. Additionally, ensure that you’re using fresh, quality coffee and the appropriate brewing settings for your preferred strength.
Problem: Leaking or dripping water
Solution: Leaks or drips can occur due to various reasons. Start by checking the water reservoir to ensure it’s properly seated and not overfilled. Check the seal on the water reservoir and replace it if damaged. Inspect the K-Cup holder for any cracks or damage and replace if necessary. If the issue persists, contact Keurig customer support for further assistance.
Problem: Error messages or malfunctions
Solution: If your Keurig K Compact displays an error message or experiences malfunctions, refer to the user manual for troubleshooting steps specific to your model. Common solutions may include resetting the coffee maker, ensuring proper power supply, or contacting customer support for assistance.
Problem: No power or not turning on
Solution: If your Keurig K Compact is not turning on or has no power, check the power cord and ensure it’s securely plugged into a functioning electrical outlet. Verify that the outlet has power by testing it with another device. If the issue persists, contact Keurig customer support for further guidance.
Conclusion
Descaling your Keurig K Compact is a straightforward process that can significantly impact the performance and longevity of your machine. By following these steps every three to six months, you can ensure that your coffee maker continues to produce the delicious coffee you love. Regular maintenance is key to keeping your Keurig running smoothly and efficiently.
Enjoy your perfectly brewed cup of coffee!