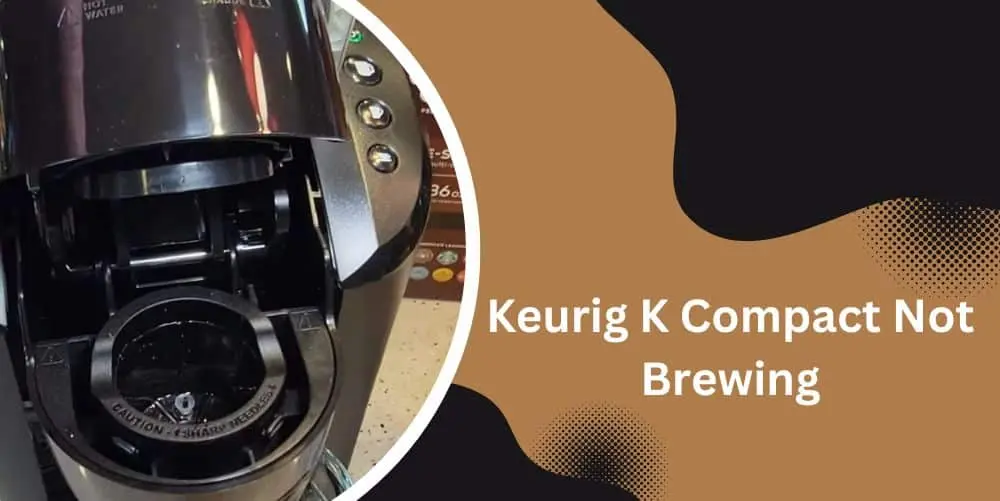
Keurig K Compact Not Brewing? Here’s How to Fix
If you’re a coffee enthusiast who relies on the convenience of a Keurig K-Compact for your daily caffeine fix, encountering issues with the brewing process can be frustrating. However, fear not!
In this guide, we’ll explore common reasons why your Keurig K-Compact might not be brewing and provide simple, effective solutions to get that delicious cup of coffee flowing again.
Reasons Why Keurig K Compact not Brewing
It can be incredibly frustrating when your Keurig K Compact refuses to brew that much-needed cup of coffee. Fortunately, there are common reasons behind this issue, and understanding them will help you troubleshoot effectively. Let’s explore some of the most frequent culprits for your Keurig K Compact not brewing:
Clogged Needle

One of the primary reasons for brewing problems is a clogged needle. Over time, coffee grounds and residue can accumulate and obstruct the needle’s pathway, preventing it from puncturing the coffee pod properly. To fix this issue:
- Power off and unplug your Keurig K Compact.
- Locate the needle, usually located in the brew head.
- Carefully insert a paperclip or a needle-cleaning tool into the needle to dislodge any clogs.
- Gently move the paperclip or tool in and out to clear any debris.
- Once cleared, run a brewing cycle without a coffee pod to flush out any remaining residue.
Water Reservoir Issues
Issues with the water reservoir can also hinder the brewing process. Ensure the water reservoir is properly seated, securely attached, and filled with enough water to complete a brew cycle. If the reservoir seems fine but the machine still won’t brew, try the following:
- Remove the water reservoir and inspect it for any cracks or damage. Replace it if necessary.
- Clean the water reservoir to remove any debris or mineral buildup that could obstruct the water flow.
- Double-check that the water reservoir is properly aligned and seated in its designated position.
Power and Connectivity Problems
Sometimes, the Keurig K Compact may face power or connectivity issues, leading to brewing difficulties. Follow these steps to address power and connectivity problems:
- Ensure the machine is properly plugged into a functioning power outlet.
- Check the power button or switch on the control panel to ensure it’s turned on.
- Verify that all connections are secure, including the power cord and any other external accessories.
- If using a power strip or surge protector, make sure it’s functioning correctly by plugging another device into it.
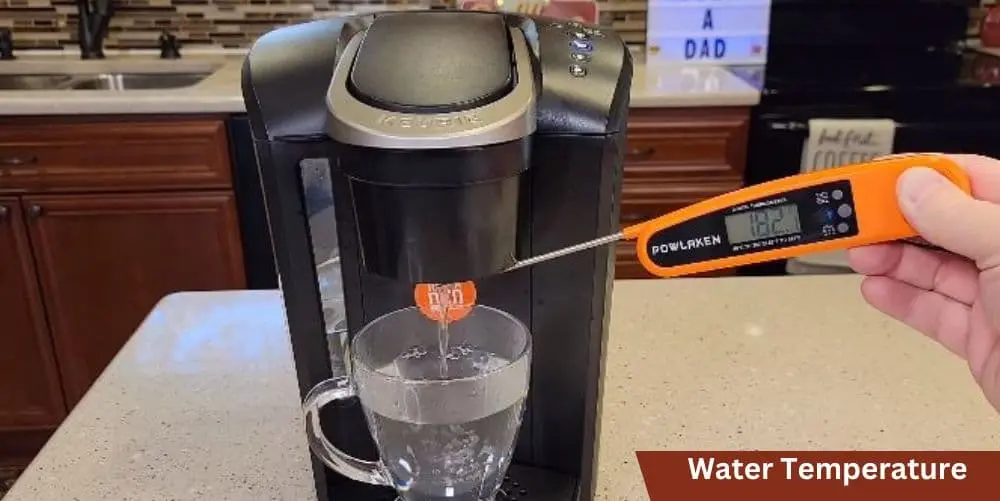
Inconsistent Water Temperature
The temperature of the water is crucial for extracting the best flavors from your coffee. If the water temperature is too low or fluctuates during the brewing process, it can affect the quality of the brew. Here’s what you can do to address water temperature issues:
- Ensure the Keurig K Compact has had enough time to preheat properly before starting a brew cycle.
- If the water temperature is consistently too low, consider descaling your machine to remove mineral deposits that may be affecting the heating element’s performance.
- Avoid placing the machine in a cold or drafty area, as this can impact the temperature consistency.
Coffee Pod Problems
Sometimes, the issue lies with the coffee pod itself. If the Keurig K Compact is not compatible with the specific coffee pod brand or if the pod is damaged or faulty, it can disrupt the brewing process. Consider the following steps:
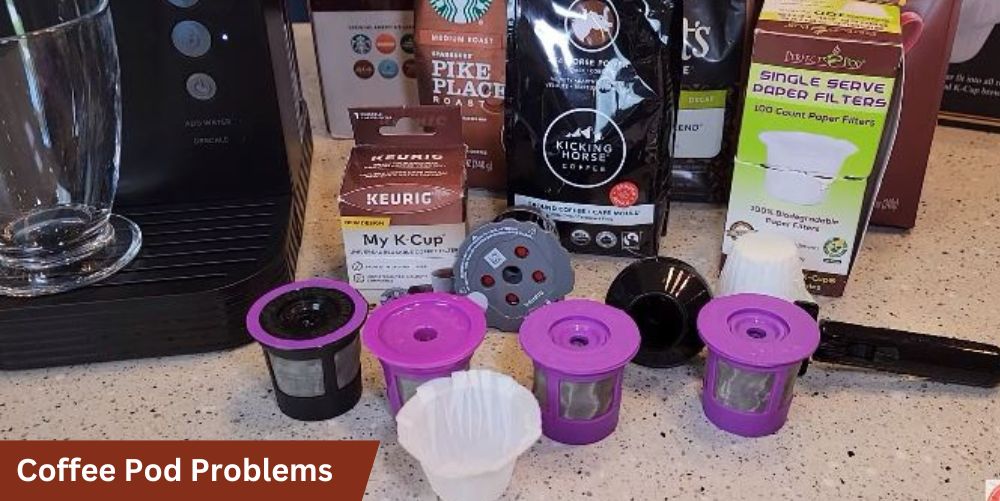
- Verify that you’re using compatible coffee pods designed for the Keurig K Compact.
- Examine the coffee pod for any visible damage or deformities. If found, discard it and use a fresh pod.
- Try a different coffee pod to see if the issue persists. This will help determine if the problem lies with the pod or the machine.
Keurig K Compact Won’t Brew: Step-by-Step Troubleshooting Guide
When your Keurig K Compact refuses to brew, it’s time to roll up your sleeves and start troubleshooting. Follow these step-by-step instructions to identify and resolve the brewing issues:
Power Cycle and Restart the Keurig K Compact
- Power off your Keurig K Compact by pressing the power button or switch on the control panel.
- Unplug the machine from the power outlet.
- Wait for approximately one minute to allow any residual power to dissipate.
- Plug the Keurig K Compact back into the power outlet.
- Turn on the machine by pressing the power button or switch.
- Attempt to brew a cup of coffee to see if the issue has been resolved.
Clean and Descale the Machine
- Regularly clean the external parts of the Keurig K Compact, including the drip tray and water reservoir, with a mild detergent or soapy water.
- To descale the machine and remove mineral deposits, follow the manufacturer’s instructions for using a descaling solution.
- Run multiple cycles of brewing water without a coffee pod to rinse away any remaining descaling solution.
- Once the descaling process is complete, try brewing a cup of coffee to check if the issue persists.
Check Water Reservoir and Correct Any Issues
- Remove the water reservoir and inspect it for any cracks, damage, or debris.
- Clean the water reservoir thoroughly, ensuring there are no blockages or mineral buildup that could obstruct the water flow.
- Reattach the water reservoir securely, ensuring it is properly aligned and seated in its designated position.
- Try brewing a cup of coffee to see if the water reservoir was the source of the problem.
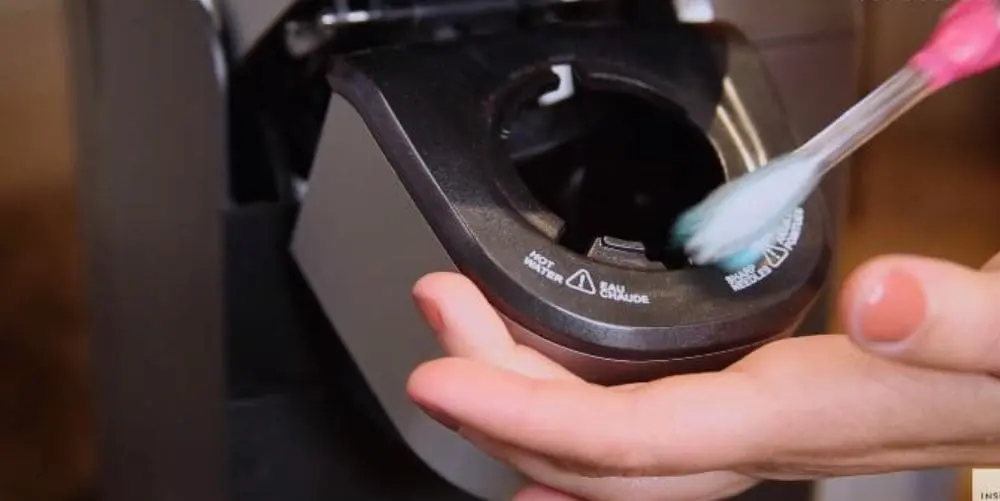
Unclog the Needle and Ensure Proper Functioning
- Power off and unplug your Keurig K Compact.
- Locate the needle, usually located in the brew head.
- Carefully insert a paperclip or a needle-cleaning tool into the needle to dislodge any clogs.
- Gently move the paperclip or tool in and out to clear any debris.
- Once cleared, run a brewing cycle without a coffee pod to flush out any remaining residue.
- Attempt to brew a cup of coffee and observe if the machine is now brewing properly.
Verify Proper Coffee Pod Placement and Compatibility
- Check that the coffee pod is properly seated in the pod holder. Ensure it is inserted fully and there are no obstructions.
- Confirm that you’re using compatible coffee pods specifically designed for the Keurig K Compact.
- If the issue persists, try a different coffee pod to determine if the problem lies with the pod itself.
- Attempt to brew a cup of coffee using a compatible coffee pod and observe if the machine is now brewing successfully.
Address Water Temperature Problems
- Ensure the Keurig K Compact has had sufficient time to preheat before starting a brew cycle.
- If the water temperature is consistently too low, consider descaling your machine to remove mineral deposits that may be affecting the heating element’s performance.
- Avoid placing the machine in a cold or drafty area, as this can impact temperature consistency during brewing.
- Try brewing a cup of coffee and monitor if the water temperature is now appropriate for a flavorful brew.
Preventive Maintenance Tips
Prevention is always better than cure, and the same principle applies to keeping your Keurig K Compact in optimal brewing condition. By following these preventive maintenance tips, you can prolong the life of your machine and prevent brewing issues from occurring:
Regular Cleaning
- Regularly cleaning your Keurig K Compact is essential to keep it functioning at its best. Here are some cleaning tips to incorporate into your routine:
- Wipe down the exterior of the machine with a damp cloth to remove any dust or spills.
- Clean the drip tray and water reservoir regularly with warm soapy water to prevent residue buildup.
- Use a soft brush or toothbrush to clean hard-to-reach areas, such as the needle or the pod holder.
- Remove and rinse the removable parts, such as the drip tray and water reservoir, to ensure thorough cleaning.
- Avoid using abrasive cleaners or scouring pads that can damage the machine’s surfaces.
Descaling
- Over time, mineral deposits can accumulate in your Keurig K Compact, affecting its performance. Descaling removes these deposits and helps maintain optimal brewing conditions. Follow these steps for descaling:
- Refer to the manufacturer’s instructions for the recommended descaling solution and procedure.
- Empty the water reservoir and refill it with the descaling solution mixed with water as instructed.
- Run several brewing cycles without a coffee pod to flush out the descaling solution.
- Rinse the water reservoir thoroughly and refill it with clean water.
- Run multiple brewing cycles with clean water to remove any remaining descaling solution.
- Descaling frequency may vary depending on the water hardness in your area, so refer to the manufacturer’s recommendations for guidance.
Read a Relevant post: How To Descale Keurig K Express
Filtered Water
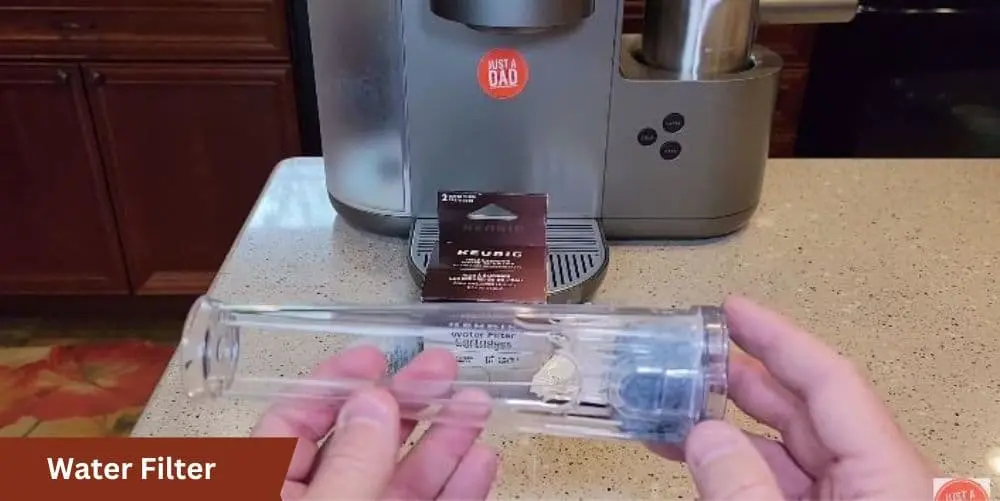
- Using filtered water in your Keurig K Compact can significantly reduce mineral buildup and improve the taste of your coffee. Consider the following options for filtered water:
- Install a water filtration system at your home’s main water supply for overall improved water quality.
- Utilize a filtering pitcher or faucet attachment specifically designed for purifying water.
- Alternatively, you can use bottled or distilled water, although this may require additional costs and environmental considerations.
Storage and Environment
- Proper storage and environmental conditions play a role in maintaining your Keurig K Compact’s performance. Keep the following tips in mind:
- Store your machine in a clean and dry area to prevent the accumulation of dust, debris, or moisture.
- Avoid exposing the Keurig K Compact to extreme temperatures or direct sunlight, as this can impact its performance.
- Ensure the machine is placed on a stable and level surface to avoid any potential damage or leaks.
Conclusion
The Keurig K Compact is a convenient and reliable coffee maker that can provide you with a quick and delicious cup of coffee. However, encountering brewing issues can be frustrating. Thankfully, with the troubleshooting tips and preventive maintenance suggestions outlined you can overcome common problems and keep your Keurig K Compact in excellent working condition.
Remember to check for a clogged needle, ensure proper water reservoir placement, address power and connectivity issues, and pay attention to water temperature and coffee pod compatibility. By following the step-by-step troubleshooting guide, you can identify and resolve many brewing problems on your own.
Additionally, implementing preventive maintenance practices such as regular cleaning, descaling, and using filtered water can help prevent issues before they arise. Taking these proactive measures will not only keep your Keurig K Compact functioning optimally but also extend its lifespan, ensuring you can continue to enjoy your favorite coffee for years to come.
Remember, a well-maintained Keurig K Compact will reward you with consistent, delicious coffee, enhancing your daily coffee brewing experience. So, grab your favorite coffee pod, fire up your Keurig K Compact, and savor that perfect cup of java!