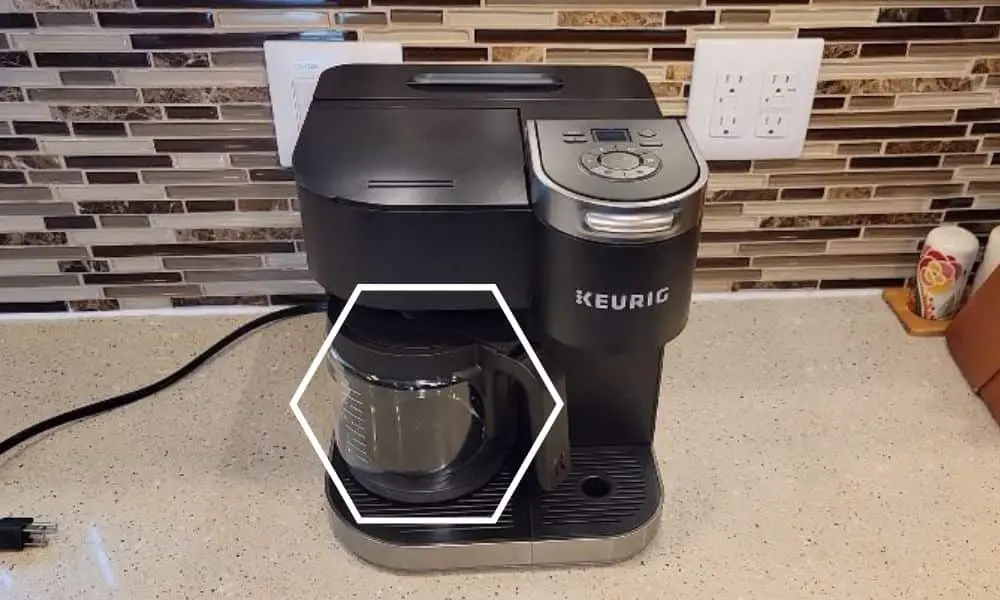
Keurig K-Duo Carafe Leaks When Pouring
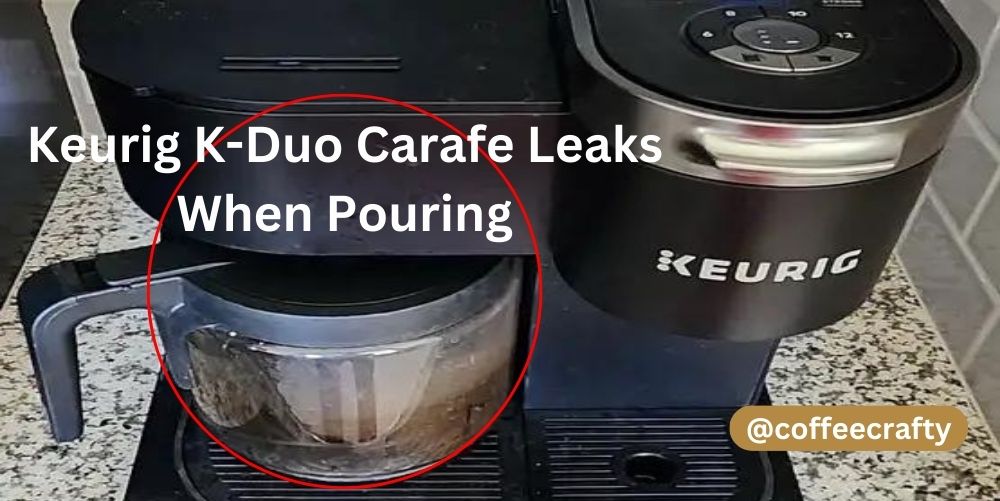
Welcome to our comprehensive guide on troubleshooting and solving the issue of a Keurig K-Duo carafe leaking when pouring. The Keurig K-Duo coffee maker is a popular choice for coffee enthusiasts, offering the convenience of both single-serve pods and a carafe for larger brews. However, if you’ve been experiencing the frustration of leaks when pouring from the carafe, fret not! we will delve into the common causes of carafe leaks and provide you with effective troubleshooting tips and solutions.
There’s nothing worse than eagerly pouring yourself a hot cup of coffee, only to have it end up all over your countertop. That’s why it’s crucial to understand why this issue occurs and how to address it. By following the steps and techniques we’ll outline, you’ll be well on your way to enjoying a mess-free and enjoyable coffee experience with your Keurig K-Duo.
Common Causes of Carafe Leaks
Before we delve into the troubleshooting steps, let’s first understand the common causes behind carafe leaks in your Keurig K-Duo coffee maker. By identifying the root of the problem, you’ll be better equipped to tackle it head-on. Here are some of the most frequent culprits:
Faulty or worn-out gasket/seal: The gasket or seal is responsible for creating a tight seal between the carafe and the brewer. Over time, it can become worn out, cracked, or damaged, leading to leaks during pouring.
Incorrect assembly or alignment of the carafe and brewer: Improper placement or misalignment of the carafe in the brewer can result in leaks. It’s crucial to ensure that the carafe is correctly inserted and aligned to establish a secure connection.
Overfilling the carafe: Pouring more coffee than the carafe’s maximum capacity can cause leaks. It’s important to adhere to the recommended fill level and avoid exceeding it.
Buildup of coffee grounds or debris in the carafe spout: Coffee grounds or debris can accumulate in the spout over time, obstructing the smooth flow of liquid and leading to leaks. Regular cleaning and maintenance are essential to prevent this issue.
Issues with the carafe lid or handle: A cracked or damaged lid or handle can compromise the carafe’s seal and cause leaks. It’s essential to inspect these components for any signs of wear or damage.
Troubleshooting Steps and Solutions
Now that we have identified the common causes of carafe leaks in your Keurig K-Duo, it’s time to tackle the issue head-on. In this section, we will guide you through a series of troubleshooting steps and provide effective solutions for each cause. Let’s get started:
Checking and Replacing the Gasket/Seal
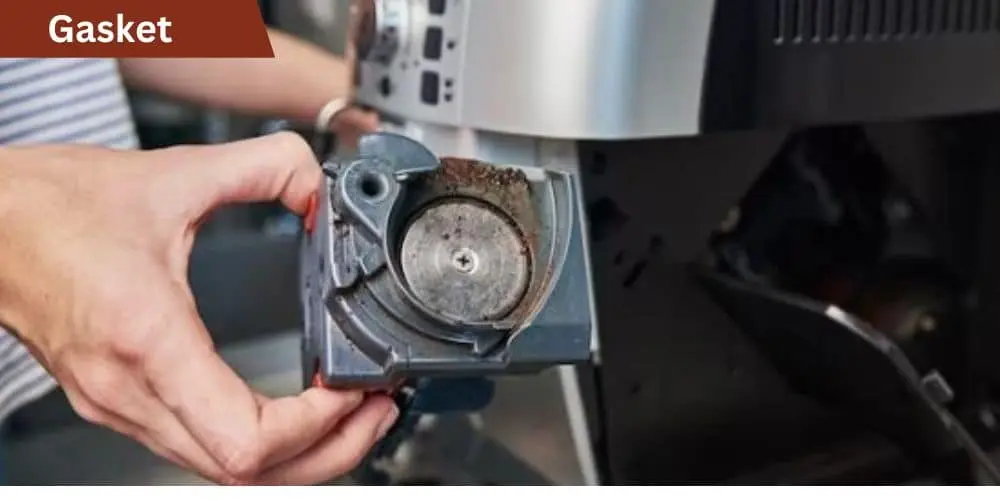
- Locate the gasket or seal, typically found on the underside of the carafe lid.
- Inspect the gasket or seal for any signs of wear, cracks, or damage.
- If you notice any issues, replace the gasket or seal with a new one, ensuring a proper seal between the carafe and the brewer.
Ensuring Proper Assembly and Alignment
- Double-check that the carafe is correctly inserted into the brewer.
- Align the carafe properly with the designated placement marks.
- Test for leaks after assembly to verify that the carafe is securely positioned.
Avoiding Overfilling the Carafe
- Refer to the carafe’s maximum fill level indicated on the markings.
- Leave some headspace to account for coffee expansion during brewing.
- Adjust the brewing settings if necessary to ensure the appropriate amount of coffee is brewed.
Cleaning the Carafe Spout and Brewer
- Remove any coffee grounds or debris from the carafe spout.
- Clean the brewer’s water outlet and filter to prevent any blockages.
- Perform regular maintenance and descaling to keep the system clean and free from buildup.
Inspecting the Carafe Lid and Handle
- Examine the carafe lid and handle for cracks, damage, or signs of wear.
- Ensure the lid is properly closed and tightened to create a secure seal.
- If needed, replace or repair the lid or handle to maintain a leak-free carafe.
Recommended: Keurig Duo Carafe Side Not Working
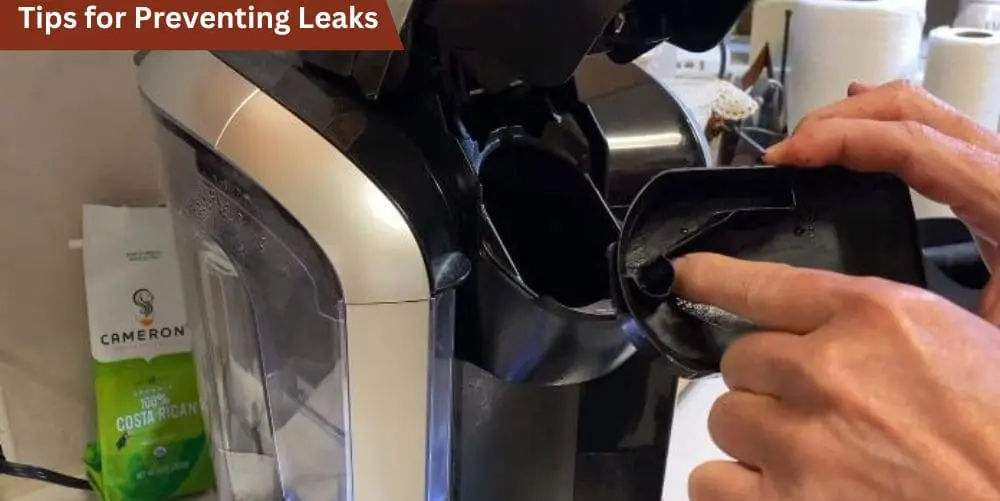
Additional Tips for Preventing Leaks
While addressing the specific causes of carafe leaks is essential, taking proactive measures to prevent future leaks is equally important. Here are some additional tips to help you maintain a leak-free brewing experience with your Keurig K-Duo:
Proper care and maintenance of the Keurig K-Duo:
- Follow the manufacturer’s instructions for regular cleaning and maintenance of your coffee maker.
- Clean the brewer, carafe, and other removable parts after each use to prevent the accumulation of coffee residue or debris.
Using the correct carafe size and type:
- Ensure that you are using the appropriate carafe size that is compatible with your Keurig K-Duo model.
- Using a mismatched carafe size may result in an improper fit and potential leaks.
Avoiding aggressive pouring or rapid movements:
- Pour coffee from the carafe gently and steadily, avoiding rapid movements or forceful pouring.
- Aggressive pouring can disrupt the seal between the carafe and the brewer, leading to leaks.
Regularly checking for any signs of leaks:
- Keep an eye out for any signs of leakage during and after the brewing process.
- If you notice any leaks, address the issue promptly using the troubleshooting steps outlined earlier in this guide.
Read Also: How to Descale Keurig K Duo
Contacting Keurig Customer Support
If you have followed the troubleshooting steps and solutions outlined in this guide but are still experiencing carafe leaks with your Keurig K-Duo, don’t worry. Keurig provides excellent customer support to assist you further. Here’s how you can reach out to them:
When to seek assistance from Keurig:
- If the carafe continues to leak even after implementing the troubleshooting steps and solutions.
- If you believe there may be a defect or malfunction with your Keurig K-Duo coffee maker.
- If you have questions regarding warranty coverage or repair options.
Contact information for customer support:
- Visit the Keurig website and navigate to the “Support” or “Contact Us” section to find relevant contact information.
- Look for the appropriate phone number or email address to reach Keurig customer support.
- Be prepared to provide your coffee maker’s model number and any relevant details about the leaking issue when contacting customer support.
Warranty and repair options:
- Check your Keurig K-Duo’s warranty to determine if the leaking issue is covered.
- Keurig may offer repair or replacement options depending on the specific circumstances and warranty coverage.
- Follow the instructions provided by customer support for warranty claims or repair services.
Conclusion
You’ve reached the end of our comprehensive guide on troubleshooting and solving the issue of carafe leaks with your Keurig K-Duo coffee maker. We hope this resource has been helpful in addressing the frustrating problem of leaks during pouring, allowing you to enjoy a mess-free coffee experience.
By checking and replacing the gasket, ensuring proper assembly and alignment, avoiding overfilling, cleaning the carafe spout and brewer, and inspecting the carafe lid and handle, you’ve gained the knowledge and tools to tackle the issue confidently.
Remember to implement the additional tips we shared for preventing future leaks, such as proper care and maintenance of your Keurig K-Duo, using the correct carafe size, and employing a gentle pouring technique. Taking proactive measures will help you maintain a leak-free brewing experience in the long run.