Keurig K Mini Plus Not Pumping Water? How to Fix
Keurig coffee makers, including the K Mini Plus, are popular for their convenience and ease of use. However, like any appliance, they can sometimes run into issues. One common problem users face is the machine not pumping water.
If your Keurig K Mini Plus isn’t dispensing water, don’t worry—there are several troubleshooting steps you can take to resolve the issue.
In this blog post, we’ll guide you through the possible causes and solutions to get your Keurig back to brewing your favorite coffee in no time.
Common Causes for Keurig K Mini Plus Not Pumping Water
- Clogged Needle or Water Line
- Air Bubbles in the Water Line
- Dirty or Clogged Water Reservoir
- Malfunctioning Pump
- Scale Build-Up
Step-by-Step Troubleshooting Guide
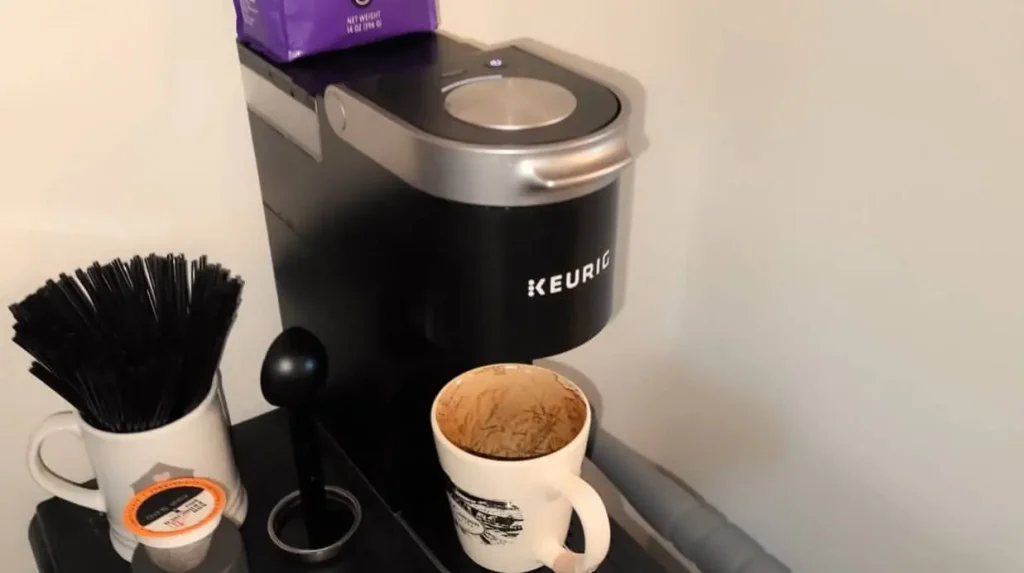
1. Clean the Needle
The needle in your Keurig K Mini Plus is responsible for puncturing the K-Cup and allowing water to flow through. If this needle becomes clogged with coffee grounds or other debris, it can prevent water from being pumped properly.
How to Clean the Needle:
- Unplug your Keurig and remove the water reservoir.
- Open the handle to access the needle area.
- Use a paper clip or a Keurig needle cleaning tool to carefully dislodge any debris from the needle.
- Run a brew cycle with water only to ensure the needle is clear.
2. Remove Air Bubbles
Air bubbles trapped in the water line can cause the Keurig to stop pumping water. This can happen if the machine is moved or stored incorrectly.
How to Remove Air Bubbles:
- Turn off and unplug your Keurig.
- Fill the water reservoir with water.
- Hold the Keurig upside down over a sink and gently tap the bottom. This can help dislodge any air bubbles.
- Plug the machine back in and run a brew cycle with water only to check if the issue is resolved.
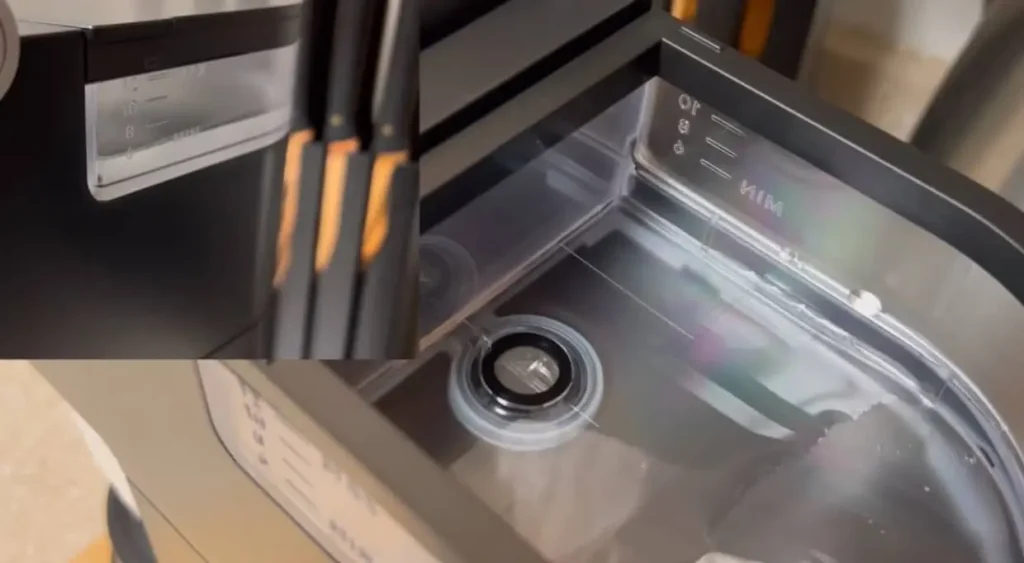
3. Clean the Water Reservoir
A dirty or clogged water reservoir can prevent water from flowing into the machine properly.
How to Clean the Water Reservoir:
- Remove the water reservoir and wash it thoroughly with warm, soapy water.
- Rinse the reservoir well to ensure no soap residue is left behind.
- Fill the reservoir with fresh water and reattach it to the machine.
- Run a brew cycle with water only to test the flow.
4. Descale Your Keurig
Scale build-up from minerals in your water can clog the internal components of your Keurig, affecting water flow.
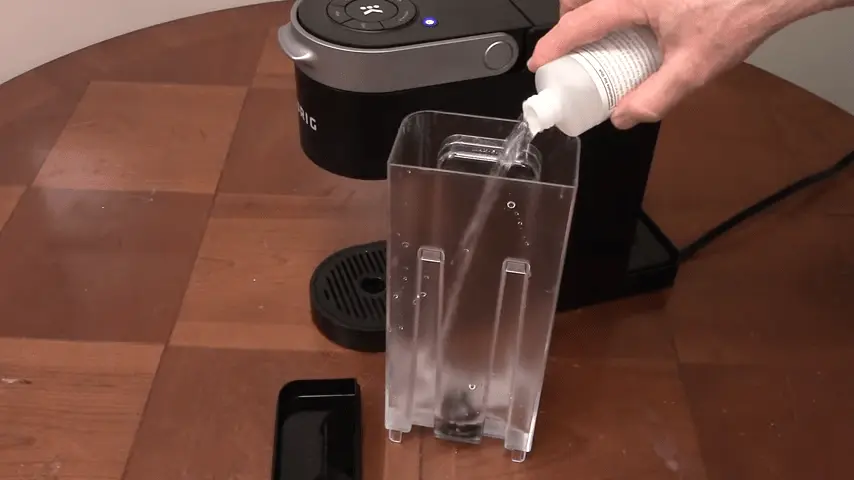
How to Descale Your Keurig:
- Fill the water reservoir with a mixture of equal parts white vinegar and water.
- Run a brew cycle without a K-Cup to allow the vinegar solution to clean the internal parts.
- Repeat this process until the reservoir is empty.
- Rinse the reservoir thoroughly and fill it with fresh water.
- Run multiple brew cycles with water only to remove any vinegar residue.
5. Check the Pump
If the pump is malfunctioning, it may not be able to draw water from the reservoir.
How to Check the Pump:
- Ensure the machine is plugged in and turned on.
- Listen for the sound of the pump when you try to brew a cup. If you don’t hear the pump, there may be an issue with it.
- Unfortunately, if the pump is broken, you might need to contact Keurig customer support for a replacement or repair.
Recommended Post: Keurig Not Pumping Water? Troubleshooting The Issue
Additional Tips and Maintenance
Congratulations on successfully troubleshooting and resolving the issue of your Keurig K Mini Plus not pumping water! To ensure the longevity and optimal performance of your coffee maker, here are some additional tips and maintenance routines to keep in mind:
Use Filtered Water: Using filtered water can help minimize mineral buildup and extend the lifespan of your Keurig K Mini Plus. Consider investing in a water filter or using filtered water from a pitcher or faucet attachment.
Regular Cleaning: Regularly clean your Keurig K Mini Plus to prevent clogs and maintain the quality of your brews. Wipe down the exterior with a damp cloth and clean the removable parts, such as the drip tray and water reservoir, with warm soapy water. Rinse thoroughly and allow them to air dry before reassembling.
Descaling Frequency: Descaling is an essential maintenance task to remove mineral deposits. Follow the manufacturer’s recommendations for descaling frequency, which typically ranges from every 3 to 6 months. Adjust the descaling frequency based on the hardness of your water.
Avoid Stale Coffee: To enjoy the best-tasting coffee, use fresh and properly stored coffee grounds or K-Cups. Stale coffee can impact the flavor and may affect the performance of your Keurig K Mini Plus.
Check Water Quality: If you notice ongoing issues with water flow despite regular cleaning and maintenance, consider having your water quality tested. High mineral content or other impurities in the water supply can contribute to recurring problems.
Keep the Machine Ventilated: Ensure that the area around your Keurig K Mini Plus is well-ventilated. Adequate airflow helps prevent overheating and improves the overall performance of the machine.
Regular Inspections: Periodically inspect your coffee maker for any signs of wear, damage, or loose connections. Address any issues promptly to avoid further complications.
Conclusion
A Keurig K Mini Plus not pumping water can be a frustrating issue, but it’s often easy to fix with a bit of troubleshooting. By cleaning the needle, removing air bubbles, descaling the machine, and maintaining regular cleaning routines, you can ensure your Keurig continues to brew delicious coffee without any hiccups.
If these steps don’t resolve the issue, contacting Keurig customer support for further assistance may be necessary. Enjoy your coffee!