Keurig K Slim Not Pumping Water? Here’s What You Can Do
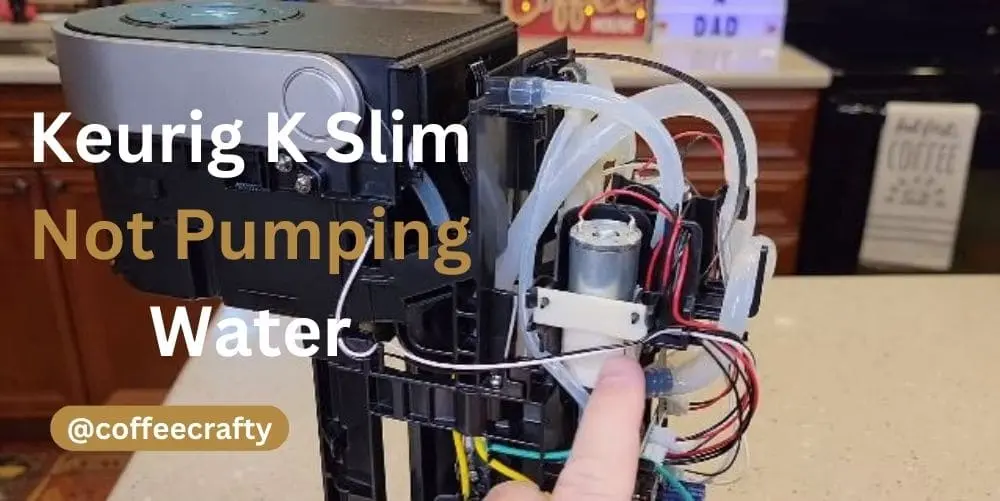
The Keurig K-Slim is a popular and convenient single-serve coffee maker known for its compact design and ease of use. However, like any appliance, it can sometimes encounter issues. One common problem that users face is when the Keurig K-Slim stops pumping water.
If you’re experiencing this issue, don’t worry—it’s usually something that can be fixed with a bit of troubleshooting. In this blog post, we’ll go through the common causes and solutions to get your Keurig K-Slim back to brewing your favorite coffee in no time.
Understanding the Keurig K Slim Water Pumping System
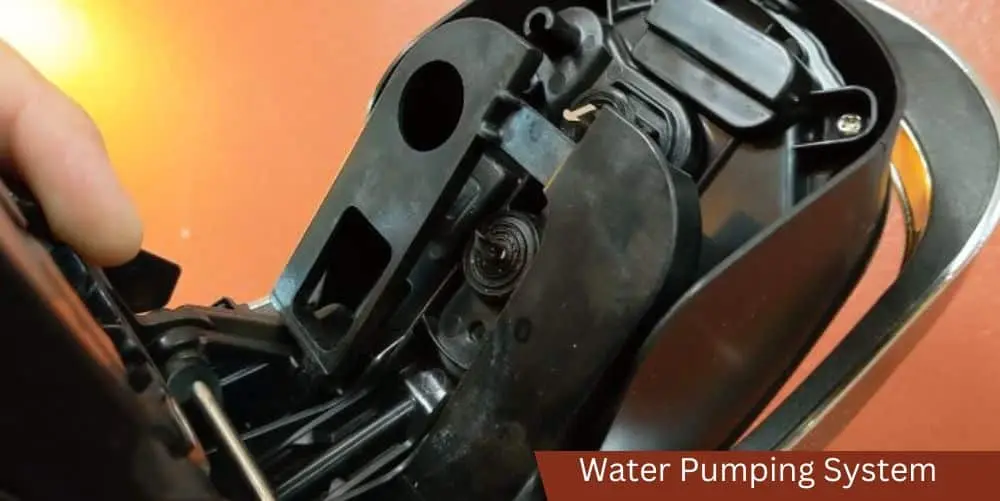
To effectively troubleshoot and resolve the issue of your Keurig K Slim not pumping water, it’s essential to have a basic understanding of how the water pumping system works. The water pumping system in the Keurig K Slim is responsible for drawing water from the reservoir and delivering it to the coffee pod for brewing. Let’s take a closer look:
Inside the Keurig K Slim, there is a water pump that operates with the help of an electric motor. When you initiate the brewing process by pressing the appropriate button, the pump receives a signal to activate. As the pump starts, it creates suction that draws water up from the reservoir through a series of tubes and valves.
The water is then pushed into the heating chamber, where it is heated to the optimal brewing temperature. From there, the hot water is forced through a puncture needle, piercing the coffee pod and allowing the brewed coffee to flow into your cup. The pump continues to operate throughout the brewing cycle, ensuring a steady flow of water and extraction of flavors from the coffee grounds.
It’s important to note that the water pumping system relies on proper functioning and unobstructed pathways to ensure a consistent and robust flow of water. Any interruption or blockage in this system can result in the Keurig K Slim failing to pump water, leading to frustration for coffee enthusiasts like yourself.
Possible Causes for Water Pumping Issues
When your Keurig K Slim is not pumping water as expected, there can be several underlying causes. By identifying these potential culprits, you’ll be able to troubleshoot more effectively. Here are some common reasons why your Keurig K Slim may be experiencing water pumping issues:
Clogged Water Line:
Over time, mineral deposits, coffee grounds, or debris can accumulate in the water line, obstructing the flow of water. This can prevent the pump from drawing water effectively. A clogged water line is a frequent issue in coffee makers and can be resolved with proper cleaning.
Airlock in the System:
Sometimes, air can get trapped in the water pumping system, causing an airlock. This prevents water from flowing smoothly and can disrupt the pumping mechanism. Releasing the airlock is necessary to restore proper water flow.
Mineral Build-up and Scale:
Hard water contains minerals that can accumulate inside the Keurig K Slim’s internal components over time. Mineral build-up can clog valves, tubes, and other critical parts of the water pumping system, hampering its functionality. Descaling the machine is essential to remove these deposits and restore optimal performance.
Insufficient Water Reservoir Level:
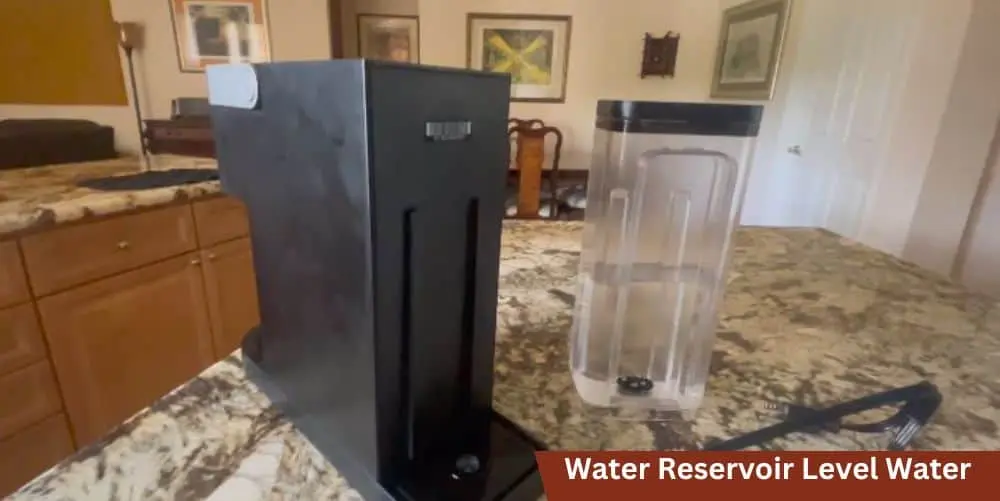
The water pumping system relies on an adequate water level in the reservoir. If the water level is too low, the pump may struggle to draw water effectively, leading to poor or no water flow. Ensuring that the water reservoir is filled correctly is crucial for the smooth operation of the Keurig K Slim.
Troubleshooting Steps
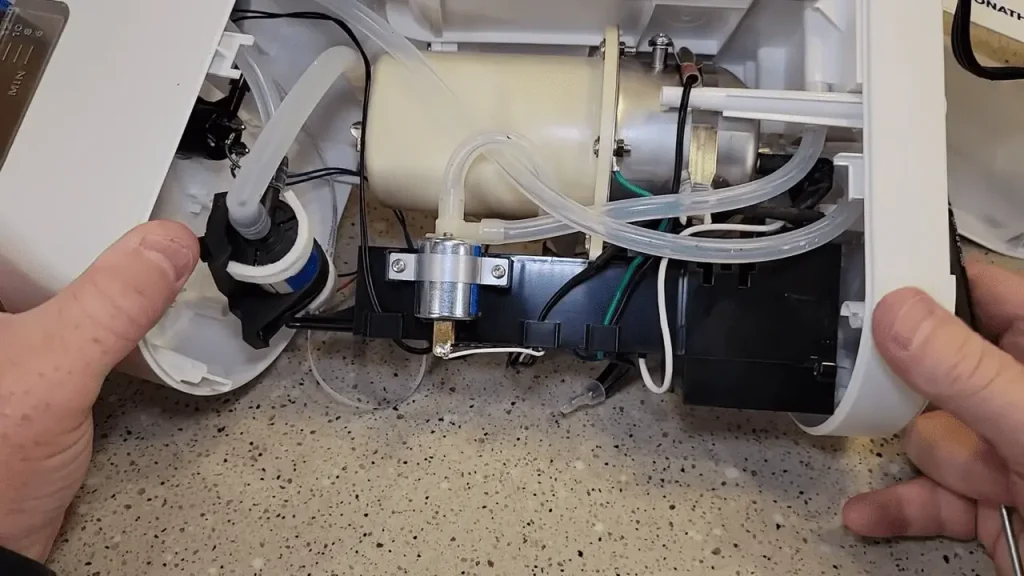
Now that we understand the possible causes of water pumping issues in your Keurig K Slim, let’s investigate the troubleshooting steps to resolve them. Follow these step-by-step instructions to identify and address the specific problem you’re facing:
Clogged Water Line:
- Turn off and unplug your Keurig K Slim.
- Remove the water reservoir and empty any remaining water.
- Use a clean, damp cloth to wipe the exterior of the machine.
- Locate the water intake opening on the machine, usually found near the bottom.
- Insert a straightened paperclip or a small, non-abrasive object into the water intake opening and gently move it back and forth to dislodge any blockages.
- Repeat this process a few times to ensure the water line is clear.
- Reattach the water reservoir, ensuring it is properly aligned and securely in place.
- Plug in the Keurig K Slim and turn it on.
- Run a few brewing cycles without a coffee pod to flush out any remaining debris.
- Test the machine by brewing a cup of coffee with a fresh pod to check if the water is now pumping properly.
Airlock in the System:
- Remove the water reservoir and empty it.
- Tilt the machine slightly to one side, allowing any trapped air to escape through the water intake opening.
- Gently tap the sides of the machine to release any air bubbles further.
- Reattach the water reservoir, ensuring it is properly aligned and securely in place.
- Plug in the Keurig K Slim and turn it on.
- Run a brewing cycle without a coffee pod to purge any remaining air from the system.
- Test the machine by brewing a cup of coffee with a fresh pod to check if the water is now pumping properly.
Mineral Build-up and Scale:
- Fill the water reservoir halfway with a descaling solution or a mixture of equal parts water and white vinegar.
- Reattach the water reservoir and ensure it is properly aligned.
- Plug in the Keurig K Slim and turn it on.
- Run a brewing cycle without a coffee pod, allowing the descaling solution to circulate through the machine.
- Discard the solution from the cup and repeat the process until the water reservoir is empty.
- Rinse the water reservoir thoroughly to remove any residual descaling solution or vinegar.
- Refill the reservoir with clean water.
- Run multiple brewing cycles with clean water to flush out any remaining descaling solution or vinegar.
- Test the machine by brewing a cup of coffee with a fresh pod to check if the water is now pumping properly.
Insufficient Water Reservoir Level:
- Ensure the Keurig K Slim is plugged in and turned on.
- Check the water reservoir and ensure it is properly filled to the recommended level indicated by the fill line.
- If the water level is low, add clean water to the reservoir, ensuring not to overfill it.
- Reattach the water reservoir, ensuring it is properly aligned and securely in place.
- Test the machine by brewing a cup of coffee with a fresh pod to check if the water is now pumping properly
Advanced Solutions
If the basic troubleshooting steps mentioned earlier do not resolve the water pumping issue in your Keurig K Slim, there are a few advanced solutions you can try before seeking professional assistance. These solutions involve more in-depth procedures, so proceed with caution:
Needle Cleaning:
- Locate the needle that punctures the coffee pod and extracts the brewed coffee.
- Using a straightened paperclip or a cleaning tool specifically designed for Keurig machines, carefully insert it into the needle to remove any coffee grounds or residue.
- Gently move the paperclip or cleaning tool in and out a few times to dislodge any obstructions.
- e. Repeat this process for any additional needles in the brew chamber.
- Wipe the needles clean with a damp cloth.
- Reassemble the machine, ensuring all components are securely in place.
- Plug in the Keurig K Slim and turn it on.
- Test the machine by brewing a cup of coffee with a fresh pod to check if the water is now pumping properly.
Firmware Update:
- Check if Keurig provides firmware updates for your specific model of the K Slim.
- Visit the official Keurig website or contact their customer support for information on firmware updates.
- Follow the instructions provided by Keurig to update the firmware of your machine, if applicable.
- After the firmware update, test the machine by brewing a cup of coffee with a fresh pod to check if the water is now pumping properly.
Preventive Maintenance and Best Practices
To ensure the longevity and optimal performance of your Keurig K Slim, it’s essential to practice regular preventive maintenance and follow some best practices. By incorporating these habits into your coffee brewing routine, you can reduce the likelihood of water pumping issues and other common problems. Here are some preventive maintenance tips and best practices to consider:
Regular Cleaning:
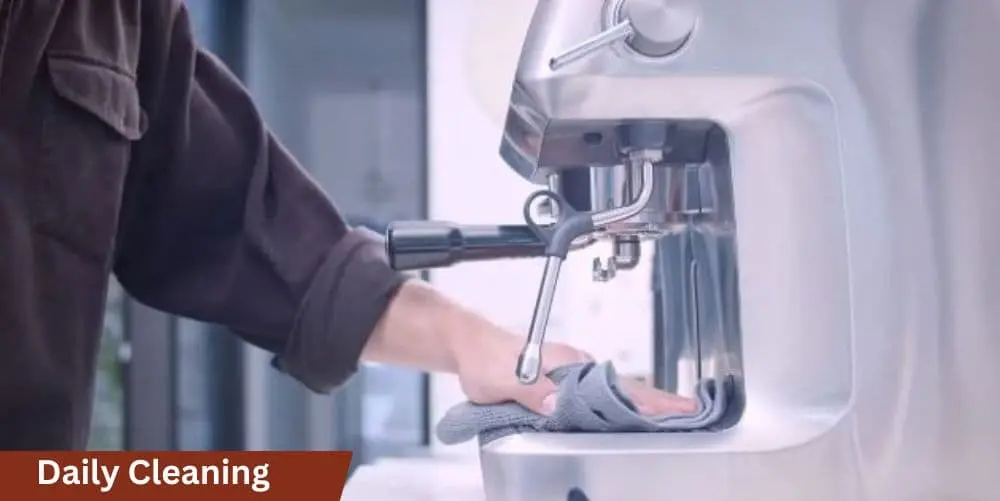
- Clean the exterior of your Keurig K Slim regularly using a damp cloth to remove any spills, stains, or residue.
- Clean the water reservoir and the removable parts, such as the drip tray and the pod holder, on a weekly basis.
- Descaling your Keurig k slim machine at least every three to six months, or as recommended by the manufacturer, helps remove mineral deposits and scale buildup.
- Follow the descaling instructions provided in the user manual or use a descaling solution specifically formulated for Keurig machines.
- Regular cleaning helps maintain the efficiency of the water pumping system and ensures the best flavor in your brewed coffee.
Quality Water:
- Use clean, filtered water to fill the water reservoir of your Keurig K Slim.
- Avoid using distilled or softened water, as they may affect the taste and performance of your coffee.
- Quality water helps prevent mineral buildup and extends the lifespan of your machine.
Avoid Overfilling:
- Fill the water reservoir only up to the recommended fill line to prevent overflow and potential damage to the machine.
- Overfilling can lead to water leakage and interfere with the proper functioning of the water pumping system.
Regular Use:
- Brew at least one cup of coffee every week, even if you’re not using the machine daily.
- Regular use helps keep the internal components active and prevents any blockages or obstructions in the water pumping system.
Avoid Using Damaged Pods:
- Inspect coffee pods before use to ensure they are intact and not damaged.
- Damaged pods can clog the puncture needle or cause other issues with water flow.
Conclusion
A Keurig K-Slim not pumping water can be a frustrating issue, but with a bit of troubleshooting, you can often resolve the problem yourself. By keeping your machine clean and performing regular maintenance, you can enjoy hassle-free coffee brewing for years to come.
If these solutions don’t work, don’t hesitate to reach out to Keurig customer support for further assistance. Happy brewing!

