Keurig Leaking Water from Bottom: Solved
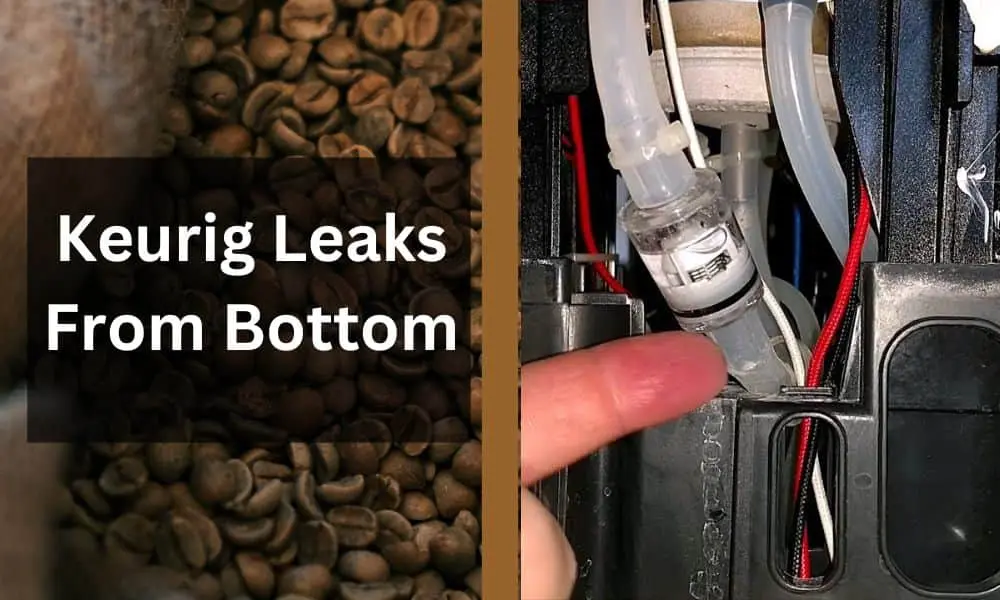
Keurig coffee makers have become a staple in many households for their convenience and ease of use. However, encountering issues like a Keurig leaking water from bottom can be frustrating.
If you’ve been dealing with this problem, fear not!
Here’s a comprehensive troubleshooting guide to help you resolve this issue and get your beloved Keurig coffee maker back in working order.
Know the Keurig Brewing Process
To troubleshoot and resolve leaks from the bottom of your Keurig, it’s important to have a solid understanding of how the brewing process works. Keurig coffee makers are designed to deliver a quick and convenient brewing experience. Let’s take a closer look at the key components involved and how they relate to potential leakage issues.
Water Reservoir:
At the heart of every Keurig machine is the water reservoir. This is where you fill up with water for brewing. The reservoir holds a predetermined amount of water, which is heated and used to brew your favorite beverages. Improper placement or misalignment of the water reservoir can result in leaks from the bottom of the machine.
Pump:
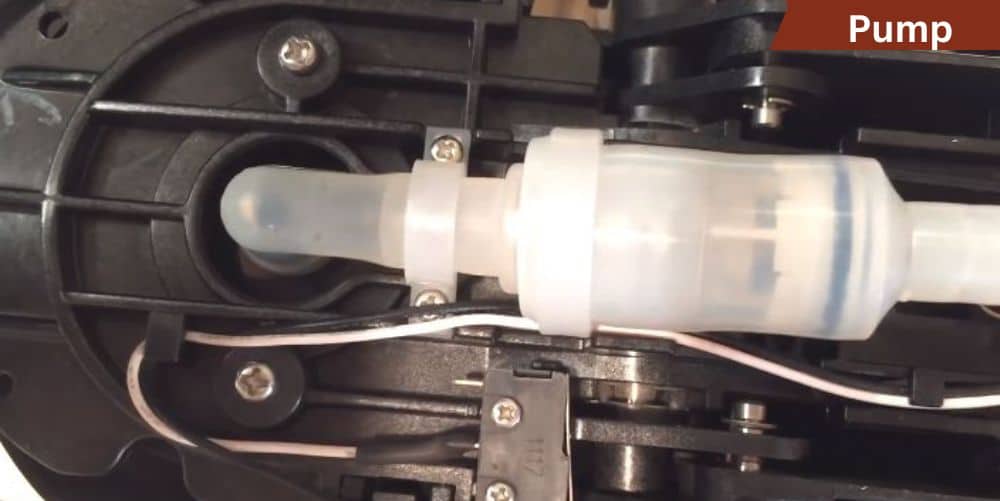
The pump in a Keurig is responsible for drawing water from the reservoir and pushing it through the brewing system. It provides the necessary pressure to extract the flavors from the coffee grounds or K-Cup. A malfunctioning pump can cause water to leak from the bottom, affecting the brewing process.
Heating Element:
Keurig coffee makers utilize a heating element to heat the water from the reservoir to the optimal brewing temperature. The heated water is then passed through the brewing system to extract the flavors. If there are issues with the heating element, such as overheating or failure to reach the desired temperature, it can lead to leaks.
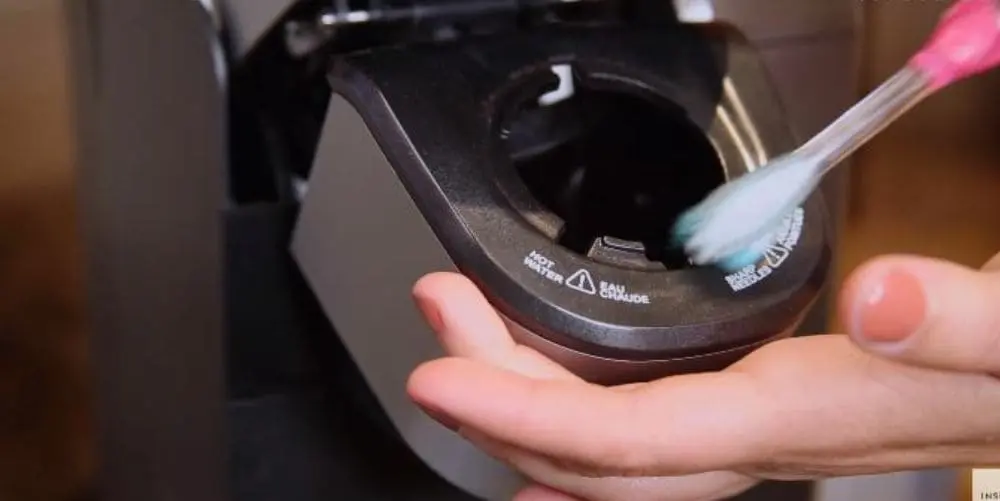
K-Cup Holder and Needle:
The K-Cup holder is where you place the K-Cup, which contains the coffee grounds or other beverages. When the machine is activated, the K-Cup holder punctures the K-Cup with a needle, allowing water to flow through and extract the flavors. A damaged or misaligned K-Cup holder or needle can cause leaks during the brewing process.
Drip Tray:
The drip tray is located at the bottom of the Keurig and serves as a collection point for any excess water or coffee. It is designed to catch drips and spills, preventing them from reaching your countertop. However, if the drip tray is not properly positioned or becomes full, it can overflow and result in leaks from the bottom.
Also Read: Keurig Add Water Sensor Not Working
Common Causes of Keurig Leaking Water from the Bottom
Experiencing leaks from the bottom of your Keurig coffee maker can be frustrating. To effectively troubleshoot and resolve this issue, it’s essential to identify the common causes that may lead to leakage. Let’s explore the potential culprits and their solutions:
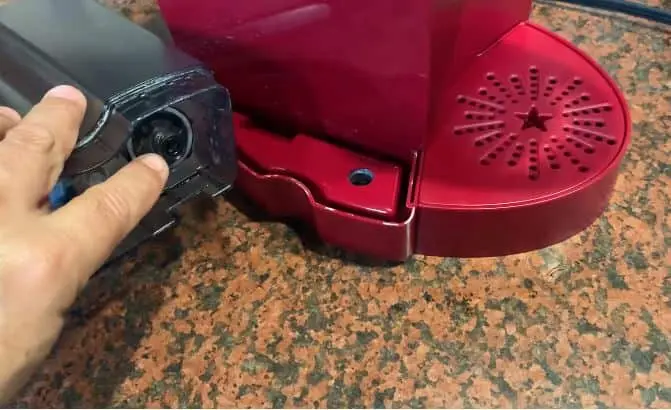
Insufficient or incorrect water reservoir placement
When the water reservoir is not properly aligned or placed in the machine, it can result in leaks. Ensure that the reservoir sits securely and fits snugly into its designated position. Make sure it is fully inserted and aligned correctly to prevent any water from seeping out.
Damaged or worn-out water reservoir seals
Over time, the seals on the water reservoir may wear out or become damaged, causing leaks. Inspect the seals for any signs of wear or damage, such as cracks or tears. If you notice any issues, replace the seals with new ones specifically designed for your Keurig model.
Clogged or malfunctioning water lines
Blockages in the water lines can disrupt the flow and cause leaks from the bottom. To address this, start by powering off and unplugging your Keurig. Carefully clean the water lines using a needle or paperclip to remove any debris or mineral buildup. Run water through the lines to ensure they are clear before brewing again.
Overfilling the water reservoir
Overfilling the water reservoir beyond its maximum capacity can lead to leaks. To prevent this, make sure to follow the recommended fill line indicated on the reservoir. Use a measuring cup or the provided water level markings to ensure you add the correct amount of water for each brewing session.
Brewing with incompatible or damaged K-Cups
Using K-Cups that are incompatible or damaged can cause leaks during the brewing process. Ensure that you are using K-Cups specifically designed for your Keurig model. Check for any visible damages, such as punctures or tears, before inserting them into the K-Cup holder. Using intact and compatible K-Cups will help prevent leaks.
Faulty internal components
In some cases, leaks from the bottom may be caused by internal component failures. Valves, pumps, or other internal parts could be malfunctioning and affecting the brewing process. If you have ruled out the other common causes and are still experiencing leaks, consider contacting Keurig customer support or seeking professional repair assistance.
Keurig Leaking Water from Bottom: Troubleshooting and Solutions
Now that we’ve identified the common causes of Keurig leaks from the bottom, it’s time to tackle the troubleshooting process. Follow these step-by-step solutions to address each specific cause effectively:
Insufficient or incorrect water reservoir placement
- Ensure the water reservoir is fully inserted and properly aligned with the machine.
- Remove the reservoir and reposition it, making sure it sits securely and snugly in its designated place.
- Double-check that there are no obstructions preventing the reservoir from fitting correctly.
Damaged or worn-out water reservoir seals
- Carefully examine the seals on the water reservoir for any signs of wear or damage.
- If you notice cracks, tears, or other issues, replace the seals with new ones that are compatible with your Keurig model.
- Follow the manufacturer’s instructions for proper seal replacement.
Clogged or malfunctioning water lines
- Power off and unplug your Keurig before starting this troubleshooting step.
- Use a needle or a paperclip to carefully clean the water lines, removing any debris or mineral buildup.
- Once the lines are cleared, run water through them to ensure they are fully open and free of blockages.
Overfilling the water reservoir
- Always follow the recommended fill line indicated on the reservoir.
- Use a measuring cup or the provided water level markings to ensure you add the correct amount of water for each brewing session.
- If you accidentally overfill the reservoir, carefully remove the excess water using a towel or paper towel.
Brewing with incompatible or damaged K-Cups
- Ensure that you are using K-Cups specifically designed for your Keurig model.
- Check each K-Cup for any visible damages, such as punctures or tears, before inserting it into the K-Cup holder.
- If you come across any damaged K-Cups, discard them and use a new, intact one.
My Keurig coffee maker is leaking from the bottom – Reasons and quick solutions:
Preventive Measures and Maintenance Tips
To avoid future leaks from the bottom of your Keurig coffee maker and ensure its optimal performance, consider implementing the following preventive measures and maintenance tips:
Regular cleaning:
- Clean your Keurig regularly to prevent mineral buildup and clogs. Follow the manufacturer’s instructions for cleaning, which often involve descaling the machine using a descaling solution.
- Clean the external surfaces of the machine with a damp cloth and mild detergent to remove any residue or stains.
Proper storage:
- When not in use, store your Keurig in a dry and clean environment. Avoid storing it near sources of heat or moisture, as these can potentially damage the machine.
- Keep the machine covered or use a dust cover to protect it from dust and debris.
Quality water:
- Use filtered or bottled water in your Keurig to reduce the mineral content and minimize the chances of mineral deposits accumulating in the machine.
- Avoid using distilled water, as it may negatively affect the taste of your brewed coffee.
Regular seal inspection:
- Periodically check the seals on the water reservoir and other removable components for any signs of wear or damage. Replace them promptly if needed to maintain a proper seal and prevent leaks.
Gentle handling of components:
- Handle the water reservoir, K-Cup holder, and other removable components with care to avoid causing any damage or misalignment that could lead to leaks.
- Avoid applying excessive force or pressure when inserting or removing these parts.
Stay up-to-date with maintenance:
- Stay informed about any product recalls or updates from Keurig. Visit the official website or subscribe to their newsletter to receive important information regarding your specific model.
- Regularly check for firmware updates for your Keurig machine and follow the manufacturer’s instructions for updating if necessary.
Conclusion
Dealing with a Keurig leaking water from the bottom can be a frustrating experience, but with a bit of troubleshooting and maintenance, it’s often a problem that can be resolved at home.
Remember to handle your Keurig delicately and follow the manufacturer’s instructions for cleaning and maintenance to keep it running smoothly and leak-free for your daily coffee enjoyment.