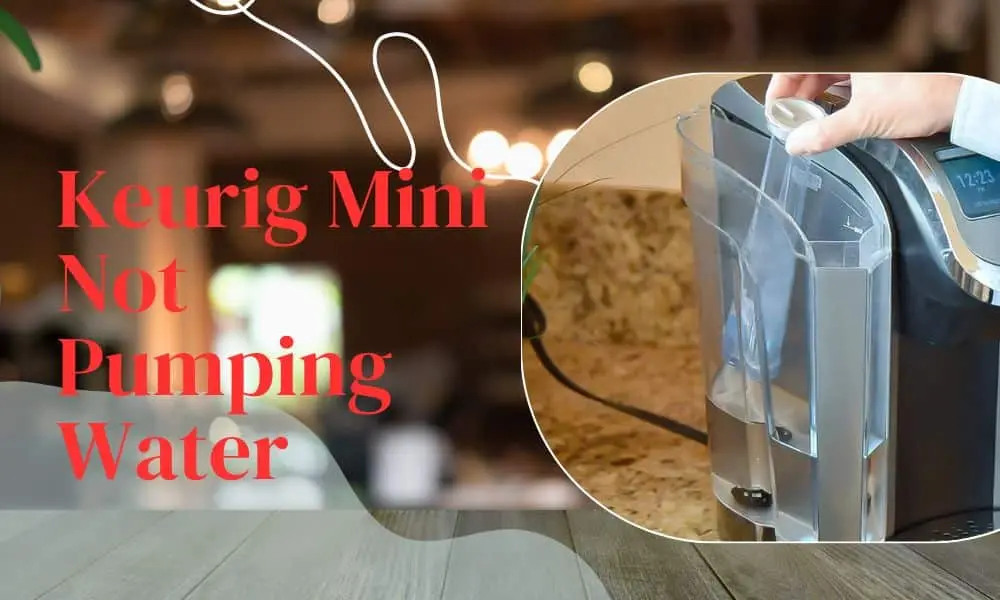
Keurig Mini Not Pumping Water? Here’s What to Do
Are you a proud owner of a Keurig Mini coffee maker but finding yourself frustrated because it’s not pumping water? We understand your love for that perfect cup of coffee and the disappointment when your beloved Keurig Mini doesn’t live up to its brewing potential. But fear not! we’ll walk you through the steps to get your Keurig Mini back on track, pumping water and brewing delicious cups of coffee once again.
The Keurig Mini has gained immense popularity for its compact size, convenience, and ability to brew a single cup of coffee at the touch of a button. However, like any other appliance, it may encounter issues from time to time. One common problem that Keurig Mini owners face is the machine not pumping water, which can significantly hinder your coffee brewing experience.
A Keurig Mini that refuses to pump water can be frustrating, but don’t worry, we’ve got you covered. we’ll delve into the inner workings of your Keurig Mini and explain the possible causes behind this issue. Whether it’s a simple fix or a more complex troubleshooting process, we’ll provide you with step-by-step instructions and helpful tips to identify and resolve the problem.
Know about the Water Pumping Mechanism
Before we dive into troubleshooting, it’s essential to have a basic understanding of how the water pumping mechanism works in your Keurig Mini. This knowledge will help you identify potential issues and take appropriate steps to resolve them.
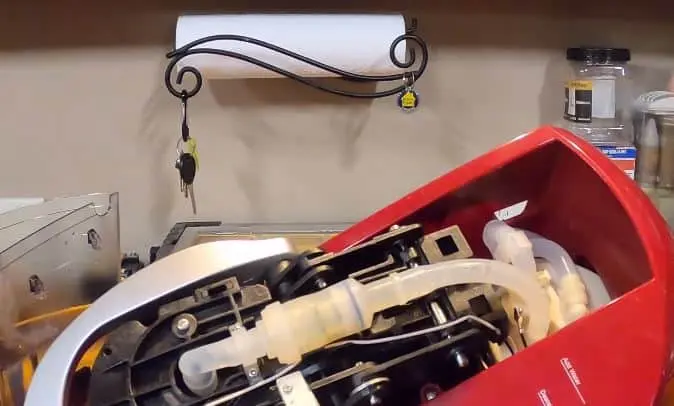
The water pump in your Keurig Mini is a crucial component responsible for drawing water from the reservoir and pushing it through the machine to brew your favorite coffee. When you initiate the brewing process, the pump creates pressure to force the water through the coffee pod and into your cup.
The pump operates using a motor that generates suction and propels the water through a series of tubes and valves. It relies on the right amount of pressure to ensure a consistent flow of water for a perfect cup of coffee.
Now, you might be wondering, “What can go wrong with the water-pumping mechanism?” Several factors can cause your Keurig Mini to stop pumping water effectively:
- Insufficient water reservoir level: If the water level in the reservoir is too low, the pump may not have enough water to draw from, leading to a weak or non-existent water flow.
- Clogged water lines or filter: Over time, mineral deposits, coffee grounds, or debris can accumulate in the water lines or clog the filter. This obstruction can impede the water flow and result in a lack of pumping action.
- Airlock or pressure issues: Sometimes, air bubbles can get trapped in the system, creating an airlock that prevents the water from flowing smoothly. Additionally, problems with the pressure sensors or valves can disrupt the pumping process.
- Mineral deposits and scale buildup: If you live in an area with hard water, mineral deposits can accumulate inside the pump, restricting its movement and reducing its efficiency. This can hinder the water pumping action.
- Mechanical malfunctions: In rare cases, mechanical failures or issues with the pump motor can cause it to stop working altogether. While this is less common, it’s essential to be aware of the possibility.
Common Causes of Keurig Mini Not Pumping Water
When your Keurig Mini fails to pump water, it can be frustrating. However, understanding the common causes behind this issue will help you pinpoint the problem and take appropriate action. Here are some frequent culprits to consider:
- Insufficient water reservoir level: One of the simplest reasons for a lack of water flow is an insufficient water level in the reservoir. If the water level is too low, the pump won’t have enough water to draw from, resulting in little to no pumping action. Always ensure that your Keurig Mini’s water reservoir is adequately filled before brewing.
- Clogged water lines or filter: Over time, debris, coffee grounds, and mineral deposits can accumulate in the water lines or clog the filter. This build-up restricts the flow of water and hampers the pumping action. Regular cleaning and maintenance, including descaling, can help prevent clogs and ensure smooth water flow.
- Airlock or pressure issues: Air bubbles can sometimes get trapped in the system, leading to an airlock that prevents the water from flowing properly. This can occur after refilling the water reservoir or due to changes in atmospheric pressure. Additionally, problems with the pressure sensors or valves can disrupt the pumping process. Burping the system and performing a reset can often resolve airlock and pressure-related issues.
- Mineral deposits and scale buildup: If you live in an area with hard water, mineral deposits can accumulate inside the pump, affecting its functionality. Scale buildup can restrict the movement of the pump, resulting in reduced water flow or complete blockage. Regular descaling using a Keurig-approved descaling solution or alternative methods like vinegar or citric acid can help remove these deposits and restore proper pump operation.
- Mechanical malfunctions: While less common, mechanical malfunctions can occur in the pump or associated components. These issues may include a faulty motor, damaged valves, or other internal defects.
Step-by-Step Troubleshooting Guide
Now that you understand the potential causes behind your Keurig Mini’s water pumping issue, let’s delve into a step-by-step troubleshooting guide to help you identify and resolve the problem. Follow these steps to get your Keurig Mini back to brewing that perfect cup of coffee:
Check the water reservoir
- Verify that the water reservoir is adequately filled. If it’s low, refill it with fresh water to the recommended level.
- Ensure that the reservoir is correctly positioned and fully engaged with the machine.
Inspect water lines and filter
- Examine the water lines for any visible clogs or blockages. If you notice any debris or coffee grounds, carefully clean them out using a soft brush or cloth.
- If your Keurig Mini has a water filter, check its condition. Replace it if necessary, as a clogged or old filter can impede water flow.
Address airlock or pressure issues
- To release trapped air, perform the “priming” or “burping” process:
- Remove the water reservoir and press down on the brew button for a few seconds to force out any trapped air.
- Reattach the reservoir and try brewing again.
- If the priming process doesn’t resolve the issue, try resetting your Keurig Mini by unplugging it from the power source, waiting for a few minutes, and then plugging it back in.
Tackle mineral deposits and scale buildup
- If your Keurig Mini shows signs of mineral deposits or scale buildup, it’s time to descale the machine:
- Follow the manufacturer’s instructions to descale using a Keurig-approved descaling solution. Be sure to use the recommended amount and follow the specific steps for your model.
- If you prefer an alternative method, you can descale using a mixture of white vinegar or citric acid and water. Refer to our guide on descaling for detailed instructions.
Dealing with mechanical malfunctions
- If all the previous steps fail to resolve the issue, there may be a mechanical malfunction. In such cases, it’s best to contact Keurig customer support or seek professional repair assistance.
Recommended: Keurig K Mini Plus Not Pumping Water?
Additional Tips and Preventive Measures
While troubleshooting your Keurig Mini’s water pumping issue, it’s essential to consider additional tips and preventive measures to maintain its optimal performance. Here are some helpful suggestions to keep in mind:
- Regular cleaning and maintenance routines:
- Clean your Keurig Mini regularly, following the manufacturer’s guidelines. This includes wiping the exterior, cleaning the drip tray, and removing any accumulated coffee grounds or residue.
- Perform routine maintenance tasks, such as descaling, to prevent mineral deposits and scale buildup. A clean and well-maintained machine is less likely to encounter pumping issues.
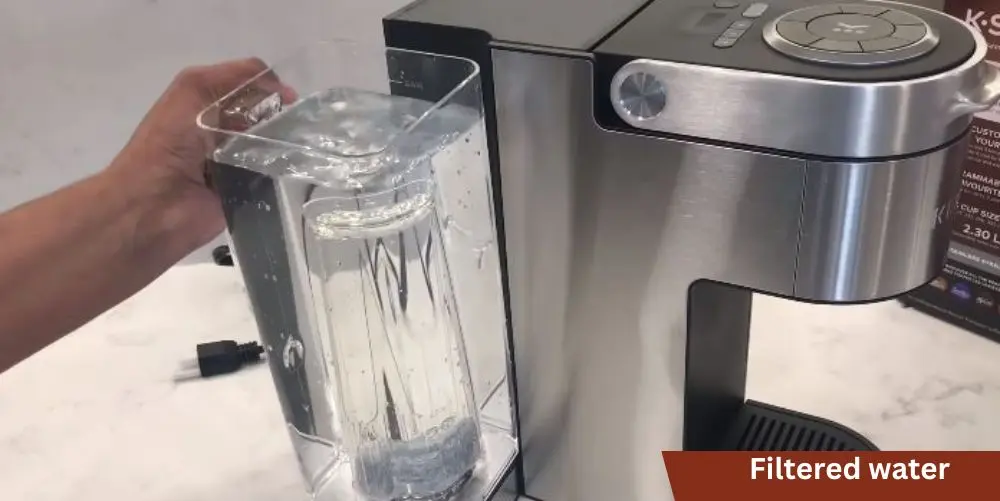
- Using filtered or bottled water:
- If you live in an area with hard water, consider using filtered or bottled water for brewing. Hard water contains minerals that can contribute to scale buildup over time. Using filtered water can help reduce this risk and prolong the life of your Keurig Mini.
- Checking for firmware updates:
- Keurig occasionally releases firmware updates for their machines. Check the Keurig website or your model’s manual to see if there are any available updates for your Keurig Mini. Updating the firmware can address potential software-related issues and improve overall performance.
Conclusion
Congratulations! You have now completed the troubleshooting journey to tackle the Keurig Mini’s water pumping issue. By following the step-by-step guide and implementing the tips provided, you’ve taken important steps toward getting your Keurig Mini back to brewing that perfect cup of coffee.
Remember, the Keurig Mini’s water pumping problem can be caused by various factors, including insufficient water level, clogs, airlocks, mineral deposits, or even mechanical malfunctions. Through the troubleshooting process, you’ve learned to check the water reservoir, inspect water lines and filters, address airlock or pressure issues, tackle mineral deposits and scale buildup, and consider seeking professional help if needed.
Additionally, implementing preventive measures such as regular cleaning, maintenance, using filtered water, and staying updated with firmware releases will help minimize the chances of encountering future water pumping issues.