Keurig Not Brewing a Full Cup? Fix Common Issues

If you’re a Keurig coffee machine owner, you know the convenience and simplicity it brings to your daily caffeine fix. However, one common issue many users encounter is the machine not brewing a full cup. This can be frustrating, especially when you’re relying on that perfect cup to kickstart your day.
In this blog post, we’ll explore the reasons behind this issue and provide practical solutions to get your Keurig back to brewing the perfect cup.
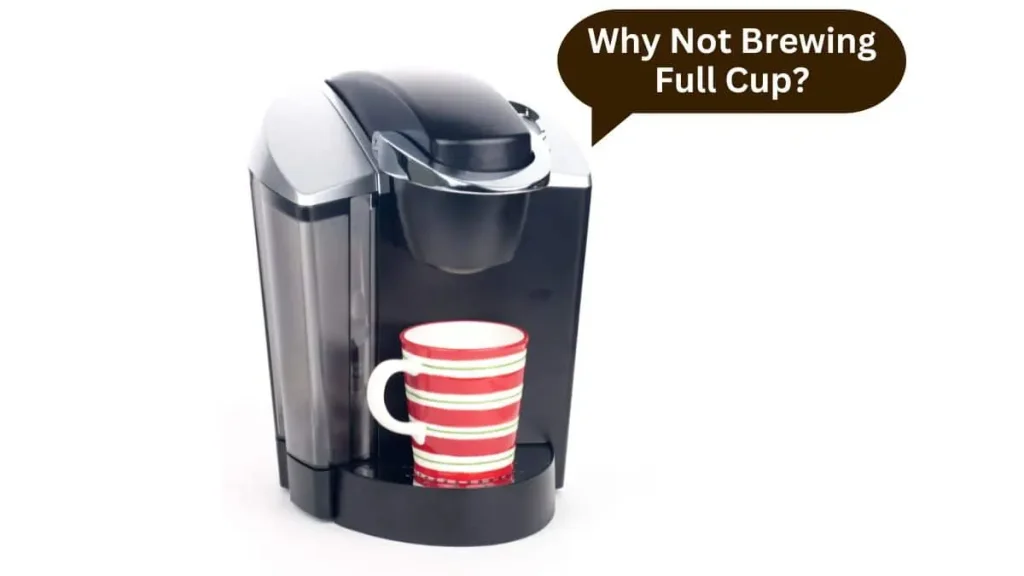
How does a Keurig coffee maker work
Keurig coffee makers employ a straightforward yet ingenious process to deliver your favorite brew at the touch of a button. Here’s a simplified breakdown:
- Water Reservoir: Keurig machines feature a water reservoir that holds the water you need for brewing. This reservoir connects to the internal components of the machine, allowing water to be heated and pumped through the system.
- Brewing Chamber: Once the Keurig is powered on and ready, you place a K-Cup or pod into the brewing chamber. This chamber is where the magic happens—it punctures the K-Cup or pod and directs hot water through it to extract the coffee’s flavors.
- Water Heating: Inside the Keurig, there is a heating element that warms the water to the ideal brewing temperature. This process ensures that the coffee is extracted properly, resulting in a flavorful cup.
- Pressure and Extraction: Once the water reaches the desired temperature, a water pump applies pressure to force it through the punctured K-Cup or pod. This pressure facilitates the extraction of the coffee’s aromas and flavors.
- Dispensing: The freshly brewed coffee is then dispensed into your waiting mug through a spout located at the front of the machine. Depending on your chosen cup size, Keurig will deliver the appropriate amount of coffee.
Factors that can affect the brewing capacity
While the Keurig brewing process seems straightforward, several factors can impact its ability to deliver a full cup of coffee. Understanding these factors will help you diagnose and address the issue more effectively. Here are a few common culprits:
- Incorrect Water Reservoir Fill Level: If the water reservoir is not properly filled, it can lead to insufficient brewing. Too little water will result in an incomplete cup, while overfilling can cause water overflow or blockages.
- Clogged or Dirty Needles: The needles in the brewing chamber can become clogged or dirty over time. This can impede the flow of water through the K-Cup or pod, resulting in incomplete brewing.
- Improper Placement of K-Cup or Pod: If the K-Cup or pod is not positioned correctly in the brewing chamber, it can affect the water flow and hinder the brewing process.
- Scaling or Mineral Buildup: Over time, minerals and scale deposits can accumulate inside the Keurig, particularly in regions with hard water. This buildup can restrict water flow, leading to incomplete brewing.
- Malfunctioning Water Pump or Heating Element: In rare cases, mechanical issues with the water pump or heating element can impact Keurig’s ability to deliver a full cup of coffee.
Common Causes of Insufficient Brewing
If your Keurig is not brewing a full cup of coffee, several common causes may be at play. Understanding these potential issues will enable you to pinpoint the source of the problem and take appropriate troubleshooting steps. Let’s explore the most common culprits:
Incorrect Water Reservoir Fill Level
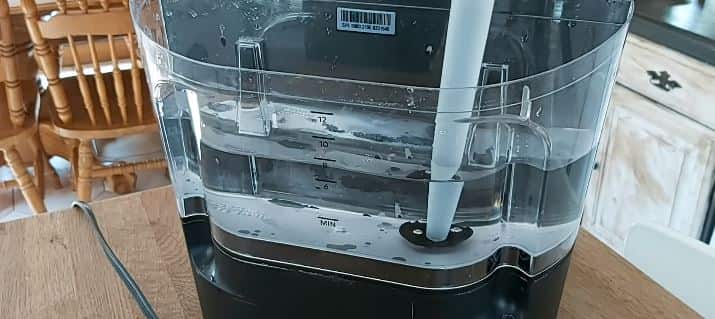
One of the primary causes of incomplete brewing is an incorrect water reservoir fill level. If the water level is too low, Keurig may not dispense enough water to produce a full cup. On the other hand, overfilling the reservoir can result in water overflow or blockages. Ensure that you follow the manufacturer’s guidelines for filling the water reservoir to the appropriate level.
Clogged or Dirty Needles
Over time, the needles in the brewing chamber can become clogged or dirty due to coffee residue and mineral deposits. These clogs can obstruct the flow of water through the K-Cup or pod, leading to insufficient brewing. Regular cleaning of the needles is essential to maintain optimal performance. We’ll cover the cleaning process in detail later in this guide.
Improper Placement of K-Cup or Pod
Another common mistake that can lead to incomplete brewing is the improper placement of the K-Cup or pod in the brewing chamber. If the K-Cup or pod is not positioned correctly, it can interfere with the water flow and prevent a full extraction. Ensure that you align the K-Cup or pod properly and securely in the designated chamber.
Scaling or Mineral Buildup
Scaling or mineral buildup is a common issue in regions with hard water. Over time, these deposits can accumulate inside the Keurig, narrowing the water pathways and impeding the brewing process. This can result in incomplete extraction and reduced cup size. Regular descaling is crucial to remove these deposits and restore optimal performance.
Malfunctioning Water Pump or Heating Element
While relatively rare, mechanical issues with the water pump or heating element can impact Keurig’s ability to deliver a full cup of coffee.
Step-by-Step Troubleshooting Guide
Now that you’re familiar with the common causes of insufficient brewing, it’s time to dive into a step-by-step troubleshooting process to address each issue effectively. By following these instructions, you’ll be able to diagnose and resolve the problem, ensuring that your Keurig brews a full and satisfying cup of coffee. Let’s get started:
Check Water Reservoir and Fill Level
- Ensure that the water reservoir is properly filled according to the manufacturer’s guidelines. Adjust the water level if necessary, making sure not to overfill or leave it too low.
Clean Needles and K-Cup Holder
- Power off and unplug your Keurig before proceeding with the cleaning process.
- Remove the K-Cup or pod holder assembly from the brewing chamber.
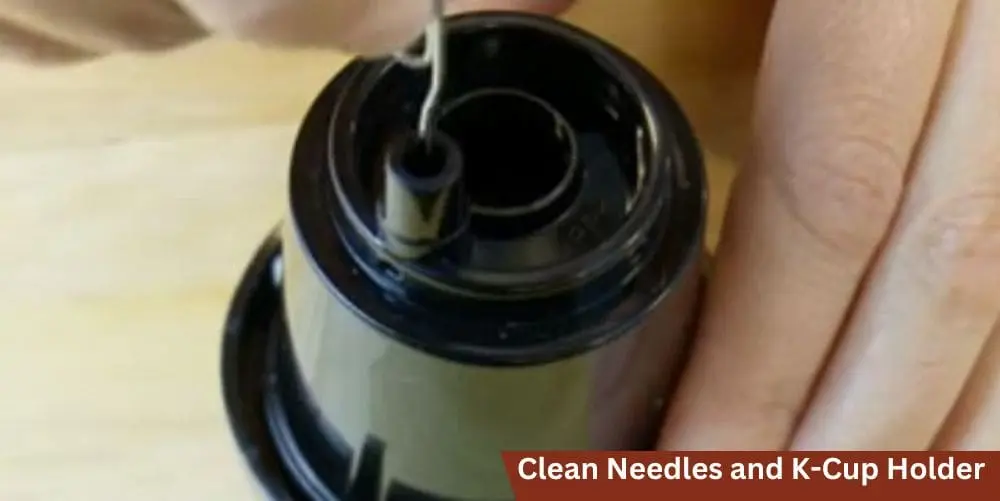
- Carefully clean the exit needle and the entrance needle using a paper clip or a dedicated cleaning tool. Gently insert the clip or tool into the needle to remove any coffee grounds or debris.
- Clean the K-Cup holder with warm, soapy water, ensuring that all residual coffee grounds are removed. Rinse it thoroughly and let it dry completely before reassembling.
Ensure Proper Placement of K-Cup or Pod
- Double-check that the K-Cup or pod is placed securely and correctly in the brewing chamber. Align the K-Cup or pod with the guides and ensure that it is fully inserted.
- Close the brewing chamber firmly to ensure a proper seal.
Descale the Keurig
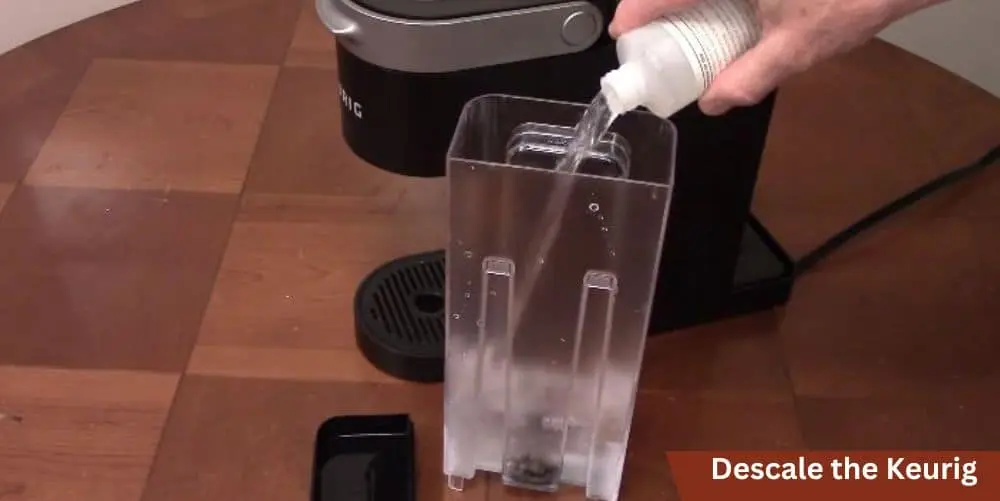
- Descale your Keurig regularly to remove scaling and mineral buildup that can obstruct water flow. Refer to your Keurig’s user manual for specific descaling instructions.
- Use a Keurig-approved descaling solution or a mixture of vinegar and water to run a descaling cycle. Follow the recommended proportions and steps provided in the manual.
- After the descaling cycle is complete, run multiple cycles with fresh water to rinse away any residual descaling solution or vinegar taste.
Read Also: Keurig Not Pumping Water? Troubleshooting The Issue
Additional Tips for Optimal Brewing
In addition to troubleshooting and resolving issues with your Keurig’s brewing capacity, there are several additional tips you can follow to enhance your brewing experience and ensure consistently delicious cups of coffee. Consider implementing these practices for optimal results:
Use Filtered Water
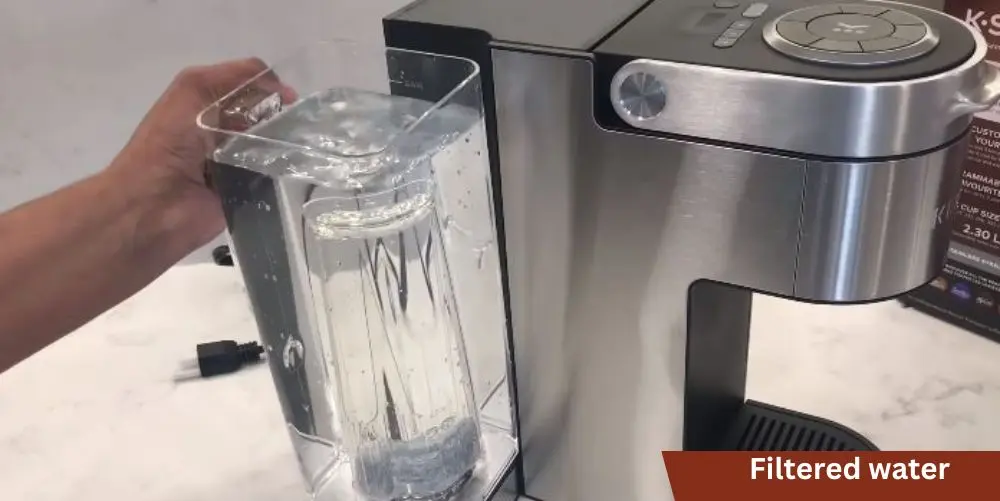
Using filtered water can help minimize mineral buildup in your Keurig, reducing the frequency of descaling. This is especially important if you live in an area with hard water. Consider using a water filter pitcher or a faucet-mounted filter to improve the quality of the water you use in your coffee maker.
Experiment with Brew Strength and Cup Size
Most Keurig machines offer different brew strength options, allowing you to adjust the intensity of your coffee. Additionally, you can customize the cup size to ensure that you’re getting the perfect amount of coffee for your taste preferences. Experiment with these settings to find the ideal combination that suits your preferences.
Clean and Maintain Regularly
Regular cleaning and maintenance are crucial for optimal brewing performance. Along with the needle cleaning mentioned earlier, periodically clean the external surfaces of your Keurig with a damp cloth to remove any dust or residue. Refer to your Keurig’s user manual for detailed cleaning instructions.
Avoid Using Stale or Expired Coffee Pods
To enjoy the best flavor and quality, make sure to use fresh and unexpired coffee pods. Using stale or expired pods can affect the taste and brewing performance, resulting in subpar coffee.
Keep the Brewing Area Clean and Organized
Maintaining a clean and clutter-free brewing area will not only enhance the aesthetics but also make it easier to operate and maintain your Keurig. Keep your coffee supplies, K-Cups, and accessories organized and readily accessible for a smooth brewing experience.
Consider Using Reusable Coffee Filters
If you prefer to use your own ground coffee instead of K-Cups or pods, consider investing in reusable coffee filters specifically designed for Keurig machines. These filters are eco-friendly and allow you to enjoy a wider variety of coffee blends while reducing waste.
Conclusion
While it can be frustrating when your Keurig isn’t brewing a full cup, most issues can be resolved with regular maintenance and cleaning. By understanding the common causes and implementing these solutions, you can keep your Keurig running smoothly and enjoy your favorite coffee without interruption.
If these tips don’t resolve the issue, contacting Keurig customer support may be necessary to address more serious problems. Happy brewing!


