Keurig Not Pumping Water? Troubleshooting the Issue

Keurig coffee makers have become a staple in many households for their convenience and ease of use. However, like any appliance, they can encounter issues from time to time. One common problem that Keurig users may face is when the machine won’t pump water.
This can be frustrating, especially when you’re in need of that morning caffeine fix. But fear not!
In this guide, we’ll walk you through some troubleshooting tips and tricks to get your Keurig pumping water again in no time.
Possible Causes of a Keurig Not Pumping Water
Let’s explore the potential causes behind this issue and gain a better understanding of what might be impeding the water flow in your machine.
Clogged Water Line
One common culprit behind a Keurig not pumping water is a clogged water line. Over time, mineral deposits from hard water or coffee residue can accumulate and obstruct the flow of water through the tubes and channels. This can result in reduced or no water flow altogether.
To determine if a clogged water line is the issue, pay attention to any unusual sounds coming from your Keurig during the brewing process. If you hear a gurgling noise or notice a slow trickle of water, it’s likely there’s a blockage.
Air Bubbles in the System
Another factor that can disrupt water flow is the presence of air bubbles in the Keurig’s system. Air bubbles can hinder the pump’s ability to create adequate pressure, leading to inconsistent or no water flow.
If you suspect air bubbles, you may notice intermittent water flow during the brewing cycle. The water may start and stop, or the stream may be weak and sputtering.
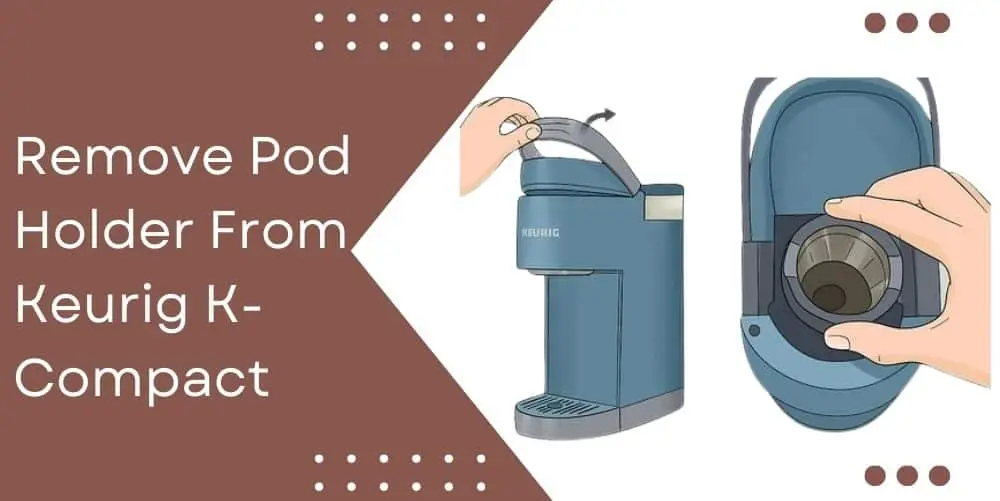
Water Tank Issues
Problems with the water tank can also contribute to a Keurig not pumping water. If the tank is not properly seated or there is a blockage in the water inlet, it can hinder the flow of water into the pump.
Take a moment to check the water tank and ensure it is securely positioned on the Keurig. Also, inspect the water inlet for any debris or blockage that may be impeding water from entering the system.
Recommended Read: Keurig Leaking Water From Bottom: Solved
Faulty Water Pump
In some cases, the issue may lie with the water pump itself. A malfunctioning pump can result in little to no water flow, rendering your Keurig unable to brew properly.
Step-by-Step Troubleshooting Guide
You’ve reached the heart of our troubleshooting process. In this step-by-step guide, we’ll walk you through the process of identifying and resolving the issue of your Keurig not pumping water. Each step is designed to target specific causes and provide you with a comprehensive approach to troubleshooting. Let’s dive in!
Start with Basic Checks
- Ensure your Keurig is properly plugged in and turned on. It may seem obvious, but sometimes a loose connection or accidental power switch can be the root of the problem.
- Check the display for any error messages or indicators. Keurig machines often display helpful messages when there’s an issue. Refer to the user manual or Keurig’s support resources to decipher any error codes you encounter.
Clean the Machine
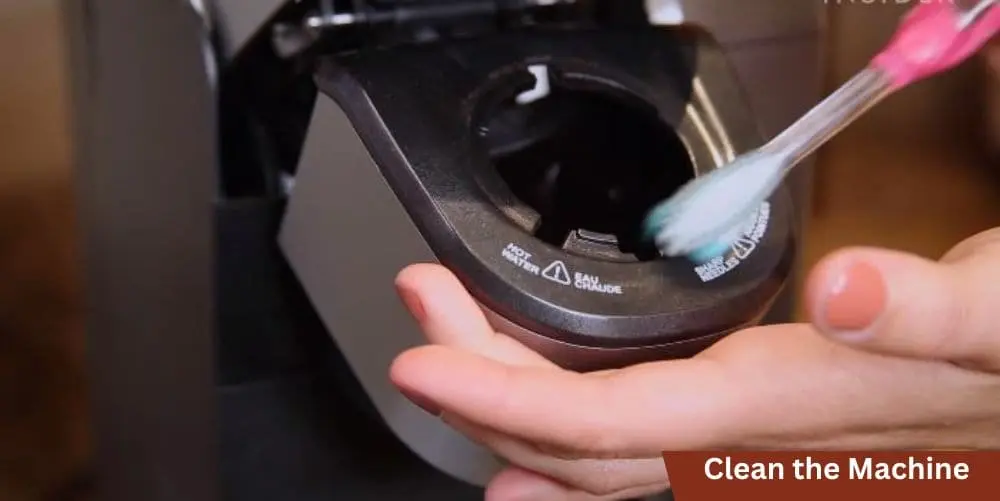
- Regular cleaning is essential for optimal performance. Start by cleaning the water reservoir, removing any mineral deposits or debris that may be affecting water flow. Rinse it thoroughly before placing it back in the machine.
- Pay attention to the needle that punctures the K-Cup. This needle can become clogged with coffee grounds or residue over time, leading to water flow problems. Use a paperclip or a Keurig-approved needle cleaning tool to gently clear any obstructions.
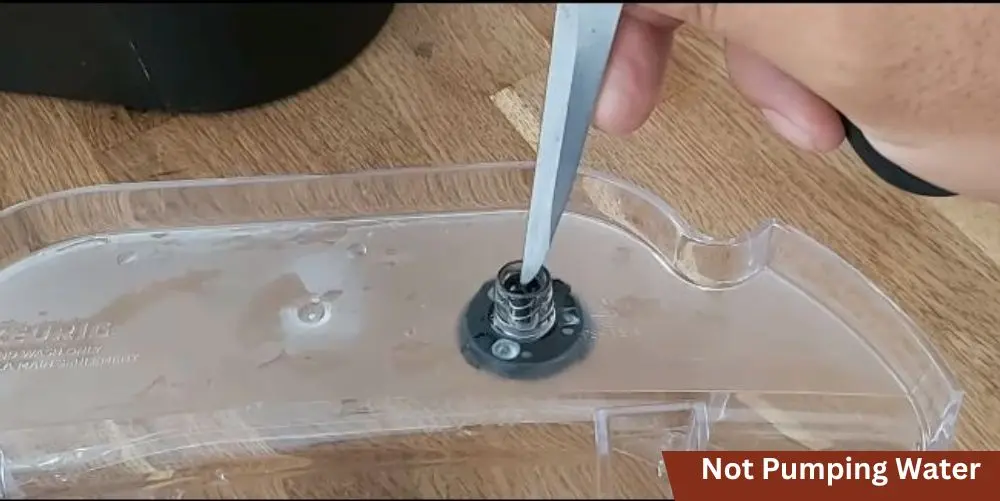
Check the Water Line
- Inspect the water line for any clogs or blockages. Start by removing the water reservoir and locating the entry point where water flows into the machine. Use a paperclip or a small brush to clear away any debris that may be obstructing the water line.
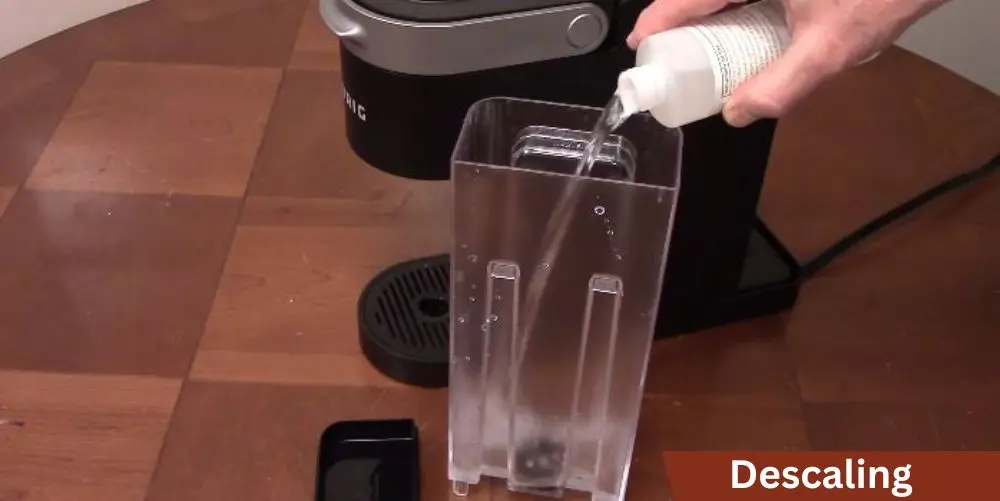
- If necessary, perform a thorough descaling of your Keurig. Over time, mineral deposits from hard water can accumulate and clog the internal components. Follow the manufacturer’s instructions or use a descaling solution recommended for your specific Keurig model.
Address Air Bubble Issues
- Priming the system can help remove air bubbles that might be affecting water flow. To do this, simply fill the water reservoir, remove any K-Cup, and run a few brewing cycles without inserting a pod. This process helps flush out any trapped air in the system.
- If priming doesn’t resolve the issue, try gently shaking the machine or tapping it lightly. This can help dislodge any persistent air bubbles that may be causing the problem.
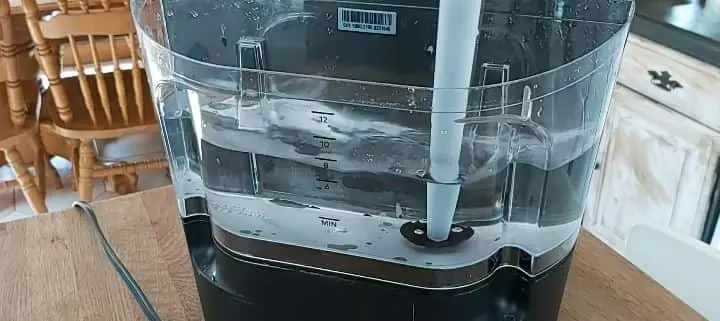
Examine and Adjust the Water Tank
- Double-check that the water tank is properly seated and securely attached to the Keurig. Ensure it is aligned correctly and has a tight seal.
- If the water tank has a float valve, ensure it moves freely and isn’t stuck in the closed position. Gently tap on the float valve to release any potential obstructions.
Read Also: Keurig Add Water Sensor Not Working?
Additional Tips and Tricks
Congratulations on successfully troubleshooting your Keurig and getting the water flowing again! To ensure smooth and consistent brewing in the future, consider implementing these additional tips and tricks:
- Regular Maintenance and Descaling: Keep your Keurig in top shape by performing routine maintenance. Regularly clean the machine, remove any mineral deposits, and descale as recommended by the manufacturer. Descaling helps remove built-up scale and ensures optimal performance.
- Use Filtered Water: Hard water can contribute to mineral buildup and clogs. Consider using filtered or distilled water to reduce the risk of scale formation. This simple adjustment can prolong the lifespan of your Keurig and improve the taste of your coffee.
- Avoid Overfilling the Water Reservoir: While it may be tempting to fill the water reservoir to its maximum capacity, avoid overfilling. This can lead to water spills and potential damage to the machine. Stick to the recommended fill line to prevent any mishaps.
- Check Seals and Valves: Periodically inspect the seals and valves in your Keurig. Worn-out or damaged seals can cause leaks or disrupt water flow. Replace any faulty seals or valves promptly to maintain optimal performance.
- Keep the Needles Clean: Regularly clean the needles that puncture the K-Cups. Coffee residue can accumulate on these needles, leading to clogs. Use a Keurig-approved cleaning tool or a paperclip to remove any debris.
- Allow for Proper Cooling: After brewing a cup of coffee, allow your Keurig to cool down before starting another cycle. This helps prevent overheating and ensures consistent performance.
- Stay Up-to-Date with Firmware Updates: Check for firmware updates for your Keurig model. These updates can address software issues and improve overall functionality. Follow the manufacturer’s instructions to install any available updates.
Conclusion
Dealing with a Keurig that won’t pump water can be frustrating, but with the right troubleshooting tips and tricks, you can often resolve the issue on your own. By checking the power source, priming the machine, cleaning the needle, descaling the machine, checking for blockages, and contacting customer support if needed, you can get your Keurig back up and running smoothly in no time.
So don’t let a malfunctioning Keurig ruin your coffee routine – follow these tips and enjoy your favorite brew hassle-free!