Keurig Won’t Turn On After Descaling – What to Do Next?

Welcome to our troubleshooting guide for Keurig machines that won’t turn on after descaling. If you’re experiencing this frustrating issue, you’re not alone. Descaling is a crucial maintenance step for Keurig coffee makers, but occasionally, it can lead to unexpected complications. Don’t worry though, because we’re here to help you navigate through this problem and get your beloved Keurig up and running again.
Descaling is an essential process that removes mineral buildup, limescale, and other impurities from your Keurig’s internal components. By descaling regularly, you ensure that your machine delivers optimal performance, great-tasting coffee, and a longer lifespan. However, sometimes after descaling, you may encounter the frustrating situation where your Keurig refuses to turn on.
There are several possible causes for this issue, ranging from electrical problems to sensor malfunctions and even internal component failures.
We understand the importance of a reliable and functional coffee maker, especially when you rely on your Keurig for that perfect cup of coffee every morning. So, let’s dive into the world of troubleshooting and learn what to do when your Keurig won’t turn on after descaling. Together, we’ll unravel the mysteries and get your Keurig brewing again.
Know about Descaling and its Importance
Descaling is a vital maintenance process that every Keurig owner should be familiar with. Over time, mineral deposits, known as limescale, can build up inside your coffee maker. This buildup occurs due to the minerals present in your tap water, and it can negatively impact the performance and lifespan of your Keurig machine.
What is Descaling
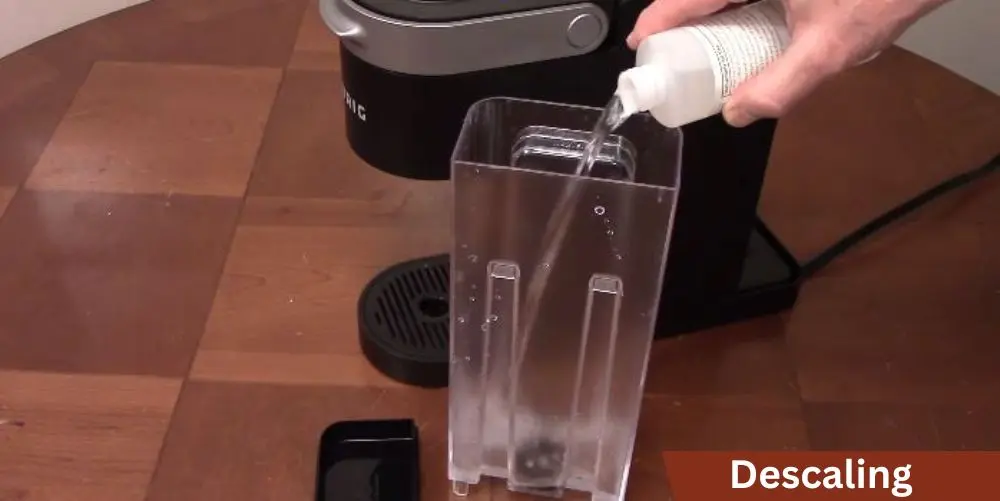
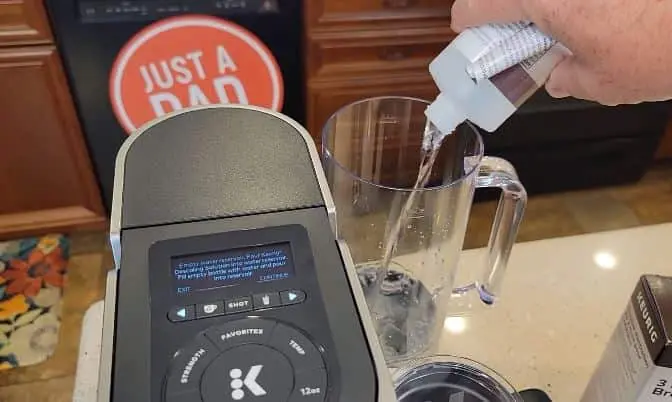
Descaling is the process of removing limescale and other mineral deposits from the internal components of your Keurig. It involves using a descaling solution or a homemade descaling mixture to dissolve and remove these deposits. By regularly descaling your Keurig, you ensure that it operates optimally and consistently delivers delicious coffee.
The Importance of Regular Descaling
Regular descaling is crucial for several reasons:
Enhances Performance: Limescale buildup can clog the internal water pathways and heating elements of your Keurig, affecting water flow and temperature. Descaling helps restore these components to their optimal functionality, ensuring a smooth brewing process.
Improves Taste: Limescale can alter the taste of your coffee, making it bitter or metallic. Descaling removes these deposits, allowing the coffee’s natural flavors to shine through and ensuring a consistently great-tasting cup every time.
Extends Lifespan: Limescale buildup can put additional strain on your Keurig’s internal mechanisms, potentially leading to premature wear and tear. Regular descaling helps prolong the lifespan of your machine, saving you from the need for frequent repairs or replacements.
Preserves Warranty: Many Keurig models come with a warranty, and manufacturers often recommend regular descaling as part of the maintenance routine. By following these guidelines, you ensure that your warranty remains valid and you can seek assistance if any other issues arise.
How Often Should You Descale
The frequency of descaling depends on your usage and water hardness. As a general guideline, it’s recommended to descale your Keurig every three to six months.
Possible Causes for Keurig Not Turning On After Descaling
While descaling your Keurig is an essential maintenance step, it can occasionally lead to the frustrating issue of your machine not turning on afterward. Several factors can contribute to this problem, ranging from electrical issues to sensor malfunctions and internal component failures. Let’s explore some of the common causes:
Electrical Issues
Faulty Power Outlet or Cord: Ensure that the power outlet you’re using is functioning correctly by plugging in another device. Additionally, inspect the power cord for any signs of damage, such as fraying or cuts, that may prevent a proper electrical connection.
Power Surge or Circuit Breaker Tripping: Power surges or tripped circuit breakers can disrupt the electrical flow to your Keurig. Check your circuit breaker panel and reset any tripped breakers. It’s also advisable to use a surge protector or an uninterruptible power supply (UPS) to protect your Keurig from power fluctuations.
Sensor Problems
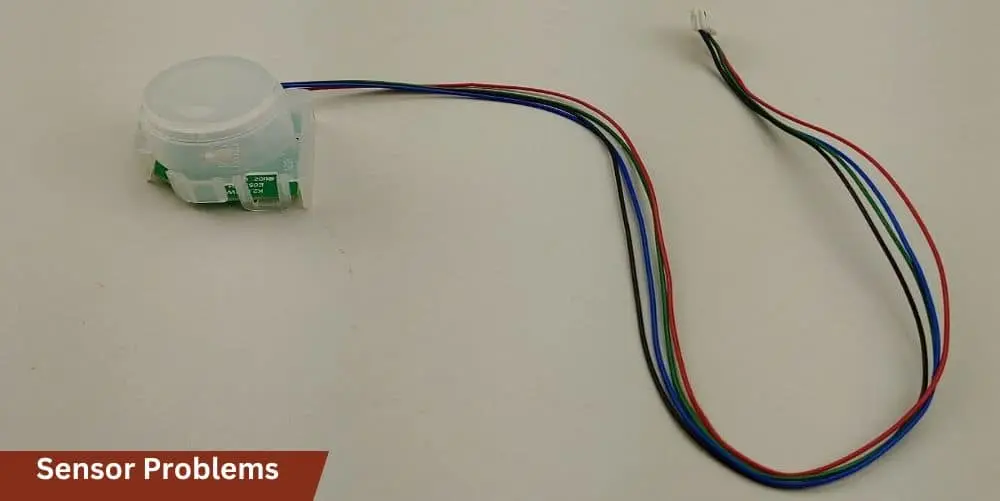
Water Level Sensor Malfunction: The water level sensor in your Keurig plays a vital role in detecting the presence of water in the reservoir. If this sensor malfunctions, it may prevent your Keurig from turning on. Inspect the sensor for any debris or blockages and clean it if necessary. Refer to your Keurig’s user manual for guidance on locating and accessing the water level sensor.
Keurig Not Detecting Water Reservoir Correctly: Sometimes, Keurig may fail to detect the water reservoir properly even when it’s in place. Ensure that the reservoir is correctly seated and properly aligned with the machine’s connection points. Double-check that no dirt or residue is obstructing the connection.
Recommended: Keurig Add Water Sensor Not Working?
Internal Component Issues
Thermal Fuse Failure: The thermal fuse is a safety component that protects your Keurig from overheating. If it blows due to excessive heat, your machine may not turn on. In such cases, replacing the thermal fuse may be necessary. Consider reaching out to Keurig’s customer support or consulting a professional for assistance.
Control Board Malfunction: The control board is the “brain” of your Keurig, responsible for managing various functions. If the control board malfunctions, it can affect the overall operation of the machine, including its power. Troubleshooting control board issues may require technical expertise, so consider seeking professional assistance if needed.
Troubleshooting Steps
When your Keurig refuses to turn on after descaling, it’s time to roll up your sleeves and go through a series of troubleshooting steps. By following these steps, you can identify the underlying issue and potentially resolve it. Let’s dive into the troubleshooting process:
Preliminary Checks
Ensure the Power Outlet is Functioning:
- Plug another device into the same power outlet to verify if it’s working properly.
- If the outlet is not working, try a different outlet or address any electrical issues.
Verify the Power Cord Connection:
- Check that the power cord is securely plugged into the Keurig and the power outlet.
- Inspect the cord for any signs of damage or fraying, as this may hinder proper electrical connection.
Resetting the Machine
Perform a Basic Reset:
- Unplug the Keurig from the power outlet.
- Wait for approximately one minute.
- Plug the Keurig back into the power outlet.
- Attempt to turn on the machine.
Try a More Advanced Reset Method:
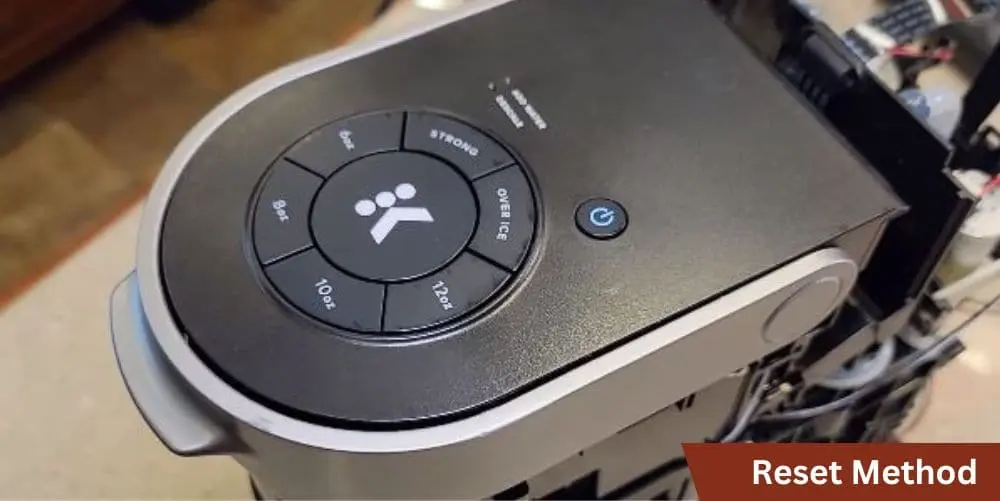
- Refer to your Keurig user manual or manufacturer’s website for specific reset instructions.
- Advanced reset methods may involve a combination of button presses or unplugging the machine for an extended period.
- Follow the instructions carefully to perform the reset and see if it resolves the issue.
Checking Water Reservoir and Sensors
Remove and Reseat the Water Reservoir:
- Take out the water reservoir from the Keurig.
- Ensure it is properly aligned with the machine’s connection points.
- Firmly push the reservoir back into place, ensuring a secure fit.
Inspect the Water Level Sensor:
- Locate the water level sensor in your Keurig (refer to the user manual if needed).
- Check for any dirt, debris, or mineral buildup that might be obstructing the sensor.
- Use a clean, damp cloth or a soft brush to gently clean the sensor.
Dealing with Internal Component Issues:
Exploring the Thermal Fuse:
- If you suspect a blown thermal fuse, consider reaching out to Keurig’s customer support or consulting a professional for assistance.
- They can guide you on how to replace the thermal fuse or direct you to an authorized service center if necessary.
Troubleshooting the Control Board:
- Control board issues require technical expertise, and it’s advisable to seek professional assistance.
- Contact Keurig’s customer support or a reputable repair service to diagnose and address control board malfunctions.
Additional Tips and Recommendations
In addition to troubleshooting steps, there are several tips and recommendations that can help you maintain your Keurig’s performance and prevent issues in the future. Consider the following:
Regular Maintenance Practices
Importance of Cleaning Beyond Descaling:
- While descaling removes mineral deposits, regular cleaning helps prevent the buildup of coffee residue and other contaminants.
- Clean the external surfaces, removable parts, and the brewing chamber regularly using mild soap and water or Keurig-approved cleaning solutions.
- Refer to your Keurig’s user manual for detailed cleaning instructions specific to your model.
Recommended Cleaning Schedule:
- Establish a routine cleaning schedule to ensure optimal performance and hygiene.
- Depending on usage, aim to clean removable parts, such as the water reservoir and drip tray, on a weekly or bi-weekly basis.
- Deep clean the machine, including the internal components, at least every three to six months or as recommended by the manufacturer.
Contacting Keurig Customer Support
When to Reach Out for Assistance:
- If you’ve followed the troubleshooting steps and your Keurig still won’t turn on after descaling, it’s advisable to seek professional assistance.
- Reach out to Keurig’s customer support for further guidance, especially if your machine is still under warranty.
How to Contact Keurig’s Customer Support:
- Visit the Keurig website and navigate to the customer support section.
- Find the appropriate contact information, such as a phone number or email, and reach out to their support team.
- Be prepared to provide them with details about your Keurig model, the issue you’re facing, and the steps you’ve already taken.
Preventive Measures for Future Issues
Proper Descaling Techniques:
- Follow Keurig’s recommended descaling instructions precisely to ensure effective and safe descaling.
- Use descaling solutions specifically formulated for Keurig machines or homemade mixtures approved by the manufacturer.
- Avoid using vinegar or other harsh chemicals as they may damage the internal components.
Maintenance and Care Tips:
- Store your Keurig in a clean and dry environment to prevent dust accumulation and potential damage.
- Regularly inspect the water reservoir, power cord, and other external components for signs of wear or damage. Address any issues promptly.
- Consider investing in a water filter if you have hard water, as it can help reduce mineral deposits and extend the time between descaling sessions.
Preventive Measures for Future Issues
Prevention is key when it comes to maintaining the optimal performance and longevity of your Keurig. By taking proactive measures, you can reduce the likelihood of encountering issues in the future. Consider the following preventive measures:
Water Quality Management:
- Water quality plays a crucial role in the performance and lifespan of your Keurig. If you live in an area with hard water, consider using filtered or bottled water to reduce mineral deposits and limescale buildup.
- Install a water filter system specifically designed for coffee machines to remove impurities and improve the taste of your coffee.
Regular Cleaning and Descaling:
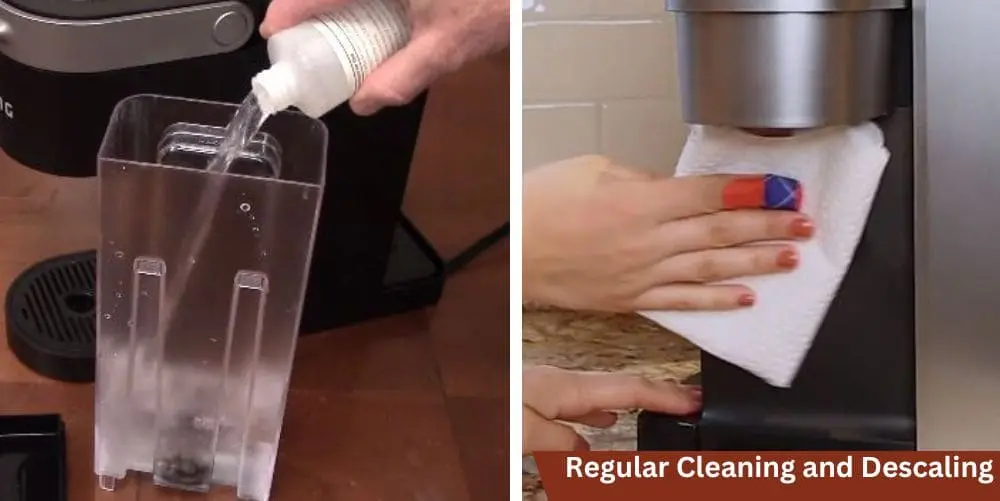
- Make a habit of regular cleaning and descaling to keep your Keurig in optimal condition. Follow the manufacturer’s recommendations for cleaning frequency and descaling procedures.
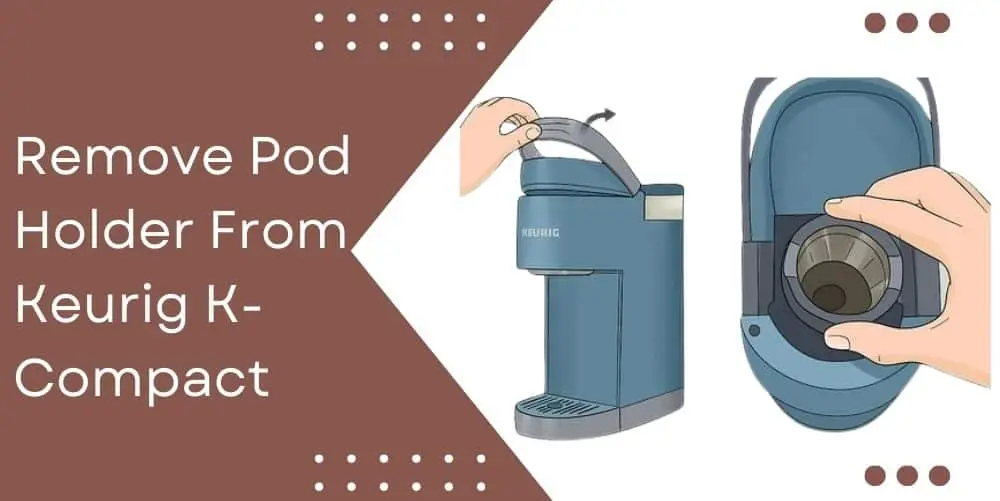
- Clean removable parts, such as the water reservoir, drip tray, and K-cup holder, regularly to prevent the buildup of coffee residue and bacteria.
- Use descaling solutions recommended by the manufacturer or homemade mixtures formulated for Keurig machines.
Proper Usage and Handling:
- Handle your Keurig with care and avoid rough handling that may cause damage to internal components.
- Always follow the instructions provided in the user manual for setup, brewing, and maintenance.
- Never force or slam the brewer components as this can lead to misalignment or damage.
Storage and Environment:
- When storing your Keurig, ensure it is clean and dry. Store it in a cool, dry place away from direct sunlight or extreme temperatures.
- Keep the machine covered or use a dust cover to prevent dust and debris from accumulating inside.
- Avoid placing the Keurig near heat sources, water sources, or areas prone to excessive moisture.
Regular Inspections and Maintenance:
- Periodically inspect the power cord, plug, and other external components for any signs of wear, damage, or fraying. Replace damaged cords immediately.
- Check for leaks, unusual noises, or other abnormalities during brewing. Address any concerns promptly to prevent further damage or malfunctions.
- Stay updated with the latest firmware or software updates provided by the manufacturer, as they may include improvements or bug fixes.
Conclusion
Encountering the issue of a Keurig not turning on after descaling can be frustrating, but it’s a problem that can be addressed with the right troubleshooting steps and preventive measures. By understanding the importance of descaling, exploring possible causes, and following the recommended troubleshooting steps, you can often resolve the issue and get your Keurig back up and running.
Remember to start with preliminary checks such as verifying the power outlet and power cord connection. Resetting the machine, checking the water reservoir and sensors, and addressing internal component issues are essential steps in troubleshooting. If the issue persists, don’t hesitate to reach out to Keurig’s customer support for further assistance.
To prevent future issues, incorporate regular maintenance practices into your routine. Clean your Keurig beyond descaling, follow recommended cleaning schedules, and pay attention to water quality. Proper usage and handling, along with careful storage and environmental considerations, will contribute to the long-term performance of your Keurig.